

This guide walks you through MIG welding stainless steel to carbon steel with clear steps, expert tips, and troubleshooting advice. You’ll learn the right filler metals, shielding gases, and settings to create strong, clean welds every time.
Key Takeaways
- Use 309L filler wire: This stainless steel wire prevents cracking and handles the mix of metals best.
- Choose the right shielding gas: A 98% argon / 2% CO2 mix protects the weld and reduces spatter.
- Clean both metals thoroughly: Remove oil, rust, and paint to avoid contamination and weak welds.
- Control heat input: Use lower heat and short weld passes to prevent warping and carbon migration.
- Weld from stainless to carbon: This helps direct heat away from the stainless side and reduces cracking risk.
- Post-weld cleanup matters: Brush or grind the weld to remove discoloration and improve appearance.
- Wear proper PPE: Always use a welding helmet, gloves, and flame-resistant clothing for safety.
Introduction: Why Weld Stainless to Carbon Steel?
Welding stainless steel to carbon steel might sound tricky, but it’s a common job in fabrication, automotive repair, and industrial maintenance. You might need to join a stainless exhaust pipe to a carbon steel frame or repair a mixed-metal structure. While the two metals behave differently, MIG welding stainless steel to carbon steel is totally doable with the right approach.
In this guide, you’ll learn exactly how to do it safely and effectively. We’ll cover the best filler metals, shielding gases, machine settings, and techniques. Whether you’re a hobbyist or a pro, these steps will help you create strong, clean welds without cracking or warping. Let’s get started!
Understanding the Challenge
Stainless steel and carbon steel have different properties. Stainless resists rust and handles heat well, while carbon steel is stronger but prone to corrosion. When you weld them together, the main issues are:
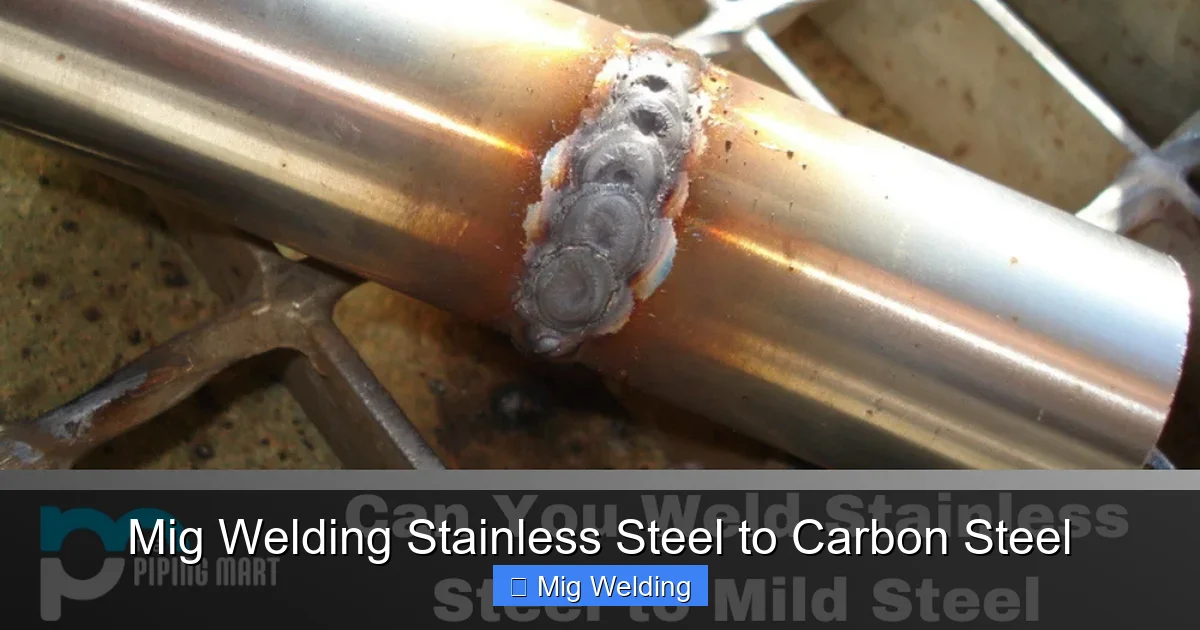
Visual guide about Mig Welding Stainless Steel to Carbon Steel
Image source: cdn.thepipingmart.com
- Thermal expansion: The metals expand at different rates when heated, which can cause warping or cracking.
- Carbon migration: Carbon from the carbon steel can move into the stainless weld zone, weakening it over time.
- Galvanic corrosion: If moisture gets in, the two metals can corrode faster when in contact.
The good news? These problems are manageable. With the right filler metal and technique, you can create a durable joint that lasts.
Step 1: Choose the Right Filler Metal
The most important decision is your filler wire. You can’t use regular carbon steel wire—it will crack and corrode. Instead, use a stainless steel filler that’s compatible with both metals.
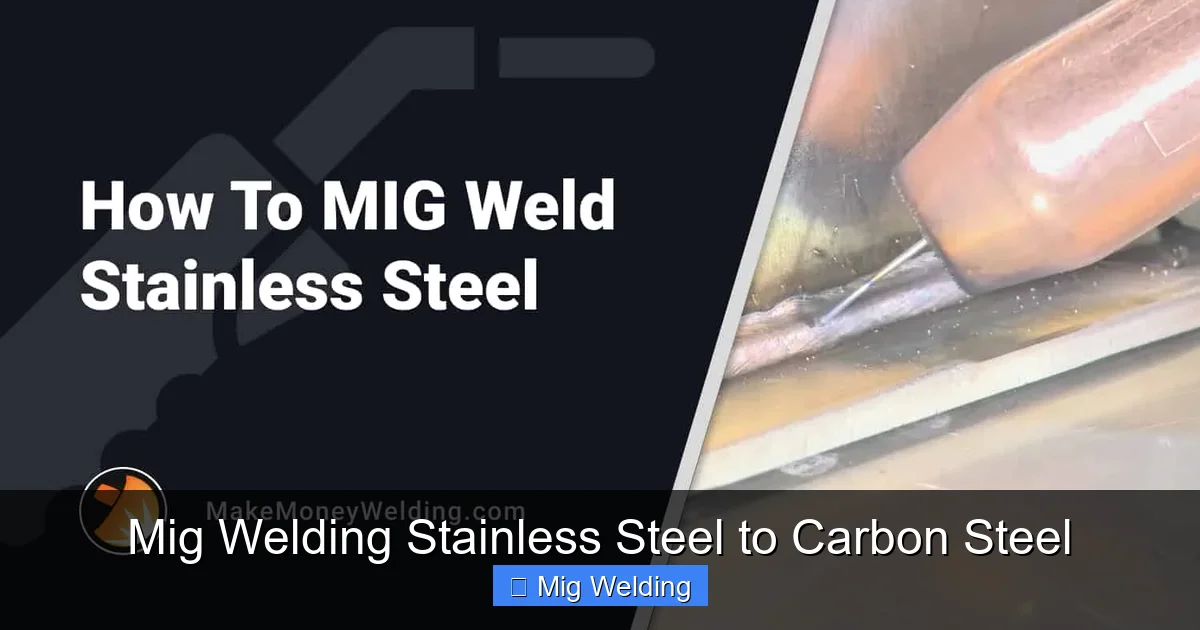
Visual guide about Mig Welding Stainless Steel to Carbon Steel
Image source: makemoneywelding.com
Best Choice: ER309L
ER309L is the go-to wire for welding stainless to carbon steel. It’s a low-carbon stainless wire with added nickel and chromium. This helps it bond well to both metals and resist cracking. The “L” means low carbon, which reduces the risk of carbide precipitation and corrosion.
Other options like ER308L are made for welding stainless to stainless, so they don’t handle carbon steel well. Stick with ER309L for the best results.
Wire Diameter
Use 0.035-inch (0.9 mm) wire for most jobs. It works well on medium to thick materials and gives good penetration. For thinner metals, 0.030-inch (0.8 mm) is a better fit.
Step 2: Pick the Right Shielding Gas
Shielding gas protects the weld pool from oxygen and nitrogen in the air. Without it, your weld will be porous and weak.
Recommended Gas Mix
Use a 98% argon / 2% CO2 mix. This blend gives smooth arc control, low spatter, and good penetration. It’s ideal for stainless steel and works well when welding to carbon steel.
Avoid pure CO2—it causes too much spatter and can oxidize the stainless side. Don’t use tri-mix gases (argon/helium/CO2) unless you’re doing specialized work. Stick with the 98/2 mix for simplicity and reliability.
Flow Rate
Set your gas flow to 20–25 cubic feet per hour (CFH). Too little gas won’t protect the weld; too much can cause turbulence and pull in air. Use a gas lens or nozzle with good coverage for best results.
Step 3: Prepare the Metals
Clean metal is clean welding. Any dirt, oil, or rust will ruin your weld.
Clean Both Surfaces
Use a wire brush (dedicated to stainless only) or grinder to remove scale, paint, and rust. Wipe both metals with acetone or a degreaser to remove oil and grease. Don’t skip this step—contamination leads to porosity and weak joints.
Bevel Thick Materials
If you’re welding thick pieces (over 1/4 inch), bevel the edges. A 30–37 degree bevel helps the weld penetrate both metals evenly. Use a grinder or milling tool to create a V-groove.
Fit-Up Matters
Make sure the parts fit tightly. Gaps bigger than 1/16 inch can cause lack of fusion. Use clamps or magnets to hold everything in place. A tight fit means a stronger weld.
Step 4: Set Up Your MIG Welder
Now it’s time to dial in your machine. Settings vary by thickness and machine, but here’s a solid starting point.
Voltage and Wire Speed
For 1/8-inch (3 mm) steel, start with:
- Voltage: 19–21 volts
- Wire speed: 300–400 inches per minute (IPM)
For 1/4-inch (6 mm) steel:
- Voltage: 22–24 volts
- Wire speed: 400–500 IPM
Do a test weld on scrap metal and adjust as needed. You want a smooth, consistent arc with minimal spatter.
Use DCEN Polarity
Set your welder to DCEN (Direct Current Electrode Negative). This is standard for MIG welding and gives good penetration and arc stability.
Check Your Gun Angle
Hold the MIG gun at a 10–15 degree angle, pointing toward the direction of travel. This helps the gas shield the weld pool and improves penetration.
Step 5: Welding Technique
How you move the gun makes a big difference. Follow these tips for a strong, clean weld.
Weld from Stainless to Carbon
Always start on the stainless side and move toward the carbon steel. This directs heat away from the stainless, reducing the risk of cracking. It also helps control carbon migration.
Use Short, Stringer Beads
Don’t weave or whip the gun. Use short, straight passes (stringer beads) about 1–2 inches long. This keeps heat input low and prevents warping.
Control Travel Speed
Move steadily—not too fast, not too slow. If you go too fast, the weld will be thin and lack fusion. Too slow, and you’ll burn through or warp the metal. Aim for a smooth, even bead.
Interpass Temperature
Let the weld cool between passes. Keep interpass temperature below 300°F (150°C). Use an infrared thermometer or touch test (should be warm, not hot). High heat buildup can cause distortion and cracking.
Step 6: Post-Weld Cleanup
Your weld isn’t finished until it’s cleaned up. This improves appearance and performance.
Remove Slag and Spatter
Use a stainless steel wire brush to remove any slag or discoloration. Don’t use a carbon steel brush—it can embed iron particles and cause rust.
Grind if Needed
For a smooth finish, lightly grind the weld with a flap disc or grinding wheel. Be careful not to remove too much material. A clean, even surface looks professional and reduces stress points.
Inspect the Weld
Check for cracks, porosity, or lack of fusion. If you see problems, grind them out and re-weld. A good weld should be smooth, consistent, and free of defects.
Troubleshooting Common Problems
Even with the best setup, issues can happen. Here’s how to fix them.
Cracking in the Weld
Cause: Too much heat, wrong filler metal, or poor fit-up.
Solution: Use ER309L wire, reduce voltage, and make shorter passes. Ensure tight fit-up and clean metal.
Porosity (Holes in the Weld)
Cause: Contamination, low gas flow, or wind.
Solution: Clean the metal, check gas flow (20–25 CFH), and weld in a sheltered area.
Excessive Spatter
Cause: High voltage, wrong gas, or dirty contact tip.
Solution: Lower voltage, use 98/2 argon/CO2, and replace worn tips.
Warping or Distortion
Cause: Too much heat or uneven cooling.
Solution: Use lower heat, tack weld first, and clamp parts firmly. Let cool between passes.
Safety Tips You Can’t Ignore
Welding is safe when you follow the rules. Here’s what to remember:
- Wear a welding helmet with auto-darkening lens (shade 10–13).
- Use flame-resistant clothing—no synthetic fabrics.
- Wear leather gloves and closed-toe shoes.
- Work in a well-ventilated area or use a fume extractor.
- Keep a fire extinguisher nearby.
Your health and safety come first. Don’t cut corners.
Conclusion: Strong Welds Start with Smart Choices
MIG welding stainless steel to carbon steel doesn’t have to be intimidating. With the right filler metal (ER309L), shielding gas (98/2 argon/CO2), and technique, you can create strong, reliable joints. Clean your metals, control your heat, and weld from stainless to carbon for the best results.
Remember: preparation is everything. Take your time with setup, and don’t rush the weld. A little extra care now saves you from costly repairs later. Whether you’re fixing a truck, building a trailer, or working on a custom project, these steps will help you weld with confidence.
Now grab your gear, fire up the welder, and make something great!