

This guide provides a complete how-to for AC TIG welding aluminum. You’ll learn everything from essential equipment setup and filler metal selection to mastering crucial techniques like arc control and bead placement. Achieve professional-quality aluminum welds by following our step-by-step instructions and practical tips.
Ac Tig Welding Aluminium
Aluminum TIG welding might seem intimidating at first, but with the right knowledge and practice, it’s an incredibly rewarding skill to learn. This guide will walk you through everything you need to know to successfully TIG weld aluminum using AC (Alternating Current). We’ll cover the essential equipment, proper setup, step-by-step welding techniques, and some common troubleshooting tips. By the end, you’ll be well on your way to creating strong, clean, and beautiful aluminum welds.
Key Takeaways
- Proper Machine Setup is Crucial: Understanding AC balance, frequency, and amperage settings for aluminum is paramount for effective cleaning and penetration.
- Choosing the Right Filler Metal Matters: Selecting the appropriate aluminum alloy filler rod (like 4043 or 5356) based on the base material is essential for weld strength and integrity.
- Mastering Tungsten and Gas: Using a pure or zirconiated tungsten electrode and ensuring sufficient Argon shielding gas are vital for preventing contamination and ensuring a clean weld pool.
- Cleaning is Non-Negotiable: Thoroughly cleaning the aluminum surface to remove oxidation, oils, and dirt before welding is the most critical step to prevent weld defects.
- Effective Torch and Filler Rod Manipulation: Developing a smooth, consistent torch movement and proper filler rod dipping technique are key to creating aesthetically pleasing and strong aluminum welds.
- Understanding AC Waveforms: Recognizing how AC balance affects cleaning action and penetration helps in fine-tuning your settings for different aluminum alloys and thicknesses.
Why AC for Aluminum?
When TIG welding aluminum, AC power is the standard. Why? Aluminum quickly forms a tough, stubborn oxide layer on its surface. This oxide has a much higher melting point than the aluminum itself. AC welding provides a dual benefit:
The positive half-cycle of the AC current provides a “cleaning action” that breaks through this oxide layer, allowing the arc to penetrate. The negative half-cycle provides the heat necessary to melt the base metal and filler rod. This balance is critical for clean, defect-free welds.
Essential Equipment and Setup
Getting your TIG welder ready for aluminum is the first major step. Here’s what you’ll need and how to set it up:
Choosing Your TIG Welder
You need a TIG welder that offers AC output. Most modern DC TIG welders also have an AC function specifically for aluminum. Ensure your machine has adjustable settings for:
- Amperage: Controls the heat input.
- AC Balance: Adjusts the cleaning action versus penetration.
- AC Frequency: Affects the arc cone shape and penetration.
- High-Frequency Start: For arc initiation without touching the tungsten to the workpiece.
Tungsten Electrode Selection
For AC aluminum welding, the most common and recommended tungsten electrodes are:
- Pure Tungsten (Green Band): Historically used, but tends to ball up quickly and contaminate the weld pool. Not ideal for modern AC welding.
- Zirconiated Tungsten (Brown Band): A good choice for AC aluminum welding, offering a stable arc and less contamination than pure.
- Lanthanated Tungsten (Blue or Gold Band): Excellent all-around performers for both AC and DC. They offer a very stable arc, good longevity, and are less prone to contamination. Often considered the best choice for aluminum.
Always grind your tungsten to a relatively sharp point for AC welding. A slightly blunted tip can work, but a sharp point helps focus the arc.
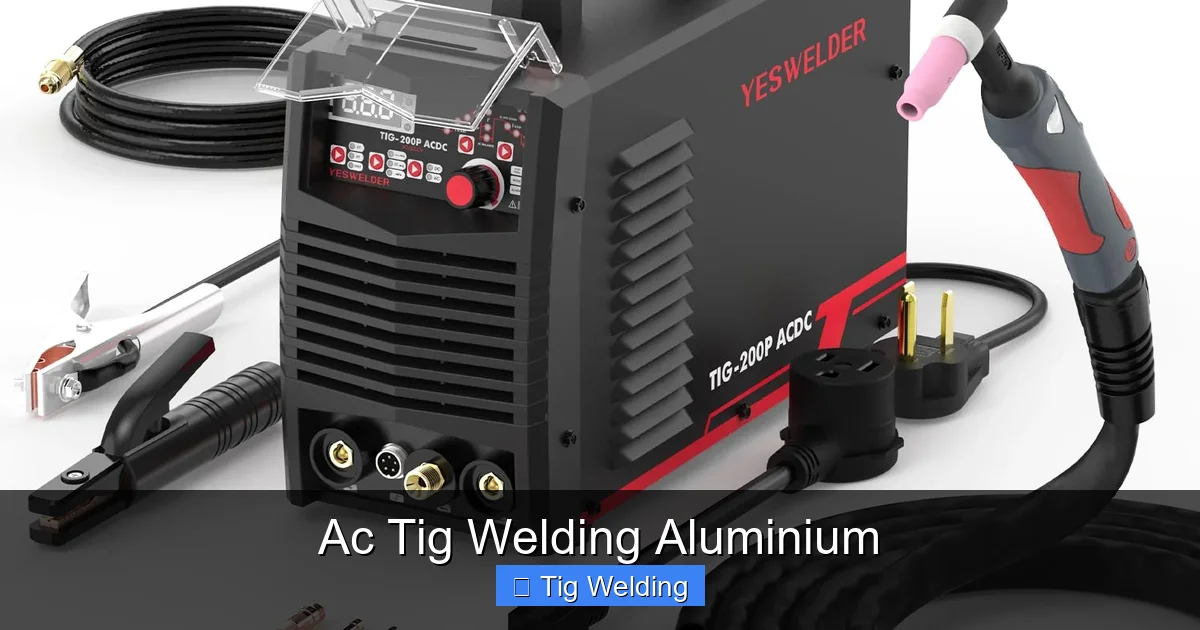
Visual guide about Ac Tig Welding Aluminium
Image source: m.media-amazon.com
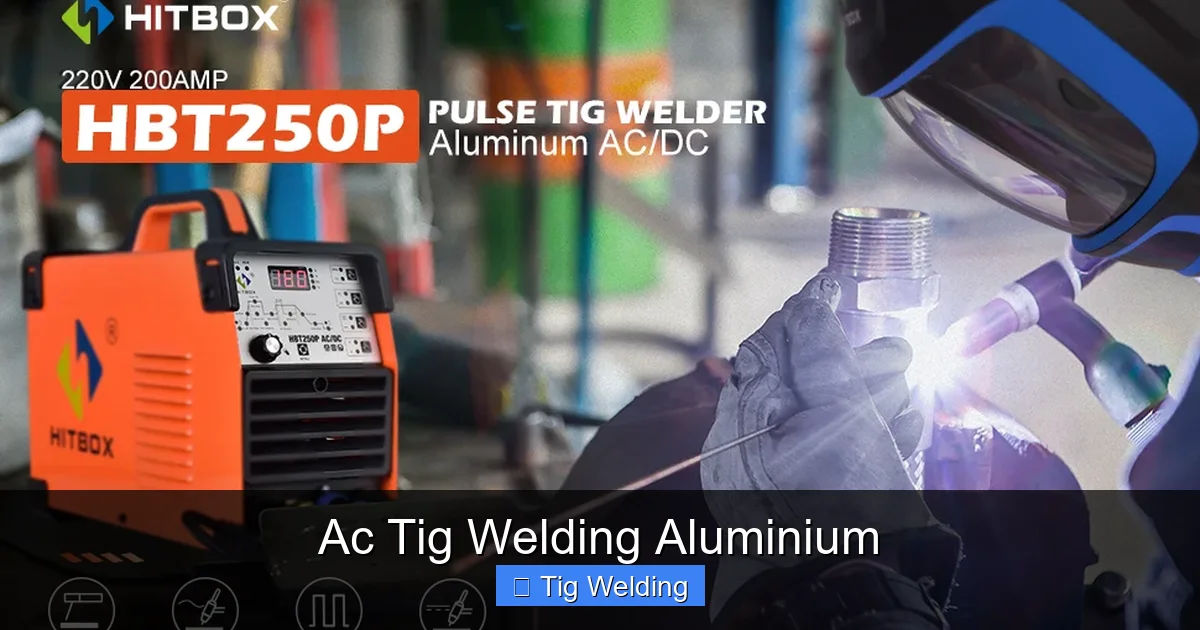
Visual guide about Ac Tig Welding Aluminium
Image source: m.media-amazon.com
Visual guide about Ac Tig Welding Aluminium
Image source: m.media-amazon.com
Shielding Gas
Argon is the standard shielding gas for TIG welding aluminum. It provides excellent cleaning action and arc stability.
- Flow Rate: Typically, a flow rate of 15-25 CFH (Cubic Feet per Hour) is recommended. You might need to increase this slightly for outdoor welding or in drafty areas to prevent contamination.
Ensure your Argon cylinder is full and your regulator is functioning correctly. A flowmeter on the regulator is crucial for accurate gas flow control.
Filler Metal Selection
The choice of filler metal depends on the specific aluminum alloy you are welding. Always consult a welding chart or a knowledgeable supplier if you’re unsure.
- 4043 (5% Silicon): This is the most common and versatile filler alloy. It flows well, has good crack resistance, and is suitable for most cast and wrought aluminum alloys (like 6061, 3003). It’s generally preferred for its ease of use.
- 5356 (5% Magnesium): Offers higher tensile strength and better corrosion resistance than 4043, making it suitable for higher-strength alloys like 5xxx series. It is a bit more prone to porosity if not welded carefully.
Always use a filler rod that is clean and free of any contaminants. Store filler rods in a clean, dry environment.
Cleaning the Aluminum
This is arguably the MOST IMPORTANT step in TIG welding aluminum. Aluminum oxide is tough, and without proper cleaning, you’ll end up with porosity, inclusions, and weak welds.
Steps for Cleaning:
1. Mechanical Cleaning
- Use a dedicated stainless steel wire brush for aluminum only. Do NOT use a brush that has been used on steel, as this will introduce contamination.
- Brush the area to be welded and the surrounding surface vigorously to remove the oxide layer. You should see a shiny, clean aluminum surface appear.
2. Chemical Cleaning (Optional but Recommended)
- For critical applications or heavily oxidized aluminum, a degreaser and then a solvent (like acetone or denatured alcohol) can be used to remove oils and other surface contaminants after brushing.
Important: Weld aluminum as soon as possible after cleaning to minimize re-oxidation. Avoid touching the cleaned surface with bare hands, as skin oils can cause contamination.
TIG Welding Settings for Aluminum
Dialing in your machine settings is crucial. Here are some general guidelines:
Amperage
Amperage is determined by the thickness of the aluminum you are welding. A good starting point is approximately 1 amp per thousandth of an inch of material thickness.
- For example, for 1/8″ (0.125″) aluminum, aim for around 120-130 amps.
- For thinner material (e.g., 16 gauge or 0.050″), you might be in the 50-70 amp range.
Always use a test piece to dial in your amperage. You want enough heat to melt the aluminum smoothly without burning through.
AC Balance (Cleaning vs. Penetration)
AC balance is a percentage setting. It dictates how much of the AC waveform is dedicated to the cleaning action (positive half-cycle) versus the penetration (negative half-cycle).
- Higher Balance % (e.g., 70% EN – Electrode Negative): More heat goes into the workpiece, increasing penetration and reducing cleaning action. This is useful for thicker aluminum or when you need deeper welds.
- Lower Balance % (e.g., 50% EN): A more balanced setting, providing good cleaning and moderate penetration. This is a common starting point.
For general aluminum TIG welding, a balance setting of around 50-65% EN is typical. You’ll adjust this based on your cleaning needs and desired penetration.
AC Frequency (Arc Control)
AC frequency (measured in Hertz or Hz) influences the arc cone and penetration.
- Lower Frequencies (e.g., 50-80 Hz): Creates a wider arc cone, providing more cleaning action and a broader puddle. This can be good for tacking or thicker materials where you want a wider bead.
- Higher Frequencies (e.g., 100-200 Hz): Narrows the arc cone, creating a more focused and directed arc. This leads to deeper penetration, less heat input, and a more precise weld bead. Many welders prefer higher frequencies for aluminum for better control.
Experiment with frequency settings. Many find 100-150 Hz to be a sweet spot for general aluminum welding.
The TIG Welding Process for Aluminum
Now that your equipment is set up and the material is clean, let’s get to the actual welding.
Step 1: Secure Your Workpiece
Ensure your aluminum pieces are securely clamped in place. Use copper or aluminum backing bars if you’re welding edges or need to support the backside of the weld. This helps prevent distortion and burn-through.
Step 2: Electrode and Torch Position
Hold the TIG torch at a slight angle (about 70-80 degrees) to the workpiece. The distance between the tungsten electrode tip and the workpiece (arc length) should be consistent, typically about the diameter of the tungsten electrode. Keep the torch movement smooth and steady.
Step 3: Starting the Arc
Use your machine’s high-frequency start feature to initiate the arc without touching the tungsten to the metal. A brief touch can contaminate the tungsten and the weld.
Step 4: Melting the Base Metal and Adding Filler
Once the arc is established, move the torch towards the joint. You’ll see the aluminum begin to melt and form a puddle. This is where the oxide layer breaks up.
As the puddle forms, introduce the filler rod. Dip the filler rod into the leading edge of the puddle, then withdraw it slightly. The goal is to melt the filler rod with the heat of the arc, not by dipping it directly into the hottest part of the puddle. This prevents it from overheating and causing contamination or porosity.
Step 5: Manipulating the Torch and Filler Rod
This is where technique comes in. You want to maintain a consistent puddle size and shape.
- Torch Movement: A slight side-to-side or weaving motion can help spread the heat and tie the puddle together. Keep it subtle and controlled.
- Filler Rod Dipping: Dip the rod into the puddle and pull it out consistently. Imagine you’re “feeding” the puddle. The frequency of your dips will determine the width of your bead.
Imagine you’re moving the torch slightly forward, dipping the filler rod, and then bringing the torch forward again. The sequence is crucial for consistent bead formation.
Step 6: Completing the Weld
As you reach the end of the weld, you’ll need to create a slight pause or build a small mound to avoid a crater. This is often done by briefly pausing the filler rod feed and slightly reducing amperage (if your machine has a foot pedal) to fill the final void. Then, carefully break the arc.
Step 7: Post-Weld Cleaning
After the weld has cooled slightly (but is still warm), use a *separate, dedicated* stainless steel wire brush to clean off any remaining oxides or discoloration. This prevents further oxidation and gives your weld a cleaner appearance.
Practical Tips for Success
Here are some extra tips to elevate your aluminum TIG welding skills:
- Practice, Practice, Practice: Aluminum is forgiving to an extent, but it requires a feel for the heat. Practice on scrap pieces of the same thickness and alloy you’ll be welding.
- Use a Foot Pedal: If your machine has one, a foot pedal provides excellent control over amperage, allowing you to fine-tune heat input on the fly, especially on thinner materials or when starting/stopping.
- Observe the Puddle: Learn to read the puddle. A bright, shiny puddle with a good wave action indicates proper cleaning and heat. A dull, gray puddle suggests insufficient cleaning or shielding gas.
- Preheating (for thicker sections): For aluminum thicker than 1/4 inch, preheating the material to around 200-300°F (93-150°C) can help prevent cracking and improve fusion. Use a heat crayon or IR thermometer to check temperature.
- Watch Out for “Sugaring”: This is a common term for excessive oxidation or contamination that can appear as sugary deposits around the weld. It’s usually a sign of insufficient cleaning, poor shielding gas coverage, or contaminated filler rod.
Troubleshooting Common Aluminum TIG Welding Issues
Even experienced welders encounter problems. Here’s how to address common issues:
Issue: Porosity (Tiny holes in the weld)
Causes:
- Inadequate cleaning of the base metal.
- Contaminated filler rod or base metal (oils, dirt).
- Insufficient Argon shielding gas flow or leaks in the gas system.
- Too much arc length (pulling the tungsten too far from the workpiece).
- Incorrect AC balance settings leading to insufficient cleaning.
- Dipping the filler rod into the puddle too aggressively.
Solutions: Thoroughly clean the aluminum. Increase Argon flow. Shorten arc length. Adjust AC balance. Dip filler rod more delicately.
Issue: Lack of Fusion (Weld metal not properly bonded to base metal)
Causes:
- Insufficient amperage (not enough heat).
- Too fast travel speed.
- Poor AC balance (too much cleaning, not enough penetration).
- Oxide layer not fully removed.
Solutions: Increase amperage. Slow down travel speed. Adjust AC balance for more penetration. Ensure meticulous cleaning.
Issue: Burn-Through (Hole created in the material)
Causes:
- Amperage set too high for the material thickness.
- Arc length too short.
- Welding too slowly.
- Lack of proper backing (especially on edges).
Solutions: Reduce amperage. Increase arc length slightly. Speed up travel. Use proper backing material.
Issue: Tungsten Inclusion (Piece of tungsten embedded in the weld)
Causes:
- Touching the tungsten to the puddle or filler rod.
- Arcing the tungsten to the workpiece.
- Arc breaking and re-establishing too close to the puddle.
Solutions: Maintain proper arc length. Do not touch the tungsten to the weld. Use high-frequency start correctly.
Conclusion
AC TIG welding aluminum is a skill that can be learned and mastered with patience and attention to detail. The keys to success lie in meticulous preparation—especially thorough cleaning—and a good understanding of your machine’s settings and how they affect the weld. By following the steps outlined in this guide, practicing diligently, and paying close attention to the puddle, you will be well on your way to achieving professional-quality aluminum TIG welds. Embrace the learning curve, and enjoy the satisfaction of creating strong, beautiful aluminum fabrications.