

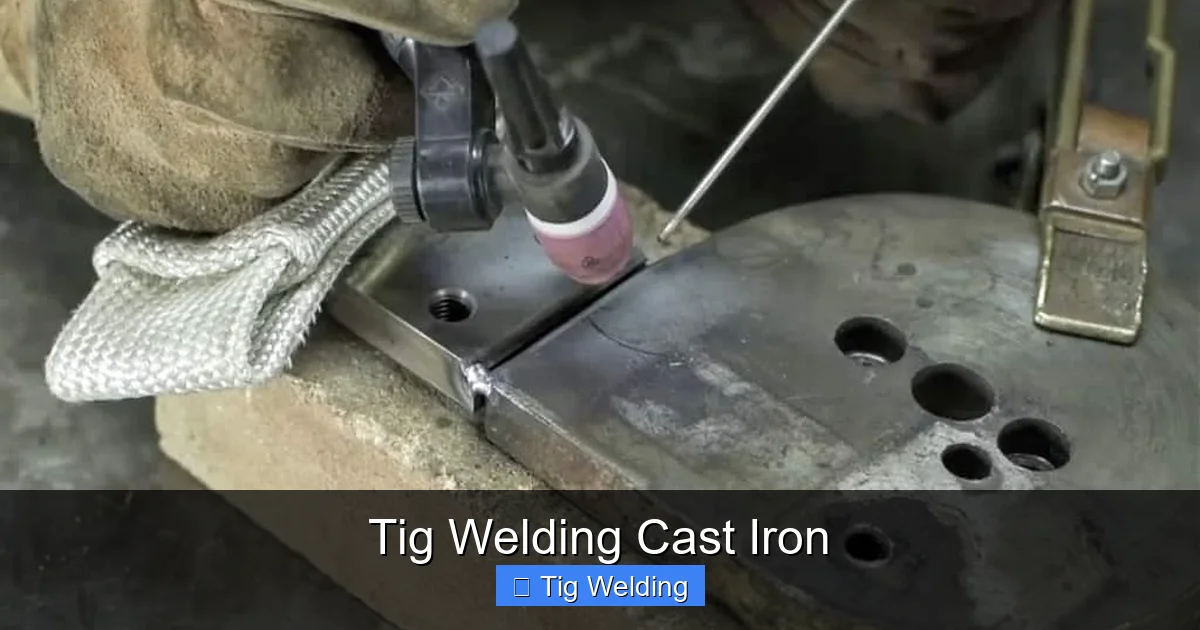
TIG welding cast iron is a specialized skill, but achievable with the right knowledge. This guide covers essential preparation, choosing the correct filler metals, mastering specific welding techniques, and addressing common challenges. By following these steps, you can achieve strong and durable repairs on cast iron components. Patience and precision are key to successful cast iron TIG welding.
Tig Welding Cast Iron
Cast iron is a workhorse material found in countless applications, from engine blocks and exhaust manifolds to machine bases and decorative pieces. However, its brittle nature and high carbon content make it notoriously difficult to weld. Many welders shy away from cast iron, fearing cracks and irreparable damage. But with the right approach, TIG welding cast iron is not only possible but can yield strong, reliable repairs.
This comprehensive guide will walk you through everything you need to know to successfully TIG weld cast iron. We’ll cover the critical preparation steps, delve into choosing the right filler metals, explain the specific techniques required, and offer solutions for common problems. By the end of this guide, you’ll have the confidence and knowledge to tackle your cast iron welding projects.
Key Takeaways
- Thorough preparation is crucial: Cleaning, preheating, and stress relieving are vital steps before TIG welding cast iron to prevent cracking.
- Filler metal selection matters: Different filler metals are suited for various types of cast iron and repair needs. Common choices include nickel-based alloys (Ni99, Ni55) and silicon bronze.
- Preheating is non-negotiable: Slowly heating the cast iron to a consistent temperature (typically 400-800°F or 200-430°C) significantly reduces thermal shock and prevents cracking.
- Peening is a vital post-weld technique: Gently hammering the weld bead while it’s still hot relieves stress and further minimizes the risk of cracks.
- Slow cooling is as important as preheating: Allowing the weldment to cool down slowly, often by burying it in an insulating material, prevents rapid temperature changes that lead to cracks.
- Multiple short weld beads are preferred: Welding in short, intermittent beads, allowing each to cool slightly, helps manage heat input and reduce stress buildup.
- Understanding cast iron types is important: Grey cast iron, ductile iron, and malleable iron have different properties that influence welding procedures.
Understanding Cast Iron and Its Welding Challenges
Before we dive into the ‘how-to,’ it’s essential to understand why cast iron is so challenging to weld. Cast iron is an iron-carbon alloy with a carbon content typically ranging from 2% to 4%. This high carbon content, along with silicon and other alloying elements, gives cast iron its excellent castability and wear resistance, but also makes it very brittle. When cast iron is heated, the carbon can form carbides, and the material expands. Upon cooling, it shrinks unevenly, creating internal stresses that often lead to cracking.
Different types of cast iron present unique challenges:
- Grey Cast Iron: The most common type. Carbon exists as graphite flakes, which can lead to porosity and inclusions in the weld.
- Ductile Iron (Nodular Iron): Graphite is in spherical nodule form, making it more ductile and less prone to cracking than grey cast iron.
- Malleable Iron: Graphite is in a temper carbon aggregate form. It’s more ductile than grey iron but still requires careful welding.
- White Cast Iron: High carbon content forms carbides, making it extremely hard and brittle, very difficult to weld.
While identifying the exact type of cast iron can be difficult without testing, recognizing that differences exist helps tailor your approach. For most repair work on common items, you’ll likely be dealing with grey or ductile iron.
Preparation: The Foundation of a Successful Weld
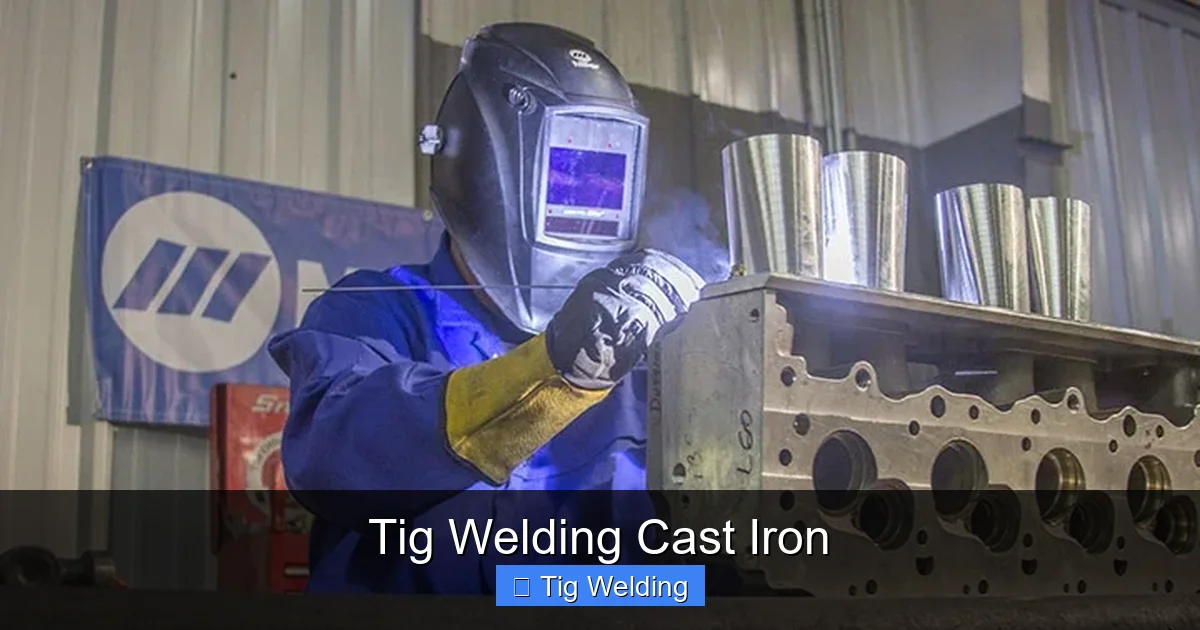
Success in TIG welding cast iron hinges on meticulous preparation. Skipping any of these steps significantly increases the risk of weld failure.

Visual guide about Tig Welding Cast Iron
Image source: weldingpros.net
1. Cleaning the Workpiece
Cast iron parts are often greasy, oily, or covered in paint and rust. Contaminants will migrate into your weld, causing porosity and weakening the joint. A clean surface is paramount.
- Degrease: Use a strong degreaser or solvent to remove all oil and grease. Acetone or denatured alcohol are good choices for a final wipe-down.
- Remove Paint and Coatings: Grind off any paint, primer, or coatings with a wire wheel or grinding disc.
- Grind Out Cracks: If you’re repairing a crack, you need to grind a ‘V’ groove along the entire length of the crack. Extend beyond the visible ends of the crack by at least an inch to ensure you’re welding the entire fractured area. The V-groove should be deep enough to reach sound metal and provide good access for the TIG torch and filler rod.
- Remove Porosity and Inclusions: Grind away any visible porosity or inclusions from the surface.
- Wire Brush: Use a clean stainless steel wire brush to remove any loose material and oxidation from the groove.
2. Identifying the Type of Cast Iron (If Possible)
As mentioned, different cast irons behave differently. If you can identify the type, it can inform your filler metal choice and preheat temperature. However, for most DIY repairs, assuming it’s a common grey or ductile iron and proceeding with standard practices is acceptable. If the material sparks unusually when ground (e.g., very few, short sparks for high carbon content), it might be a more difficult type.
3. Preheating: The Most Critical Step
This is where most cast iron welding attempts fail. Preheating slowly and evenly disperses heat and reduces the temperature differential within the casting, thereby minimizing stress. A rapid temperature change is the enemy of cast iron.
- Choose Your Method: You can use a propane torch, oxy-acetylene torch (with a neutral or carburizing flame, used cautiously), or a furnace. For larger or more complex pieces, a furnace is ideal for even heating.
- Slow and Steady Heating: Heat the entire workpiece, or at least a significant area around the weld joint, gradually. A common target temperature range is 400-800°F (200-430°C). Use temperature crayons or an infrared thermometer to monitor the temperature. The goal is to reach a uniform temperature.
- Maintain Temperature: Keep the workpiece at the target preheat temperature throughout the welding process. You may need to reheat sections as you move along the weld.
Tip: For very brittle or thin-walled cast iron, even lower preheat temperatures might be sufficient, but always start with a substantial preheat.
Selecting the Right Filler Metal
The filler metal is crucial for creating a strong, crack-resistant weld. The most common and effective filler metals for TIG welding cast iron are nickel-based alloys.
Visual guide about Tig Welding Cast Iron
Image source: weldingpros.net
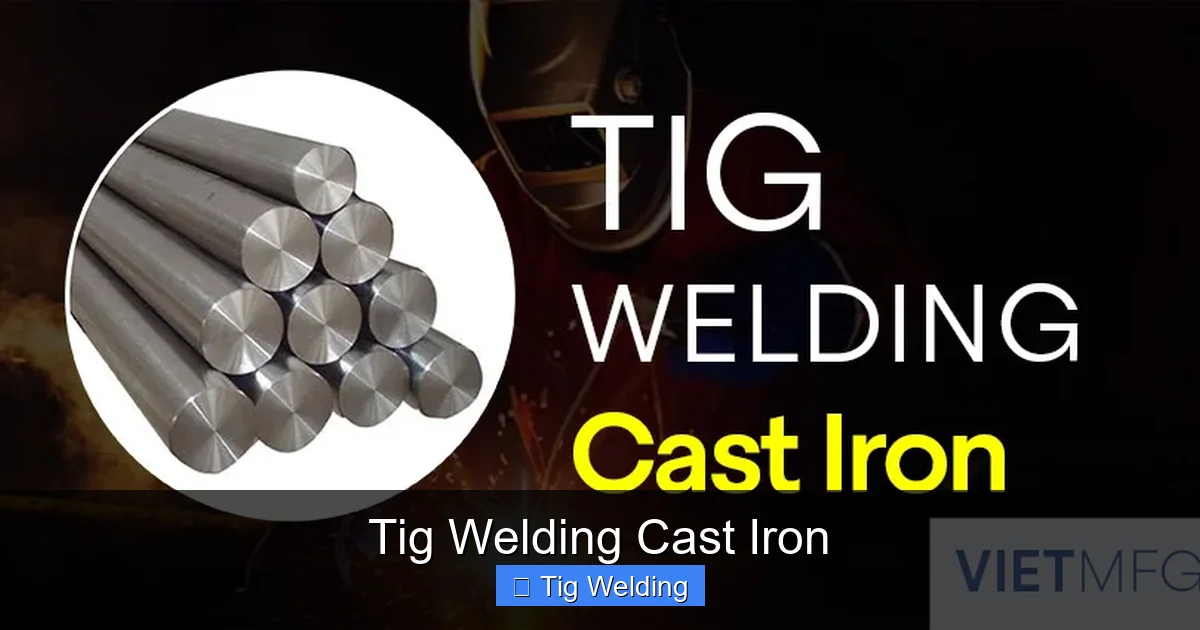
- Pure Nickel (e.g., ERNi-CI, often referred to as “Nickel 99”): This is a soft, machinable filler metal. It’s excellent for repairing thin sections, filling porosity, and welding cast iron to steel. It has good ductility and low preheat requirements compared to other cast iron welding rods. It’s generally the preferred choice for most general cast iron repairs.
- Nickel-Iron Alloy (e.g., ERNiFe-CI, often referred to as “Nickel 55”): This alloy contains approximately 55% nickel and 45% iron. It is stronger and harder than pure nickel and can be used to weld cast iron to dissimilar metals, particularly steel. It has higher strength and is less prone to cracking than pure nickel in some applications, but it is also less machinable. Use this when you need a stronger joint or are welding to steel.
- Silicon Bronze (e.g., ERCuSi-A): While not a nickel alloy, silicon bronze can be used for TIG welding cast iron, especially for rebuilding worn surfaces or cosmetic repairs. It has a lower melting point, making it easier to work with for some, but the resulting weld is softer and not as strong as nickel-based welds. It’s also a good choice for welding cast iron to steel when strength is not the primary concern.
Recommendation: For general repairs on engine blocks or machinery, start with pure nickel (Ni99). If you’re joining cast iron to steel or need a higher strength weld, consider nickel-iron (Ni55).
TIG Welding Techniques for Cast Iron
Once your workpiece is prepared and at temperature, and you have your filler metal, you’re ready to weld. Cast iron welding requires a different approach than mild steel.
Visual guide about Tig Welding Cast Iron
Image source: vietmfg.com
1. Machine and Torch Setup
- AC vs. DC: For cast iron, you’ll almost always use DCEN (Direct Current Electrode Negative). This provides good penetration and a stable arc.
- Amperage: Start with a lower amperage setting than you would typically use for mild steel of the same thickness. Cast iron is sensitive to heat. You can always increase it slightly if needed.
- Tungsten Electrode: A 2% thoriated or ceriated tungsten electrode is a good choice. Grind it to a sharp point for precise arc control.
- Shielding Gas: Use 100% Argon. A flow rate of 15-20 CFH is usually sufficient.
2. The Welding Process
The key is to manage heat input and minimize stress.
- Short, Intermittent Beads: Do not attempt to run long, continuous beads. Weld in short segments, typically 1-2 inches long. After completing a segment, stop welding and allow it to cool slightly before starting the next.
- “Stop-Start” Technique: Weld a short bead, then stop. Move a short distance away from the end of the bead (about 1/2 inch) and start another short bead, overlapping the first slightly. Continue this alternating pattern along the joint.
- Weld in the Center First: If repairing a crack, start welding in the middle of the ‘V’ groove and work outwards towards the ends. This helps to pull the metal together and reduce stress concentration at the ends.
- Peening: This is a crucial post-weld technique. While the weld bead is still hot but no longer glowing red (dull red is ideal), lightly hammer it with a ball-peen hammer. The hammering action stretches the weld metal, relieving internal stresses built up during solidification. Do not hammer until the metal is cold. Peen each short weld bead as soon as it reaches the appropriate temperature.
3. Welding Specific Scenarios
Repairing Cracks
Start by drilling small holes at each end of the crack. This prevents the crack from continuing to propagate further during welding. Then, grind out the V-groove as described earlier. Begin welding in the center of the V-groove and work your way outwards, using the short bead and peening technique.
Joining Cast Iron to Steel
When joining cast iron to steel, the preparation and filler metal are critical. Use a nickel-iron alloy (Ni55) or silicon bronze. Preheat both pieces, ensuring the cast iron is at its required temperature. Weld from the cast iron side towards the steel, or use a buttering technique on the cast iron side with the nickel filler first. Again, use short beads and peening. The different expansion rates of the two metals are a significant challenge.
Post-Weld Cooling: The Final Hurdle
Just as crucial as preheating is the slow cooling process. Rapid cooling will introduce stress and crack your weld.
- Insulate the Part: After welding is complete, the part must be cooled very slowly. The best method is to bury the entire workpiece in an insulating material like dry sand, vermiculite, or a refractory blanket.
- Gradual Temperature Drop: Allow the part to cool naturally over many hours, or even days for very large castings. The goal is to keep the temperature differential within the casting as small as possible during cooling.
- Avoid Drafts: Never leave a hot cast iron piece in a drafty area.
For simpler repairs, you might be able to achieve slow cooling by covering the part with a welding blanket and letting it sit undisturbed in a warm, draft-free area. However, for critical components, furnace cooling or burying in sand is highly recommended.
Troubleshooting Common Cast Iron Welding Problems
Even with careful preparation, you might encounter issues. Here’s how to address them:
- Cracking During Welding: This is the most common problem. Ensure your preheat is adequate and uniform, you’re using short beads, and you’re peening each bead. Check your filler metal choice.
- Porosity: This is usually caused by contaminants (oil, grease, dirt) on the surface or within the cast iron. Ensure thorough cleaning. Ensure your shielding gas flow is correct and not disrupted by drafts.
- Lack of Fusion: You’re not getting enough heat into the base metal. Increase your amperage slightly, ensure your tungsten is sharp, and maintain a consistent arc length.
- Weld is Too Hard to Machine: You may have used too much filler metal relative to the base metal, or the base metal itself is very high in carbon. Pure nickel filler is generally more machinable.
Conclusion
TIG welding cast iron is a demanding but rewarding skill. It requires patience, meticulous preparation, and a deep understanding of heat management. By mastering the critical steps of cleaning, preheating, selecting the correct filler metal, employing short bead welding with peening, and ensuring slow cooling, you can achieve professional-grade repairs on cast iron components. Remember, practice makes perfect. Start with less critical pieces to build your confidence before tackling valuable or complex castings. With this guide and diligent application, you’re well on your way to becoming proficient in TIG welding cast iron.
