

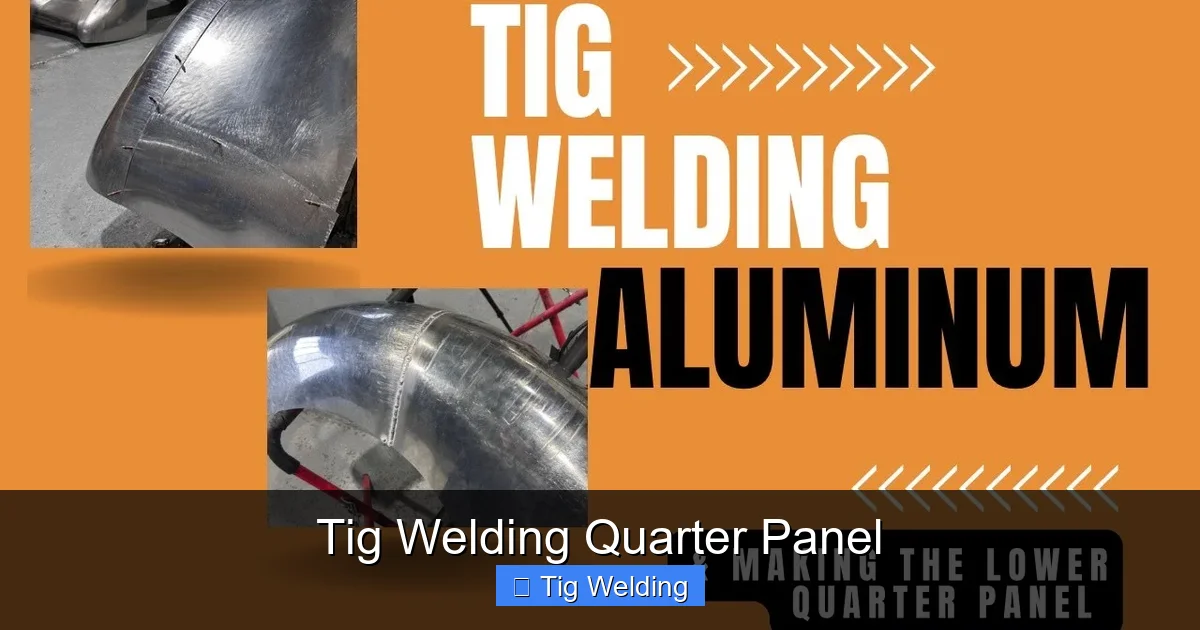
This guide provides a detailed, step-by-step approach to TIG welding quarter panels, a crucial skill for auto body repair and fabrication. You’ll learn everything from preparation and setup to executing precise welds for a strong and seamless finish. Whether you’re a beginner or looking to refine your skills, this guide offers practical tips and troubleshooting advice for achieving professional-quality results.
TIG welding a quarter panel is a rewarding skill for any automotive enthusiast or professional fabricator. It’s a process that requires patience, precision, and a good understanding of TIG welding fundamentals. A quarter panel is the rear section of a vehicle’s body that extends from the rear door to the rear bumper. Replacing or repairing one often involves cutting out the damaged section and welding in a new or repaired panel. This guide will walk you through the entire process, from preparing your workspace to achieving a professional, factory-like finish.
This how-to guide will cover:
- The necessary tools and materials for TIG welding a quarter panel.
- Step-by-step instructions for preparing the quarter panel and the vehicle body.
- Detailed guidance on TIG welding techniques specific to quarter panel work.
- Tips for managing heat and preventing distortion.
- Finishing techniques to achieve a smooth, paint-ready surface.
Let’s dive into the world of TIG welding quarter panels and equip you with the knowledge to tackle this challenging but essential automotive repair.
Key Takeaways
- Proper Preparation is Paramount: Thoroughly cleaning, fitting, and securing the quarter panel ensures a strong foundation for welding and prevents distortion.
- Material Matching is Crucial: Always use the correct filler metal that matches or is compatible with the base metal of the quarter panel for optimal weld integrity.
- TIG Welding Essentials: Understanding your TIG welder settings, gas flow, electrode selection, and amperage control is vital for clean and effective welds.
- Technique is Key for Smooth Welds: Mastering the torch movement, filler rod addition, and amperage control creates a consistent and aesthetically pleasing weld bead.
- Preventing Distortion: Employing tack welding strategies, proper heat management, and potentially back-purging helps minimize warping and maintain panel integrity.
- Post-Weld Finishing is Important: Grinding, sanding, and applying coatings are essential steps to achieve a smooth, paint-ready surface and protect the weld.
Getting Started: Tools and Materials
Before you even think about striking an arc, ensure you have the right equipment. This will not only make the job easier but also significantly improve the quality of your welds and your safety.
Essential Tools
- TIG Welder: A reliable DC TIG welder with sufficient amperage output for the thickness of your quarter panel. Modern inverter-based TIG welders offer excellent control and portability.
- TIG Torch and Consumables: A comfortable TIG torch, appropriate tungsten electrodes (usually 2% thoriated or ceriated for steel), ceramic cups, and collets for your chosen tungsten size.
- Shielding Gas: Typically, 100% Argon is used for welding steel with a TIG welder. Ensure you have a full cylinder and a regulator.
- Filler Metal: This is critical. You need to match the filler metal to the base metal of your quarter panel. For common automotive steel, ER70S-2 or ER70S-6 are excellent choices.
- Grinder with Various Discs: You’ll need a grinder with thin cut-off wheels for precise cutting and grinding discs for preparing weld joints and removing excess material.
- Angle Grinder: For larger material removal or shaping.
- Wire Brushes: Stainless steel brushes for cleaning the metal before and after welding.
- Metal Files: For fine-tuning the shape and smoothing edges.
- Clamps: A variety of C-clamps, vice grips, and specialized panel clamps are essential for holding the quarter panel in place securely.
- Measuring Tools: Tape measure, ruler, and calipers for accurate fitting.
- Safety Gear: A welding helmet with an auto-darkening lens and appropriate shade, welding gloves, a welding jacket or leathers, and eye protection (safety glasses).
- Magnet: To help hold small pieces and check fitment.
- Hammer and Dolly: For minor adjustments and shaping if needed.
Materials
- Replacement Quarter Panel: Ensure it’s the correct panel for your vehicle’s make, model, and year. Aftermarket panels can vary in quality and fit.
- Degreaser and Metal Prep Cleaner: To thoroughly clean the metal surfaces.
- Primer and Paint: For finishing the repaired area.
Step-by-Step Quarter Panel Replacement and TIG Welding
Visual guide about Tig Welding Quarter Panel
Image source: i.ytimg.com
This section breaks down the entire process into manageable steps. Remember, patience and meticulous work are key to success.
Step 1: Preparation and Removal of Damaged Panel
Visual guide about Tig Welding Quarter Panel
Image source: motortrend.com
This is arguably the most critical step. Poor preparation leads to poor welds and fitment issues.
Sub-step 1.1: Assess the Damage and Plan Your Cut
Carefully examine the damaged quarter panel and the surrounding body structure. Mark out the area to be removed. Aim to cut slightly into good metal to ensure you’re working with clean material. Use a marker to draw a clean cutting line.
Sub-step 1.2: Secure the Vehicle
Ensure the vehicle is stable and safely supported. If you’re working on a lift, make sure it’s secure. If on jack stands, ensure they are properly placed.
Sub-step 1.3: Cut Out the Damaged Section
Using your angle grinder with a thin cut-off wheel, carefully follow your marked line. Go slowly and deliberately. Avoid cutting into good structural components unless absolutely necessary and planned. If there’s rust or rot, you’ll need to cut back until you reach solid metal.
Sub-step 1.4: Remove the Old Panel
Once the cut is complete, you may need to use a pry bar or a specialized panel removal tool to detach the old panel. Be cautious not to bend or damage the remaining body structure.
Step 2: Fitting the New Quarter Panel

Visual guide about Tig Welding Quarter Panel
Image source: cdn.shopify.com
This step requires precision. The new panel must fit perfectly before welding.
Sub-step 2.1: Clean the Mounting Surfaces
Thoroughly clean the edges of the vehicle body where the new panel will attach. Remove any paint, rust, or old seam sealer. A wire wheel on a grinder is effective here.
Sub-step 2.2: Trial Fit the New Panel
Place the new quarter panel in position. Check the fit at all critical points: door gaps, trunk gap, roofline, and any body lines. You may need to trim or slightly bend the new panel to achieve a perfect fit. Use your clamps to hold it in place during the fitting process.
Sub-step 2.3: Mark and Trim as Needed
If the fit isn’t perfect, mark the areas that need adjustment. Use your grinder and cut-off wheels to trim away excess material. Re-fit and repeat until you have a flush, seamless fit with consistent gaps.
Sub-step 2.4: Mark Welds Locations
Once you’re happy with the fit, mark where you will place your tack welds. These temporary welds will hold the panel securely while you prepare for final welding.
Step 3: Preparing for TIG Welding
Proper joint preparation is crucial for strong, clean TIG welds.
Sub-step 3.1: Create a Beveled Edge
For most quarter panel repairs, you’ll be welding butt joints or lap joints. For butt joints where you want a flush finish and maximum strength, you’ll need to create a bevel on the edges of both the panel and the body. A 30-60 degree V-groove is common. Use a grinder with a shaping disc or a specialized beveling tool. The goal is to create a channel that the weld metal can fill.
Sub-step 3.2: Clean the Metal Thoroughly
This is non-negotiable for TIG welding. Use a dedicated metal prep cleaner and a clean rag to remove all oils, dirt, and contaminants from the joint area. Then, use a stainless steel brush to lightly abrade the metal surface on both sides of the joint. This removes any oxide layer that can interfere with the weld.
Sub-step 3.3: Secure the Panel for Welding
Use your clamps to firmly hold the quarter panel in its final position. Ensure there is no movement. Proper clamping distributes heat and prevents distortion. You can also use magnets to help hold things in place.
Step 4: TIG Welding the Quarter Panel
Now for the welding itself. This requires control and a steady hand.
Sub-step 4.1: Set Up Your TIG Welder
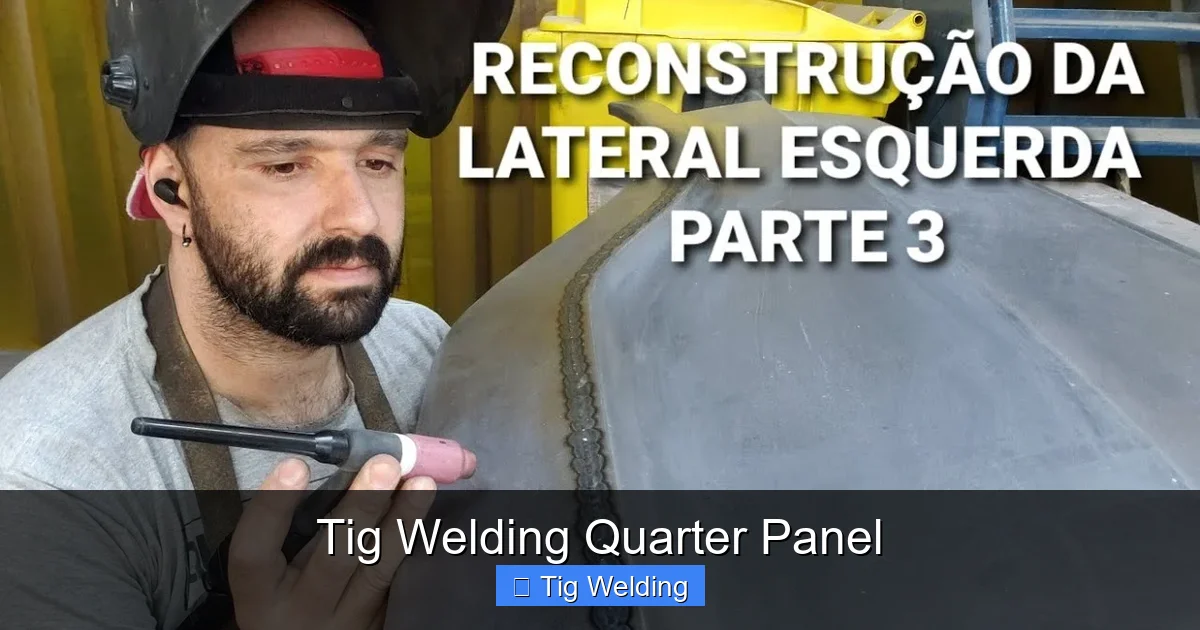
* Amperage: The amperage setting depends on the thickness of your material. For typical 18-20 gauge steel quarter panels, you might be in the 60-100 amp range. It’s always best to start with a test piece of scrap metal of the same thickness.
* Torch Angle: Hold the torch at a slight angle, typically 10-15 degrees, in the direction of travel.
* Electrode Extension: Keep the tungsten electrode extended about 1/4 to 3/8 inch from the ceramic cup.
* Gas Flow: Set your Argon flow rate between 15-25 CFH (Cubic Feet per Hour). Too little gas will result in oxidation; too much can cause turbulence and porosity.
* **Foot Pedal Control:** If you have a foot pedal, get comfortable using it to control amperage dynamically. This is crucial for managing heat.
Sub-step 4.2: Tack Welding
Start by placing small, strong tack welds at strategic points along the joint. These tacks should bridge the gap created by your bevel. Space them evenly, about 1-2 inches apart. Ensure each tack weld fuses the two pieces of metal together.
Sub-step 4.3: Welding the Seam (Short Stitch or Continuous Weld)
There are two main approaches for welding the seam:
* **Short Stitch Welding:** This method involves welding in short bursts, about 1/2 to 1 inch long, and then moving to another section of the panel, skipping a few inches. This helps manage heat and prevent warping. After a few passes, you can go back and fill the gaps.
* **Continuous Welding:** With excellent heat control and a steady hand, you can aim for a continuous weld. This is often preferred for a cleaner look but requires more skill to avoid burn-through and distortion.
Sub-step 4.4: Adding Filler Metal
Dip the filler rod into the puddle of molten metal. Move the torch and the filler rod in a controlled motion, adding filler material to build up the weld bead. Aim for a consistent bead width and height.
Sub-step 4.5: Managing Heat and Preventing Distortion
* Work in Sections: Don’t weld too long in one spot. Move around the panel, welding in different areas to distribute heat.
* **Back Purging (Optional but Recommended for Thin Metal): For very thin metal or critical structural welds, using a back purge of Argon on the backside of the weld can help prevent oxidation and improve weld strength and appearance. This requires a specialized setup.
* Cooling: Allow the panel to cool between welding sessions. You can use a damp rag (not soaking wet) on areas *away* from the weld to draw out heat, but never quench a hot weld.
* **Hammer and Dolly:** If you notice slight warping, you can sometimes use a hammer and dolly to gently tap the panel back into shape while it’s still warm.
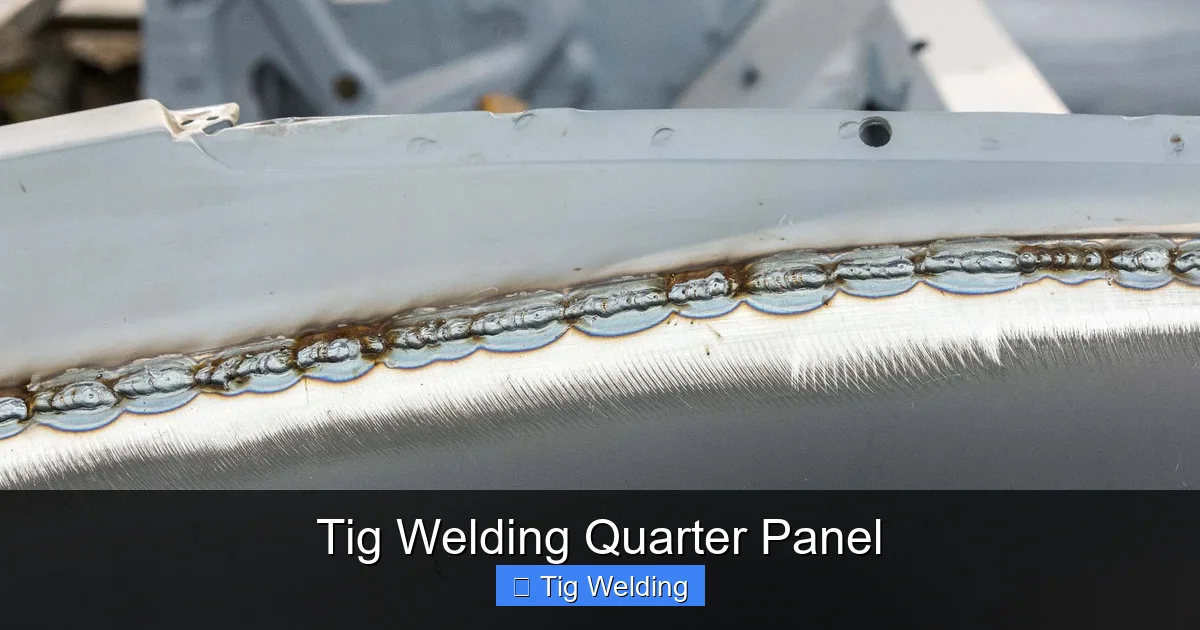
Sub-step 4.6: Inspecting Your Welds
As you go, visually inspect your welds. Look for:
* **Penetration:** The weld should be fused to the base metal.
* **Porosity:** Small holes in the weld, indicating contamination or poor gas shielding.
* **Undercut:** Grooves along the edge of the weld bead, reducing its strength.
* **Cracks:** Any signs of cracking are a serious issue.
Step 5: Finishing the Welded Quarter Panel
Once the welding is complete, the finishing touches are essential for a professional look.
Sub-step 5.1: Initial Grind
Using a grinding disc on your angle grinder, carefully grind down the weld bead. Aim to flatten it without removing too much of the base metal. Be cautious not to overheat the metal during grinding, as this can cause distortion.
Sub-step 5.2: Sanding and Smoothing
Switch to finer grit sandpaper (e.g., 80 grit, then 120 grit, then 220 grit) on your angle grinder or a dual-action (DA) sander. Continue to smooth the weld bead and feather the edges into the surrounding metal. The goal is to create a smooth transition.
Sub-step 5.3: Check for Imperfections
Use a guide coat (a light mist of black spray paint) and then sand again. Any remaining high spots or low spots will be revealed by the guide coat, allowing you to address them.
Sub-step 5.4: Apply Filler (If Necessary)
For minor imperfections or to achieve a perfectly smooth surface, you may need to apply a thin layer of body filler. Follow the manufacturer’s instructions for mixing and application.
Sub-step 5.5: Primer and Paint
Once the filler is cured and sanded smooth, the panel is ready for priming and painting. Follow standard automotive painting procedures for your chosen paint system.
Troubleshooting Common Issues
Even with careful preparation, you might encounter problems. Here are a few common ones:
Problem: Burn-Through
* Cause: Too much amperage, welding too long in one spot, thin material.
* Solution: Reduce amperage, use shorter stitch welds, try back purging, or use a heat sink (a piece of copper or aluminum behind the weld to absorb heat).
Problem: Porosity
* Cause: Contaminated metal, insufficient gas flow, dirty filler rod, wind.
* Solution: Thoroughly clean the metal, ensure correct gas flow, keep filler rod clean, shield the work area from drafts.
Problem: Warping and Distortion
* Cause: Excessive heat input, welding too long in one area, improper clamping.
* Solution: Distribute heat by welding in sections, use stitch welding, allow cooling time, ensure proper clamping and potentially back purging.
Problem: Poor Fusion (Cold Lap)
* Cause: Insufficient amperage, torch angle too steep, torch too far from the joint, filler rod not getting into the puddle.
* Solution: Increase amperage slightly, adjust torch angle, move torch closer to the joint, ensure consistent filler rod addition.
Conclusion
TIG welding a quarter panel is a significant undertaking, but with the right tools, preparation, and a methodical approach, it is entirely achievable. You’ve learned the importance of meticulous preparation, the nuances of TIG welding settings and techniques, and strategies for managing heat and achieving a smooth, professional finish. Remember that practice makes perfect. Don’t be discouraged if your first few attempts aren’t flawless. Each weld, each panel, will teach you something new. By following this guide and applying dedication, you can confidently tackle quarter panel replacement and contribute to the restoration or customization of your vehicle with high-quality TIG welds.
