

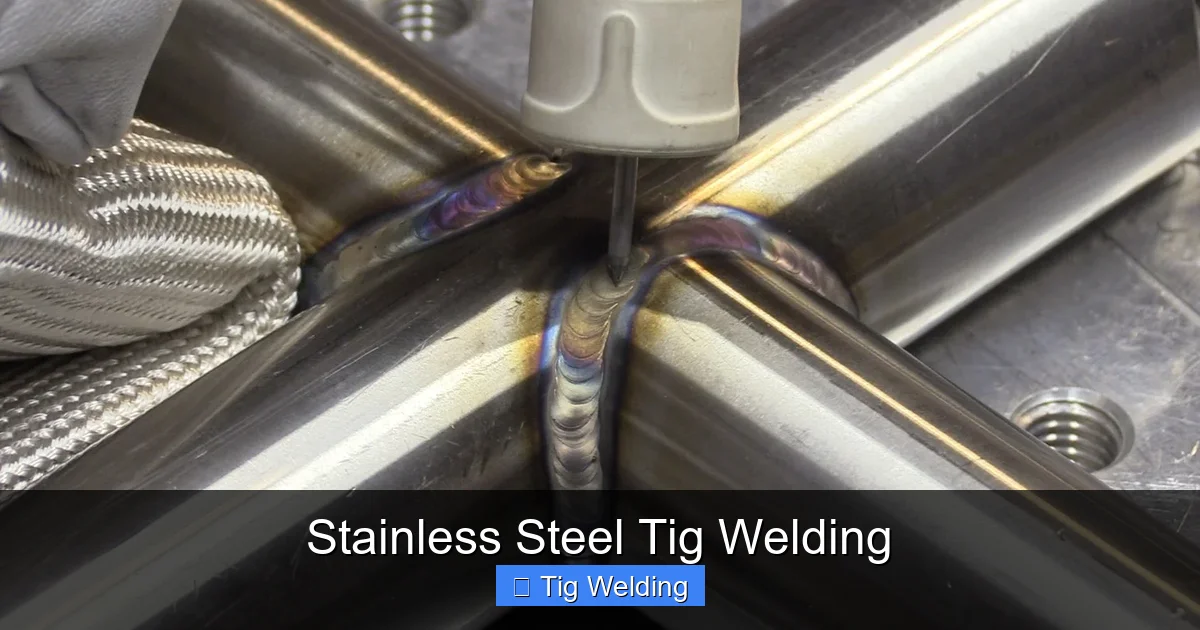
This guide provides a complete overview of stainless steel TIG welding. You’ll learn everything from selecting the right equipment and filler metals to mastering essential techniques for achieving strong, corrosion-resistant, and aesthetically pleasing welds. Whether you’re a beginner or looking to refine your skills, this resource offers practical advice for successful stainless steel TIG welding projects.
Stainless Steel TIG Welding
Stainless steel TIG welding is a highly sought-after skill for its ability to create strong, clean, and corrosion-resistant welds. TIG (Tungsten Inert Gas) welding, also known as GTAW (Gas Tungsten Arc Welding), uses a non-consumable tungsten electrode to create the arc, and an inert gas (usually argon) to shield the weld puddle from contamination. When applied to stainless steel, TIG welding results in welds that are not only functional but also incredibly beautiful, making it a favorite for decorative and high-performance applications alike.
This guide is designed to take you from understanding the basics to confidently tackling stainless steel TIG welding projects. We’ll cover everything you need to know, from selecting the right gear to mastering the techniques that will produce those coveted, shiny welds. So, let’s dive in and unlock the secrets of stainless steel TIG welding!
Key Takeaways
- Understand Stainless Steel Properties: Recognizing the unique characteristics of stainless steel, like its lower thermal conductivity and tendency to warp, is crucial for successful TIG welding.
- Proper Machine Setup is Key: Selecting the correct amperage, gas flow rate (typically argon), and torch angle significantly impacts weld quality.
- Filler Metal Selection Matters: Choosing the appropriate filler metal, often a matching or slightly over-alloyed stainless steel, is vital for maintaining corrosion resistance and mechanical strength.
- Mastering the Arc and Puddle: Developing control over the arc length, torch movement, and filler metal addition is essential for creating consistent, clean beads.
- Pre- and Post-Weld Care are Important: Cleaning the base metal thoroughly before welding and proper post-weld passivation or cleaning are necessary to preserve stainless steel’s corrosion resistance.
- Practice Makes Perfect: Consistent practice on scrap pieces is the best way to build muscle memory and refine your technique for various joint types and thicknesses.
Understanding Stainless Steel for Welding
Before you even power up your TIG welder, it’s important to understand what makes stainless steel different from mild steel. This knowledge will help you anticipate challenges and adjust your welding approach accordingly.
Key Properties of Stainless Steel
- Corrosion Resistance: This is the defining characteristic of stainless steel, thanks to its chromium content. Welding can affect this, so proper technique and post-weld treatment are vital.
- Lower Thermal Conductivity: Compared to mild steel, stainless steel doesn’t conduct heat as efficiently. This means heat tends to build up in the weld area, increasing the risk of distortion and burn-through, especially on thinner materials.
- Higher Thermal Expansion: Stainless steel expands more when heated than mild steel. This, combined with lower thermal conductivity, makes it more prone to warping and distortion.
- Sensitivity to Contamination: Stainless steel is more susceptible to contamination from foreign substances, which can lead to corrosion and reduced weld integrity.
Essential TIG Welding Equipment for Stainless Steel
Having the right equipment is the foundation of successful TIG welding. For stainless steel, you’ll need a few specific items.

Visual guide about Stainless Steel Tig Welding
Image source: i.ytimg.com
The TIG Welder
You’ll need a TIG welder that can provide both AC and DC current. While DC is typically used for mild steel, AC is often preferred for aluminum. For stainless steel, you’ll almost exclusively be using DC (DCEN – Direct Current Electrode Negative). Ensure your welder has a good duty cycle for your intended projects.
Tungsten Electrodes
The type of tungsten electrode you use is important. For stainless steel on DC, 2% Ceriated (grey band) or 2% Lanthanated (blue band) are excellent choices. They offer good arc stability and longevity. Pure tungsten (green band) is generally not recommended for stainless steel. Always sharpen your tungsten to a fine point for precise arc control.
Shielding Gas
Argon is the standard shielding gas for TIG welding stainless steel. It provides excellent arc stability and penetration. Ensure your gas cylinder is full and your flowmeter is set correctly.
Filler Metal
Choosing the correct filler metal is crucial for maintaining the corrosion resistance and mechanical properties of the stainless steel you’re welding. For most common stainless steels (like 304 and 316), you’ll use a filler rod of the same designation (e.g., 308 for 304 stainless, 316 for 316 stainless). Sometimes, a slightly higher alloy filler rod is used to compensate for any minor loss of alloying elements during welding. Always consult material specifications if unsure.
Other Essential Gear
- TIG Torch: A standard TIG torch with the appropriate size collet and gas lens is necessary. A gas lens provides a wider coverage of shielding gas, reducing the risk of contamination.
- Flowmeter: To regulate the shielding gas flow rate.
- Welding Gloves: For protection from heat and sparks.
- Safety Glasses/Helmet: To protect your eyes from UV radiation.
- TIG Welding Pliers: Useful for manipulating the filler rod and removing tungsten.
- Wire Brush: A dedicated stainless steel wire brush for cleaning weld areas. Never use a brush that has been used on mild steel, as this can introduce iron particles and cause rust.
Setting Up Your TIG Welder for Stainless Steel
Proper setup is paramount for achieving clean, strong welds on stainless steel. Small adjustments can make a big difference.
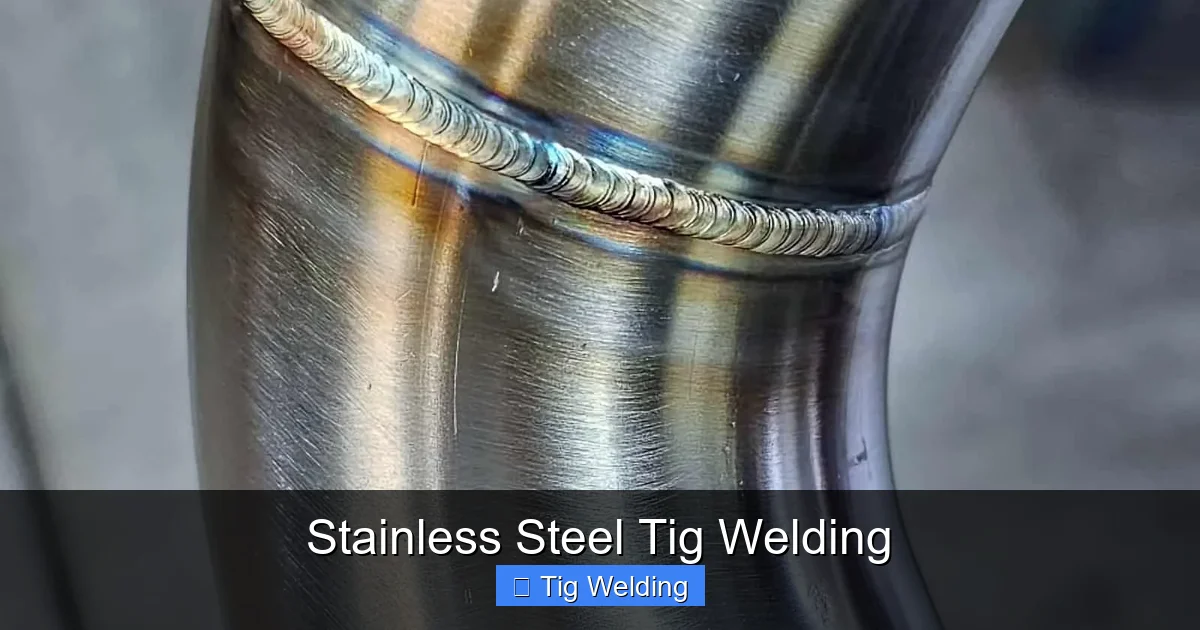
Visual guide about Stainless Steel Tig Welding
Image source: weldguru.com
Amperage Setting
This is probably the most critical setting. The amperage will depend on the thickness of the stainless steel and the joint type. A general rule of thumb is 1 amp per thousandth of an inch of material thickness for DCEN.
- For thin stainless steel (e.g., 0.035″ or 0.045″ / 0.8mm – 1.2mm): You might be in the 30-60 amp range.
- For medium thickness (e.g., 1/8″ / 3.2mm): Expect to be in the 70-120 amp range.
- For thicker material: Amperage will need to be higher, and you might consider beveled joints for better penetration.
It’s always best to practice on scrap pieces of the same material thickness to dial in your amperage.
Gas Flow Rate
A typical gas flow rate for TIG welding stainless steel with argon is around 15-25 cubic feet per hour (CFH). Too little gas will result in poor shielding and weld contamination. Too much gas can cause turbulence, drawing in atmospheric contaminants.
Tip: Use a gas lens on your torch. This will help provide a more stable and wider gas shield, especially important when welding stainless steel.
Torch Angle and Stickout
Hold the torch at a slight angle, typically 5-15 degrees, in the direction of travel. The distance from the tungsten electrode tip to the workpiece (stickout) should be kept short, around 1/8″ to 1/4″ (3mm to 6mm), to minimize contamination and maintain a focused arc.
Preparing the Stainless Steel for Welding
Cleanliness is next to godliness when it comes to stainless steel TIG welding. Any contamination will compromise the weld quality and the material’s corrosion resistance.

Visual guide about Stainless Steel Tig Welding
Image source: weldinginto.com
Cleaning the Base Metal
This is a non-negotiable step. The area to be welded, and a few inches around it, must be thoroughly cleaned.
- Degrease: Use a dedicated stainless steel cleaner or acetone to remove any oils, grease, or fingerprints.
- Remove Oxides: Stainless steel can develop an oxide layer. Use a stainless steel wire brush (dedicated solely for stainless steel) or an abrasive pad to remove this layer.
- Grinding (if necessary): If there are any mill scale or heavy surface imperfections, you might need to grind them off. Use a dedicated grinder disc for stainless steel to avoid contamination.
Edge Preparation
For thicker materials, you’ll need to prepare the edges to ensure full penetration. This involves beveling the edges to create a V-groove, U-groove, or J-groove, depending on the thickness and your preferred method.
TIG Welding Techniques for Stainless Steel
Now that your setup is ready and the material is prepped, it’s time to focus on the actual welding technique.
Starting the Arc
There are two main ways to start an arc:
- High-Frequency Start: This is the most common and preferred method. It uses a high-frequency discharge to jump the arc across the gap without touching the tungsten to the workpiece, thus preventing contamination.
- Lift Arc Start: You gently touch the tungsten to the workpiece and then lift it quickly. This method is less common for stainless steel as it can contaminate the tungsten.
Creating the Weld Puddle
Once the arc is established, focus on creating a stable weld puddle. The puddle should be a molten pool of metal that flows smoothly.
- Maintain Consistent Arc Length: Keep the arc length between the tungsten and the workpiece consistent. Too long an arc results in a wide, flat bead and poor penetration. Too short an arc can cause the tungsten to dip into the puddle, contaminating the electrode and the weld.
- Torch Angle: Keep the torch at a consistent angle (5-15 degrees) pointing in the direction of travel.
Adding Filler Metal
This is where the artistry comes in. The way you add filler metal determines the bead appearance and strength.
- Dabbing Technique: This is the most common method for stainless steel. Dip the filler rod into the puddle, then pull it out momentarily, allowing the puddle to solidify slightly before re-dipping. This creates a consistent, rippled bead.
- Consistent Feeding: Aim to feed the filler rod at a steady rate. Avoid overwhelming the puddle with too much filler.
- Angle of the Filler Rod: Hold the filler rod at a low angle, similar to your torch angle, and feed it into the leading edge of the puddle.
Manipulating the Torch and Puddle
For a clean, uniform bead, you need to move the torch smoothly and consistently.
- Stringer Bead: This is a straight bead created by moving the torch in a consistent linear motion. It’s excellent for root passes and aesthetics.
- Weave Bead: This involves a slight side-to-side motion of the torch to create a wider bead. Be careful not to weave too much, as this can introduce porosity and reduce corrosion resistance. A slight, controlled weave is usually sufficient for stainless steel.
Stopping and Restarting
When you need to stop, back-fill the puddle slightly with filler metal to prevent cratering. Then, break the arc. When restarting, position the torch slightly behind where you stopped and re-establish the arc, then melt back into the existing weld to tie it in smoothly.
Common Stainless Steel TIG Welding Joints
The principles are similar across different joint types, but some require specific attention.
Butt Joints
These are common for joining two pieces of metal edge-to-edge. For thin materials, a simple butt joint might not require filler metal (autogenous weld), but for most applications, a filler rod is used. Ensure edges are clean and aligned. Root penetration is key for strength.
Lap Joints
Used when one piece of metal overlaps another. TIG welding lap joints requires careful control of heat to avoid burn-through on the bottom piece. Aim to weld from the top piece down into the bottom piece.
Corner Joints
Can be welded from the outside or inside. For an outside corner, you’ll be welding two pieces at a 90-degree angle. Ensure good fusion on both pieces.
T-Joints
Joining a flat piece to the edge of another piece. Ensure you achieve good penetration into both the vertical and horizontal members.
Troubleshooting Common Stainless Steel TIG Welding Issues
Even experienced welders encounter challenges. Here’s how to address common problems:
Warping and Distortion
Cause: Uneven heat input and expansion. Stainless steel’s lower thermal conductivity traps heat.
Solution:
- Use tack welds to hold pieces in place before welding.
- Weld in short stitch passes, alternating sides to distribute heat evenly.
- Consider using copper or aluminum backing bars to act as heat sinks.
- Reduce amperage if possible, or use a faster travel speed.
- Pre-heating is generally not recommended for stainless steel unless specified for very thick sections.
Lack of Fusion or Penetration
Cause: Insufficient amperage, too fast travel speed, dirty base metal, or incorrect torch angle.
Solution:
- Increase amperage.
- Slow down your travel speed.
- Ensure the base metal is thoroughly cleaned.
- Adjust torch angle for better puddle access.
- Ensure you are using DCEN (Direct Current Electrode Negative).
Porosity
Cause: Insufficient shielding gas, contaminated filler metal or base metal, or too much turbulence in the gas shield.
Solution:
- Check shielding gas flow rate and ensure the regulator is set correctly.
- Ensure your gas cylinder isn’t running on empty.
- Clean the base metal and filler rod thoroughly.
- Use a gas lens on your torch.
- Avoid excessive torch movement or welding in windy conditions.
Discoloration (Sugaring)
Cause: Insufficient shielding gas on the back side of the weld (leading to oxidation).
Solution:
- Ensure adequate shielding gas coverage on the front side.
- For critical applications or when welding thin material, consider using inert gas purging on the back side of the weld. This is especially important for high-purity stainless steel applications.
Post-Weld Treatment for Stainless Steel
The job isn’t done once the welding stops. Proper post-weld treatment is crucial for maintaining stainless steel’s performance.
Cleaning
After welding, remove any flux residue (if used – though typically not for TIG stainless steel) or spatter. Use a stainless steel wire brush or a clean rag with a mild degreaser.
Passivation
This is a chemical process that removes free iron from the surface and helps re-establish the passive chromium oxide layer, restoring maximum corrosion resistance. This is often done using an acid solution. For many general applications, thorough cleaning might suffice, but for critical components or food-grade applications, passivation is essential.
Pickling
If significant discoloration or heat tint is present, pickling (using stronger acids) may be required. This process removes the heat-affected zone and restores the surface finish.
Conclusion
Mastering stainless steel TIG welding takes practice, patience, and attention to detail. By understanding the material’s properties, setting up your equipment correctly, preparing your workpiece meticulously, and practicing consistent techniques, you can achieve high-quality, durable, and aesthetically pleasing welds. Remember to prioritize safety, cleanliness, and proper post-weld treatment to ensure the longevity and performance of your stainless steel projects.
Don’t be discouraged by initial challenges. Every weld is a learning opportunity. Keep practicing, experiment with your settings, and you’ll soon be creating beautiful, strong stainless steel welds that you can be proud of. Happy welding!
