

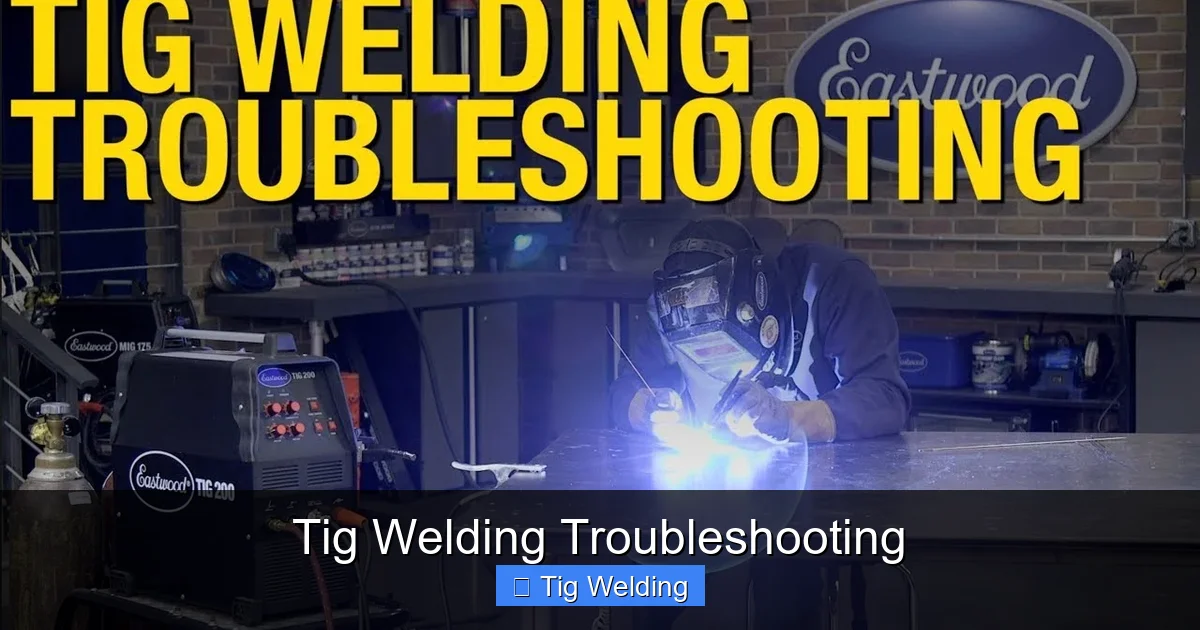
Struggling with TIG welding? This guide offers a comprehensive approach to troubleshooting common TIG welding problems. Learn to diagnose and fix issues like arc instability, porosity, and incomplete fusion. Achieve stronger, cleaner, and more consistent TIG welds with practical tips and step-by-step solutions.
- Arc Instability: Understand how tungsten issues, gas flow, and contamination cause an erratic arc and learn how to correct them for a stable weld.
- Porosity: Identify the root causes of porosity, such as contamination, insufficient shielding gas, or poor cleaning, and implement solutions for clean welds.
- Incomplete Fusion/Penetration: Learn to diagnose and fix issues leading to poor fusion, including incorrect amperage, travel speed, and torch angle.
- Surface Contamination: Recognize how grease, oil, rust, or paint can ruin your TIG welds and master proper cleaning techniques.
- Weld Appearance Issues: Address common problems like undercutting, excessive convexity, and tungsten inclusions to achieve aesthetically pleasing welds.
- Equipment Settings and Maintenance: Ensure your TIG welder and accessories are properly set up and maintained for optimal performance.
Tig Welding Troubleshooting
TIG welding, also known as Gas Tungsten Arc Welding (GTAW), is a highly versatile and precise welding process. It’s renowned for producing clean, strong, and aesthetically pleasing welds, especially on thin materials and exotic metals. However, like any skill, mastering TIG welding takes practice and understanding. Even experienced welders encounter challenges. This guide is designed to equip you with the knowledge to identify and solve common TIG welding problems. We’ll dive into the most frequent issues, explain their causes, and provide actionable solutions so you can achieve consistently excellent results.
Understanding the TIG Welding Process
Before we jump into troubleshooting, a quick refresher on the TIG process is beneficial. TIG welding uses a non-consumable tungsten electrode to create the arc. An inert shielding gas (typically Argon) protects the tungsten and the molten weld pool from atmospheric contamination. Filler metal is added separately if required. The precise control over heat and filler material makes TIG welding ideal for critical applications.
Common TIG Welding Problems and Their Solutions
Let’s break down the most common issues you might face and how to fix them. We’ll cover everything from arc instability to surface defects.
1. Arc Instability
An unstable arc is frustrating and leads to inconsistent welds. It can appear jumpy, sputtering, or difficult to control. This instability often stems from issues with the tungsten electrode, shielding gas, or material cleanliness.

Visual guide about Tig Welding Troubleshooting
Image source: perfectwelders.com
Causes of Arc Instability:
- Contaminated or Damaged Tungsten: A rounded, oxidized, or balled-up tungsten tip will not produce a focused, stable arc. Similarly, if the tungsten touches the workpiece, it becomes contaminated and unstable.
- Incorrect Tungsten Type or Grind: Different tungsten types (e.g., pure, thoriated, ceriated, lanthanated) are suited for different applications and AC/DC polarities. The grind angle also affects arc stability. A sharp, pointed tip is generally preferred for DC welding.
- Insufficient Shielding Gas Flow: If the shielding gas isn’t flowing at the correct rate, it can’t adequately protect the arc and weld pool from the air.
- Drafts or Air Currents: Even slight breezes can disrupt the shielding gas envelope, causing arc instability and contamination.
- Incorrect Amperage Setting: Too low an amperage can lead to an unstable, sputtering arc, while too high can cause excessive spatter and tungsten erosion.
- AC Balance/Frequency (for AC welding): Incorrect settings for AC balance (cleaning action) or frequency (arc stiffness) can cause an erratic arc on aluminum and magnesium.
How to Fix Arc Instability:
Address Tungsten Issues:
- For DC welding, grind a sharp, pencil-like point on your tungsten electrode. Ensure you grind lengthwise along the electrode, not across it, to prevent flaking.
- For AC welding on aluminum, a balled-up or slightly rounded tip is often preferred for a stable arc.
- Always use the correct type of tungsten for your application and polarity. Lanthanated or ceriated tungstens are excellent all-around choices for both AC and DC.
- If your tungsten has been contaminated (touched the puddle), regrind or replace it.
Check Gas Flow:
- Ensure your flow meter is set to the recommended rate, usually between 15-25 CFH (Cubic Feet per Hour), depending on the material, joint type, and location.
- Check for leaks in your gas hose and connections.
- Pre-flow gas for a few seconds before striking the arc and post-flow for a few seconds after extinguishing it to protect the tungsten and weld.
Minimize Drafts:
- Weld in a sheltered area. Use screens or partitions if necessary.
- Ensure your shielding gas nozzle is appropriately sized for the joint and that you’re maintaining the correct torch-to-work distance.
Verify Settings:
- Consult your welder’s manual or general TIG welding charts for recommended amperage settings based on material type and thickness.
- For AC welding, experiment with your AC balance and frequency settings. A common starting point for aluminum is around 30% balance and 60-100 Hz frequency.
2. Porosity
Porosity refers to small holes or voids within the solidified weld metal. These defects weaken the weld and can be a point of failure. Porosity is almost always caused by contamination.

Visual guide about Tig Welding Troubleshooting
Image source: weldingwatch.com
Causes of Porosity:
- Insufficient Shielding Gas: As mentioned, inadequate gas coverage is a primary cause.
- Contaminated Base Metal: Oil, grease, paint, rust, dirt, or any foreign substance on the base metal will vaporize in the arc and contaminate the weld pool, leading to porosity.
- Contaminated Filler Rod: Similar to the base metal, a dirty filler rod will introduce contaminants.
- Moisture in the Air or on the Material: Water vapor can break down into hydrogen, which is highly soluble in molten metal and causes porosity when it cools.
- Dirty Tungsten Electrode: If the tungsten is contaminated, it can introduce contaminants into the weld.
- Turbulence in the Shielding Gas: Excessive gas flow or drafts can cause turbulence, pulling in atmospheric contaminants.
How to Fix Porosity:
Thorough Cleaning is Paramount:
- Always clean the base metal thoroughly before welding. Use a stainless steel wire brush dedicated *only* to TIG welding preparation and degreasers.
- Clean filler rods with a solvent or by wiping them down. Never touch the filler rod with bare hands after cleaning.
- Ensure your work area is free from drafts and excessive moisture.
Optimize Shielding Gas:
- Verify your gas flow rate and ensure your gas lens is in good condition and properly installed. Gas lenses help create a wider, more stable shielding gas stream.
- Maintain the correct torch-to-work distance.
- Pre-flow and post-flow gas are critical.
Tungsten Maintenance:
- Ensure your tungsten is clean and properly ground.
3. Incomplete Fusion and Lack of Penetration
Incomplete fusion means the weld metal hasn’t properly bonded with the base metal. Lack of penetration means the weld hasn’t gone deep enough into the joint. Both create weak welds.

Visual guide about Tig Welding Troubleshooting
Image source: weldingwatch.com
Causes of Incomplete Fusion/Penetration:
- Insufficient Amperage: Not enough heat to melt the base metal sufficiently.
- Travel Speed Too Fast: Moving the torch too quickly doesn’t allow enough time for the weld pool to form and fuse properly.
- Incorrect Torch Angle: The torch needs to be directed at the joint to melt both base metals and the filler rod (if used) effectively.
- Poor Joint Preparation: Square-edge joints, especially on thicker materials, may not allow proper access for the arc.
- Contamination: As with porosity, contaminants can hinder fusion.
- Incorrect Filler Rod Diameter: A filler rod that’s too large can cool the puddle, preventing fusion.
How to Fix Incomplete Fusion/Penetration:
Adjust Amperage:
- Increase your welding amperage to ensure sufficient heat input. Refer to material charts for recommended settings.
Control Travel Speed:
- Slow down your travel speed. You want to see a consistent, well-formed weld puddle. The puddle should lead the arc slightly.
Optimize Torch Angle:
- For most DC straight polarity (DCEN) applications, aim to direct the arc at the leading edge of the puddle. For AC welding on aluminum, a slight forehand angle can be beneficial.
Proper Joint Prep:
- For thicker materials, bevel the edges to create a V-groove or U-groove. This allows for better access for the TIG arc.
- Ensure the gap between the pieces is appropriate for the filler rod and your welding technique.
Use the Right Filler:
- Select a filler rod compatible with your base metal and ensure it’s not too large for the joint or puddle.
4. Surface Contamination and Discoloration
While sometimes unavoidable, excessive discoloration (beyond a light straw or blue tint) and surface contamination are signs of improper TIG welding technique or preparation.
Causes of Surface Contamination/Discoloration:
- Insufficient Shielding Gas: Leading to oxidation.
- Drafts/Air Contamination: Disrupting the gas shield.
- Dirty Base Metal: Grease, oil, paint, dirt.
- Dirty Filler Rod or Tungsten: Introducing contaminants.
- Excessive Heat Input: Can lead to burning and discoloration.
How to Fix Surface Contamination/Discoloration:
Emphasize Cleaning:
- This cannot be stressed enough. Cleanliness is the first line of defense.
Ensure Proper Gas Coverage:
- Use correct flow rates, gas lenses, and maintain proper torch distance.
- Pre- and post-flow are essential.
Control Heat:
- Use the correct amperage for the material thickness.
- Avoid dwelling too long in one spot.
Post-Weld Cleaning:
- For aesthetic purposes, stainless steel brushes (dedicated to TIG work) or light grinding can remove discoloration. However, the goal should be to minimize it during welding.
5. Tungsten Inclusions
Tungsten inclusions are small pieces of tungsten electrode that have broken off and become embedded in the weld. This is a critical defect that significantly weakens the weld.
Causes of Tungsten Inclusions:
- Touching the Workpiece: If the tungsten electrode touches the molten puddle or workpiece, it will contaminate and potentially break off.
- Incorrect Tungsten Grind: A poorly ground or damaged tungsten can be more prone to breaking.
- Excessive Amperage: Overloading the tungsten can cause it to melt and break.
- Arc Instability: A sputtering or erratic arc can lead to the tungsten breaking.
- Incorrect Torch Angle/Technique: Pushing the tungsten too hard into the puddle.
How to Fix Tungsten Inclusions:
Prevent Contact:
- Maintain a consistent torch-to-work distance. Be mindful when adding filler rod.
- Ensure your tungsten electrode is long enough to reach the joint without needing to hold the torch excessively close.
Proper Grinding:
- Always grind your tungsten to a sharp point (for DC) or a slightly balled tip (for AC) and ensure the grind is smooth.
- If contamination occurs, regrind or replace the tungsten immediately.
Amperage and Arc Control:
- Use appropriate amperage. If the tungsten appears to be melting or wavering excessively, reduce amperage.
- Focus on maintaining a stable arc.
Filler Rod Technique:
- Dip the filler rod into the puddle, don’t push it into the arc.
6. Equipment Issues
Sometimes, the problem isn’t your technique but your equipment. Ensuring your TIG welder and accessories are in good working order is crucial.
Common Equipment Problems:
- Faulty Regulator or Flow Meter: Inaccurate gas delivery.
- Leaking Gas Hose or Connections: Loss of shielding gas.
- Damaged Torch Cable or Collet Body: Can cause electrical issues or poor gas flow.
- Incorrect Machine Settings: Wrong polarity, amperage, pulse settings, etc.
- Dirty or Damaged Consumables: Gas nozzle, collets, collet body, tungsten.
How to Troubleshoot Equipment:
Check Gas System:
- Use soapy water to check all gas connections for leaks.
- Verify gas flow with a flow meter or by observing the gas stream from the nozzle (with the machine on but not arcing).
Inspect Torch and Cables:
- Look for cracks, fraying, or damage to the torch cable and power cord.
- Ensure collets and collet bodies are clean and correctly sized for your tungsten.
Review Machine Settings:
- Double-check your polarity, amperage, AC balance/frequency, and any pulse settings against recommended parameters for your material.
- Refer to your welder’s manual.
Clean or Replace Consumables:
- Regularly inspect and clean or replace your gas nozzle, collets, collet body, and ensure your tungsten is in good condition.
Conclusion
TIG welding troubleshooting is an essential skill for any welder aiming for perfection. By understanding the common problems, their root causes, and effective solutions, you can significantly improve the quality and consistency of your welds. Remember that practice, patience, and attention to detail are your greatest allies. Always prioritize cleanliness, proper equipment setup, and precise technique. With this guide as your reference, you’re well on your way to mastering TIG welding and producing welds you can be proud of.
