

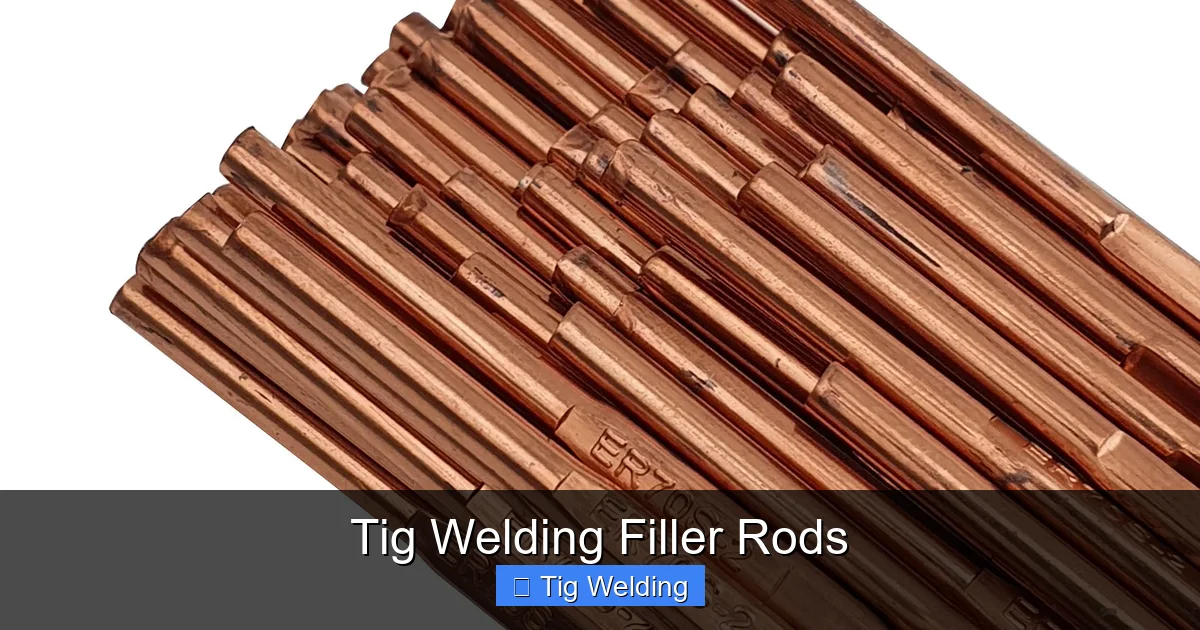
This comprehensive guide to TIG welding filler rods demystifies their selection and use. Learn how to choose the right rod for your base metal and application, and master the techniques for feeding it effectively to achieve strong, visually appealing welds. We cover everything from rod identification to common mistakes, ensuring you can confidently tackle diverse TIG welding projects with confidence and precision.
Tig Welding Filler Rods: Your Essential Guide
TIG welding, also known as Gas Tungsten Arc Welding (GTAW), is renowned for its precision, cleanliness, and the ability to produce incredibly strong and aesthetically pleasing welds. A significant part of this success hinges on understanding and properly utilizing TIG welding filler rods. These seemingly simple metal rods are the lifeblood of your weld puddle, providing the material that fuses your base metals together. Without the right filler rod, even the most skilled TIG welder can end up with weak, porous, or discolored joints. This guide will walk you through everything you need to know about TIG welding filler rods, from selecting the correct type to mastering the art of feeding them into the weld puddle.
Whether you’re a beginner just starting your TIG welding journey or an experienced welder looking to refine your skills, this comprehensive guide will equip you with the knowledge and techniques to achieve superior results. We’ll cover how to identify different filler rod types, the critical importance of matching them to your base metal, and the practical techniques for efficient filler rod manipulation. By the end, you’ll be well on your way to producing beautiful, robust TIG welds every time.
Key Takeaways
- Understanding Filler Rod Types: Different metals and alloys require specific filler rods to ensure proper fusion and strength.
- Matching Filler to Base Metal: The cardinal rule is to match the filler rod’s composition as closely as possible to the base metal being welded.
- Filler Rod Diameter Matters: Choosing the correct diameter is crucial for controlling heat input and achieving good penetration.
- Proper Filler Rod Handling: Keeping filler rods clean and free from contaminants is essential for preventing weld defects.
- Technique is Key: Effective filler rod manipulation involves a rhythmic dipping motion, avoiding contact with the tungsten.
- Common Mistakes to Avoid: Over-dabbing, contamination, and using the wrong filler rod are common pitfalls that can weaken welds.
- Practice Makes Perfect: Developing proficiency with TIG filler rods requires consistent practice and attention to detail.
Understanding TIG Welding Filler Rods
At its core, a TIG welding filler rod is a solid wire or rod made of a specific metal alloy. Its primary function is to be melted into the weld puddle, which is formed by the arc between the tungsten electrode and the base metal. This molten metal then solidifies, creating the fusion that joins the two pieces of material. Unlike welding consumables used in other processes, TIG filler rods are typically fed manually into the weld puddle, giving the welder direct control over the amount and placement of the added material.
The composition of the filler rod is paramount. It’s not just about adding metal; it’s about adding the *right* metal. The filler rod’s alloy should be chosen to complement, and ideally match, the base metal being welded. This ensures proper metallurgical compatibility, preventing issues like cracking, reduced strength, or corrosion in the finished weld. Filler rods come in various diameters, lengths, and materials, each designed for specific applications and base metals.
Choosing the Right Filler Rod
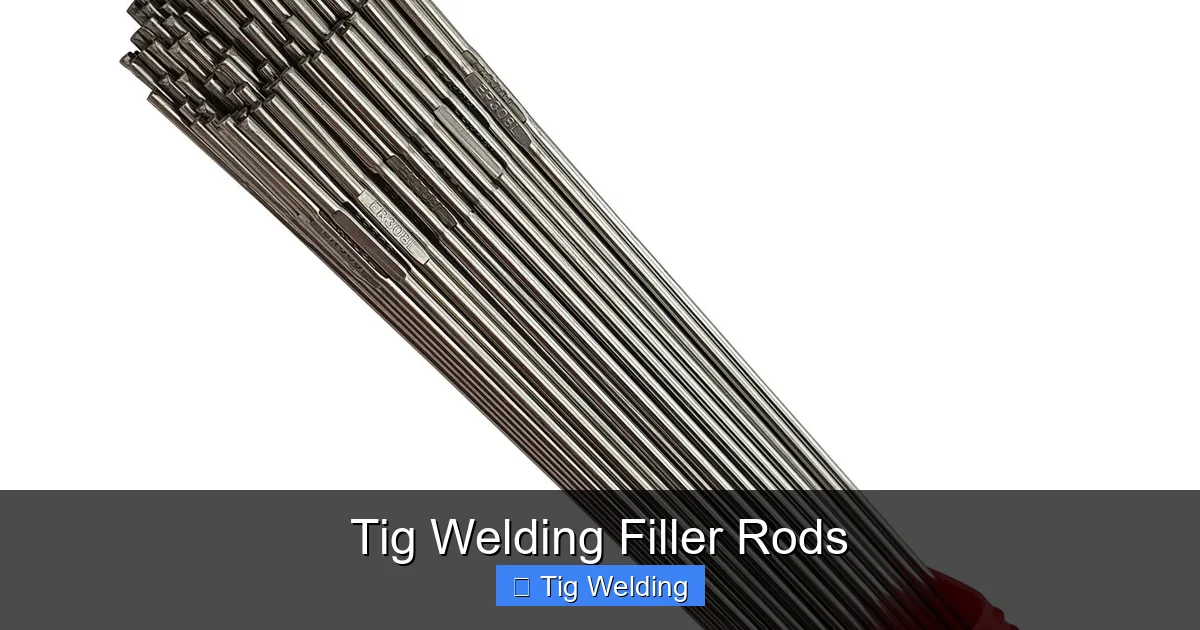
Selecting the correct TIG welding filler rod is the most critical step in achieving a successful weld. Making the wrong choice can lead to a variety of weld defects and compromised structural integrity. The fundamental principle is to match the filler rod to the base metal you are welding.
Visual guide about Tig Welding Filler Rods
Image source: hampdon.com.au
1. Match the Base Metal
This is the golden rule of filler rod selection. For most common metals, you’ll want to use a filler rod that has the same or a very similar chemical composition to the base metal. For example:
- For welding mild steel (like A36), use a mild steel filler rod, such as ER70S-2 or ER70S-6. The “70” indicates the tensile strength in thousands of pounds per square inch (ksi), and “S” signifies solid wire.
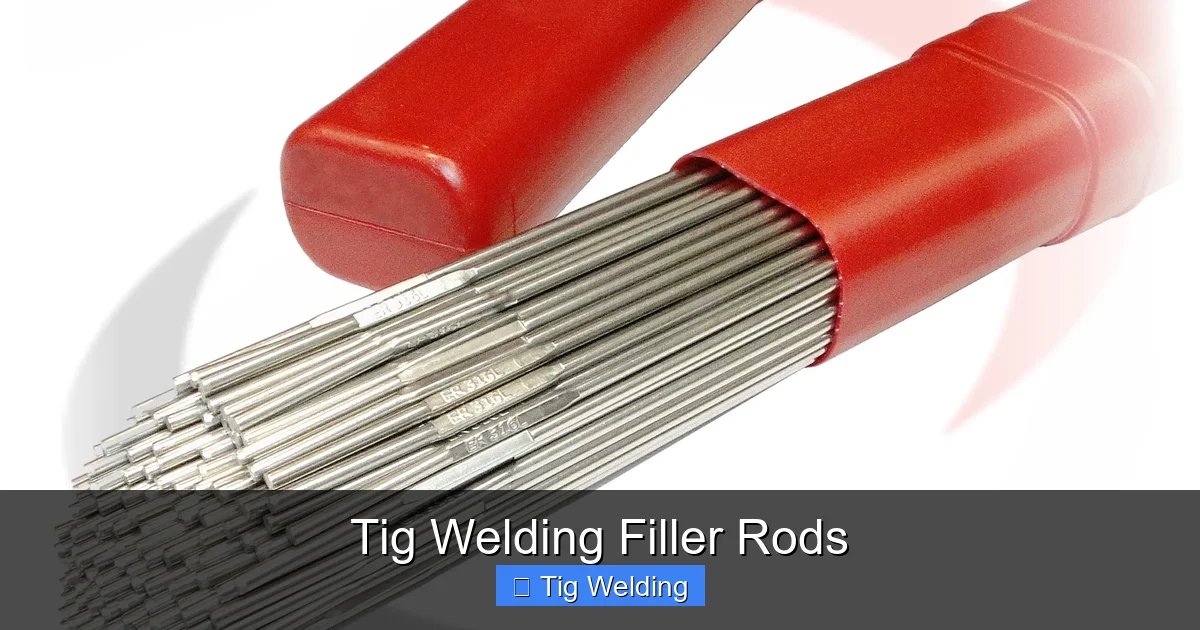
- For welding stainless steel (like 304), use a stainless steel filler rod that matches, such as ER308L. The “L” denotes a low-carbon version, which helps prevent carbide precipitation and maintain corrosion resistance.
- For welding aluminum, you’ll need aluminum filler rods. Common choices include 4043 (good all-around, less prone to cracking) and 5356 (stronger, good for anodized aluminum but can be more prone to cracking).
When welding dissimilar metals, the selection becomes more complex. You’ll need to consult welding charts or experienced welders to determine a filler rod that can bridge the gap metallurgically. For instance, welding a carbon steel to a stainless steel might require a nickel-based filler rod.
2. Consider the Application and Performance Requirements
Beyond matching the base metal, think about the performance demands of the welded joint. Does it need to withstand high temperatures? Corrosive environments? Significant mechanical stress?
- High-temperature applications might require specific alloys that retain their strength and integrity at elevated temperatures.
- Corrosive environments necessitate filler rods that offer excellent corrosion resistance, often meaning a more highly alloyed filler than the base metal.
- High-stress applications might benefit from a filler rod with a higher tensile strength than the base metal, or one known for its toughness and ductility.
3. Filler Rod Diameter
The diameter of your filler rod significantly impacts heat input and penetration. A general rule of thumb is:
- Thicker rods for thicker base metals and higher amperage welds. They deposit more material and help maintain a larger weld puddle.
- Thinner rods for thinner base metals, lower amperage welds, and situations where precise control is needed, like out-of-position welding.
Common TIG filler rod diameters range from 0.020 inches (0.5 mm) to 0.125 inches (3.2 mm) and larger. For everyday fabrication on materials up to 1/4 inch (6 mm) thick, 1/16 inch (1.6 mm) and 3/32 inch (2.4 mm) are very popular.
4. Filler Rod Condition
Always inspect filler rods before use. They should be straight, clean, and free from rust, oil, grease, or any other contaminants. Contamination is a primary cause of weld defects. If filler rods are dirty, they should be cleaned with a dedicated stainless steel wire brush (never use a brush used on carbon steel for stainless or aluminum rods) or a lint-free cloth and appropriate solvent (like acetone for aluminum).
Handling and Storage of Filler Rods
Proper handling and storage are crucial for maintaining the integrity of your TIG welding filler rods and ensuring clean, defect-free welds.
Visual guide about Tig Welding Filler Rods
Image source: weldequip.com
1. Keep Them Clean
This cannot be stressed enough. Fingerprints, oils, dirt, and even atmospheric moisture can contaminate filler rods. Contaminants introduced into the weld puddle can cause porosity, inclusions, and reduced mechanical properties. Always wash your hands before handling filler rods and avoid touching the ends that will enter the weld puddle.
2. Store Appropriately
Filler rods should be stored in their original packaging or in clean, dry containers. This protects them from moisture, dust, and physical damage.
- For mild and stainless steel rods, store in a dry environment to prevent rust.
- For aluminum rods, they are particularly susceptible to oxidation. It’s best to store them in sealed plastic bags or containers, especially in humid conditions.
3. Use Dedicated Tools
If you have different types of filler rods (e.g., steel, stainless steel, aluminum), it’s a good practice to keep them separate and use dedicated wire brushes and cleaning supplies for each. Using the same brush on stainless steel that you used on carbon steel can transfer contaminants and ruin the corrosion resistance of the stainless steel weld.
TIG Filler Rod Techniques
Once you have the right filler rod, the next step is learning how to feed it effectively into the weld puddle. This is where practice and technique come into play.
Visual guide about Tig Welding Filler Rods
Image source: betaweld.com.au
1. The Basic Dip Technique
This is the most fundamental TIG filler rod technique. It involves a rhythmic dipping of the filler rod into the leading edge of the weld puddle.
Step-by-step:
- Position the Filler Rod: Hold the filler rod at a slight angle (around 15-20 degrees) relative to the base metal. The angle should generally point towards the direction of travel.
- Maintain Distance: Keep the end of the filler rod just above the weld puddle. You do not want it to touch the tungsten electrode. If the filler rod touches the tungsten, it will contaminate the tungsten, leading to an unstable arc and a dirty weld.
- Dip and Retract: As the weld puddle forms and moves forward with your torch, dip the tip of the filler rod into the leading edge of the puddle. This momentarily melts the rod and adds filler metal.
- Retract and Repeat: Immediately after dipping, retract the filler rod back to its previous position just above the puddle. This allows the puddle to solidify slightly and regain its shape before the next dip.
- Rhythm is Key: The dipping motion should be smooth, consistent, and rhythmic, matching the speed of your torch movement and the puddle’s progression. The goal is to add filler metal without disturbing the weld puddle excessively.
Practical Tip: Imagine you’re gently dabbing the puddle, not plunging into it. The filler metal should melt and flow into the puddle with minimal disruption.
2. Controlling Filler Metal Deposition
The frequency and depth of your dips control how much filler metal is added.
- More frequent and deeper dips will add more filler metal, creating a wider bead and building up the weld joint faster.
- Less frequent and shallower dips will add less filler metal, resulting in a narrower bead and requiring more passes for thicker joints.
Experimentation is key to developing the feel for how much filler metal your torch speed and amperage can handle. If you dip too much filler metal too quickly, you can overwhelm the puddle, leading to a saggy or uneven bead.
3. Out-of-Position Welding
Welding in vertical or overhead positions presents challenges for filler rod control. Gravity plays a significant role.
- Vertical Up Welding: You’ll typically use a more controlled, sweeping motion with the filler rod. Dip and quickly pull out, allowing the puddle to freeze slightly before the next dip. This helps combat gravity’s pull on the molten metal. Using a slightly smaller diameter filler rod can also be beneficial.
- Overhead Welding: This is the most challenging. You’ll need very precise, quick dips and a faster travel speed to prevent the molten metal from sagging or dripping. Again, smaller diameter filler rods are often preferred.
Practical Tip: For out-of-position welding, try to maintain a consistent, slight buildup of filler metal ahead of the main puddle. This creates a small dam that helps support the molten metal.
4. Creating Ripples and Bead Appearance
The way you manipulate the filler rod and torch can influence the aesthetic of your weld. Consistent dipping and torch movement create the characteristic “stack of dimes” appearance.
- Consistent spacing between dips and a steady torch angle lead to uniform ripples.
- Slight side-to-side motion of the torch (weaving) can be used to control bead width and tie in the edges, but excessive weaving can make controlling the filler rod more difficult.
5. Avoiding Common Mistakes
Even with practice, common mistakes can occur. Recognizing them is the first step to correcting them.
- Touching the Tungsten: As mentioned, this contaminates the tungsten and the weld. Maintain a consistent gap between the filler rod and the tungsten.
- Dipping Too Much Filler: Overloading the puddle can lead to excessive build-up, poor fusion, and potential sagging.
- Not Enough Filler: This results in a concave bead with insufficient penetration and a weak joint.
- Filler Rod Drag: Dragging the filler rod through the existing puddle can introduce impurities and create a rough surface. The goal is to dip the *end* of the rod into the puddle’s edge.
- Contamination: Not cleaning filler rods or using dirty handling tools is a recipe for disaster.
Troubleshooting Common Weld Defects Related to Filler Rods
Many common TIG welding defects can be directly or indirectly linked to the filler rod or its usage.
1. Porosity
Small holes or voids within the weld metal.
- Cause: Contaminated filler rod, insufficient shielding gas, or arc length too long.
- Solution: Ensure filler rods are clean and properly stored. Verify shielding gas flow and adjust arc length.
2. Inclusions
Foreign material trapped within the weld, such as oxides or slag.
- Cause: Dirty filler rod, inadequate cleaning of base metal, or improper filler rod dipping technique (dragging).
- Solution: Clean filler rods thoroughly and use dedicated brushes. Ensure base metal is clean. Practice the dip and retract technique, avoiding dragging.
3. Cracking
Fractures in the weld metal or heat-affected zone.
- Cause: Using the wrong filler rod (poor metallurgical compatibility), improper preheat or post-heat for sensitive alloys, or excessive restraint on the joint.
- Solution: Always match the filler rod to the base metal. Research and apply appropriate heat treatments if required. Reduce joint restraint where possible.
4. Undercut
A groove melted into the base metal next to the weld toe.
- Cause: While primarily related to amperage and travel speed, excessive filler rod addition can sometimes contribute by creating an unstable puddle that washes away the base metal.
- Solution: Adjust amperage and travel speed. If using excessive filler, reduce the deposition rate.
Conclusion
TIG welding filler rods are more than just pieces of metal; they are a critical component in creating high-quality welds. Understanding the nuances of selection, handling, and application is fundamental to your success as a TIG welder. By diligently matching your filler rod to your base metal, keeping your consumables clean, and practicing proper feeding techniques, you’ll be well on your way to producing strong, beautiful, and defect-free TIG welds.
Remember that proficiency with TIG welding filler rods, like any skill, comes with practice. Don’t be discouraged by initial challenges. Experiment with different rod diameters, practice your dipping rhythm on scrap material, and pay close attention to the feedback your weld puddle gives you. With patience and persistence, you’ll master the art of filler rod manipulation and elevate your TIG welding capabilities to new heights.
