

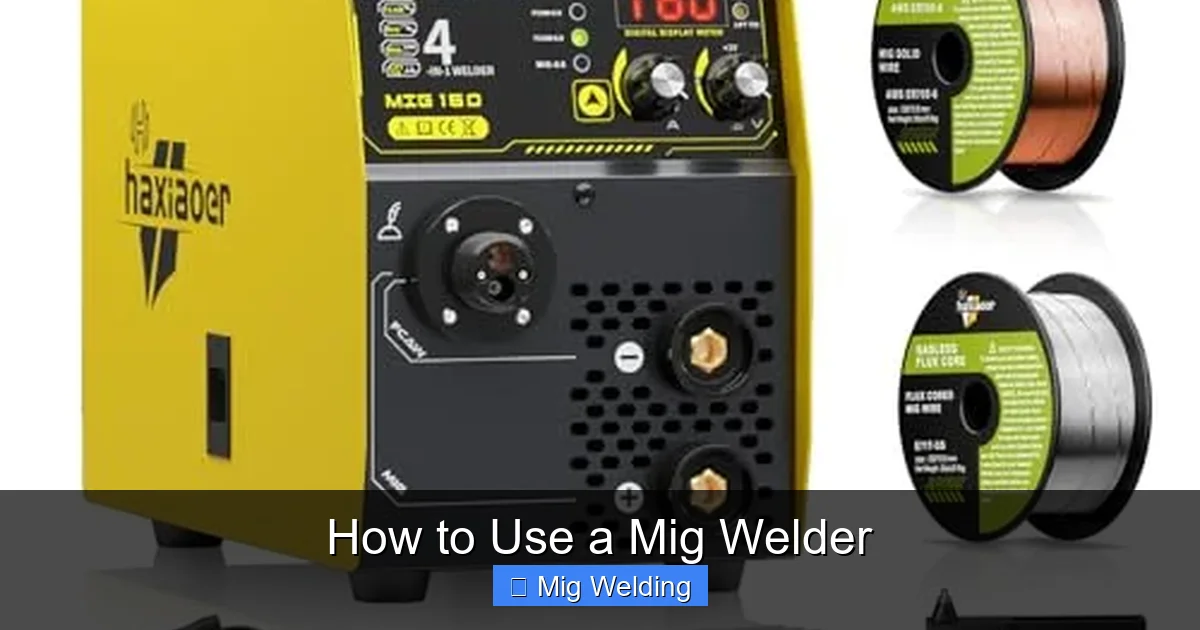
In this guide, you’ll learn how to use a MIG welder from setup to welding techniques. Whether you’re a beginner or looking to improve your skills, this step-by-step approach will help you weld safely and confidently. You’ll also find practical tips and troubleshooting advice to perfect your welds.
Key Takeaways
- Understand your MIG welder: Familiarize yourself with the machine parts and controls before starting.
- Prepare your workspace: Ensure safety gear, proper ventilation, and a clean, organized area.
- Set the correct parameters: Adjust voltage, wire feed speed, and shielding gas according to the material and thickness.
- Practice proper technique: Maintain the right angle, speed, and distance for clean welds.
- Safety first: Always wear protective gear and follow safety protocols when welding.
- Troubleshoot common issues: Learn how to identify and fix problems like porosity, poor penetration, or spatter.
Introduction
If you’re new to welding or want to improve your skills, learning how to use a MIG welder is a great place to start. MIG welding, or Metal Inert Gas welding, is popular for its ease and versatility. It allows you to weld various metals with precision and speed. In this guide, you’ll discover everything you need to know—from setting up your machine to perfecting your welds. By the end, you’ll be ready to tackle your welding projects with confidence.
Understanding Your MIG Welder
Before you start welding, it’s important to understand your MIG welder’s main parts and functions. Here are the key components:
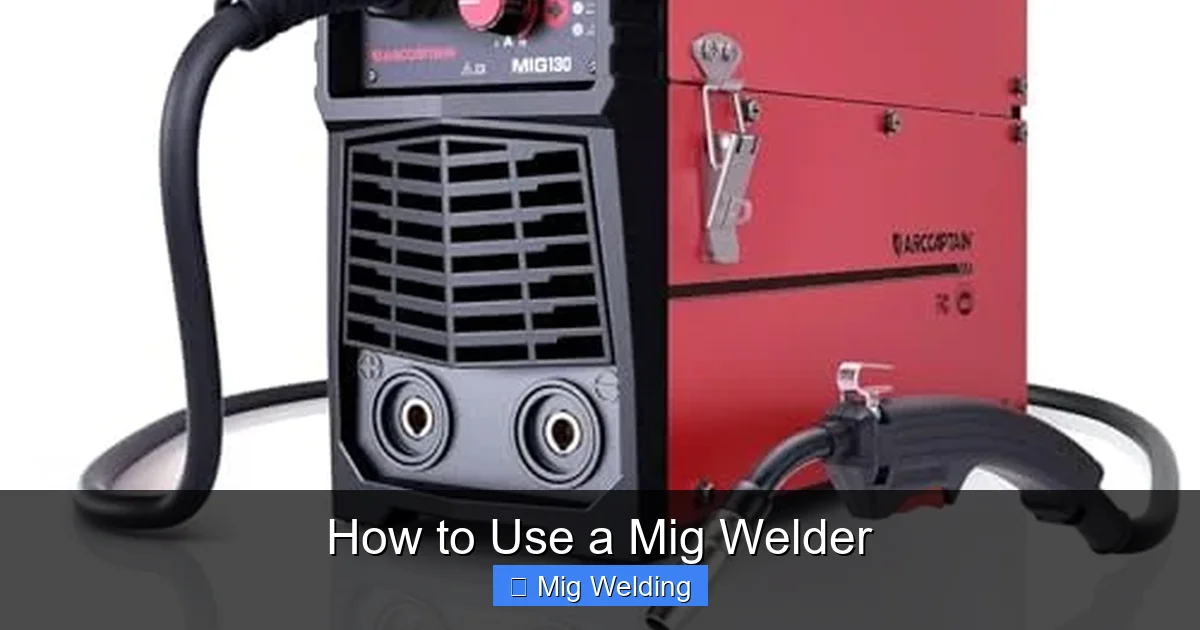
Visual guide about How to Use a Mig Welder
Image source: m.media-amazon.com
- Power switch: Turns the machine on and off.
- Voltage control: Adjusts the heat of the weld.
- Wire feed control: Regulates how fast the wire is fed into the weld.
- Gas regulator and hose: Connects to your shielding gas cylinder and controls gas flow.
- Electrode or contact tip: The part where the wire exits to create the arc.
- Work clamp (ground): Attaches to your workpiece to complete the circuit.
Familiarity with these parts helps you set up and troubleshoot your MIG welder effectively.
Preparing Your Workspace and Safety Equipment
Safety Gear
Welding produces bright light, heat, and fumes. Always wear:
Visual guide about How to Use a Mig Welder
Image source: m.media-amazon.com
- Welding helmet: Protects your eyes and face from sparks and UV rays.
- Gloves: Heavy-duty, heat-resistant gloves to protect your hands.
- Protective clothing: Long sleeves, pants, and a welding jacket to shield your skin.
- Respirator or mask: To avoid inhaling fumes, especially in poorly ventilated areas.
Work Environment
Set up your workspace in a well-ventilated area. Clear away flammable materials, and ensure your work surface is stable and clean. Proper lighting and a fire extinguisher nearby are also recommended.
Setting Up Your MIG Welder
Choosing the Right Wire and Gas
Select wire type based on your project:
Visual guide about How to Use a Mig Welder
Image source: weldingtipsandtricks.com
- ER70S-6: Common for mild steel welding.
- Aluminum wire: For aluminum projects, requires a spool gun.
For shielding gas:
- Argon or argon mix: For aluminum or stainless steel.
- C25 (75% argon, 25% CO2): Suitable for mild steel.
Setting Up the Machine
- Connect the wire spool to the wire feeder.
- Attach the wire to the contact tip.
- Connect the gas regulator to your gas cylinder and hook up the hose to the welder.
- Ground the workpiece with the work clamp.
- Adjust the voltage and wire feed speed based on material thickness (consult your machine’s manual or charts).
How to MIG Weld: Step-by-Step
Step 1: Prepare Your Material
Clean your metal surfaces by removing rust, paint, or dirt. Use a wire brush or grinder for best results. Clean metal ensures good weld quality and penetration.
Step 2: Set the Correct Settings
Start with recommended settings for your material thickness. For example, thinner metal needs lower voltage, thicker metal needs higher. Adjust wire feed speed accordingly.
Step 3: Position Yourself and the Workpiece
Stand comfortably, with your body relaxed. Hold the welding gun at about a 10-15 degree angle in the direction of the weld. Keep the gun tip close to the work surface, about 1/4 inch (6mm).
Step 4: Start Welding
- Press the trigger to initiate the arc.
- Move the gun steadily along the joint at a consistent speed. Too slow causes excessive heat; too fast results in weak welds.
- Keep a steady hand and maintain the correct angle and distance.
Practice on scrap pieces first to get a feel for the right speed and motion.
Step 5: Finish and Inspect
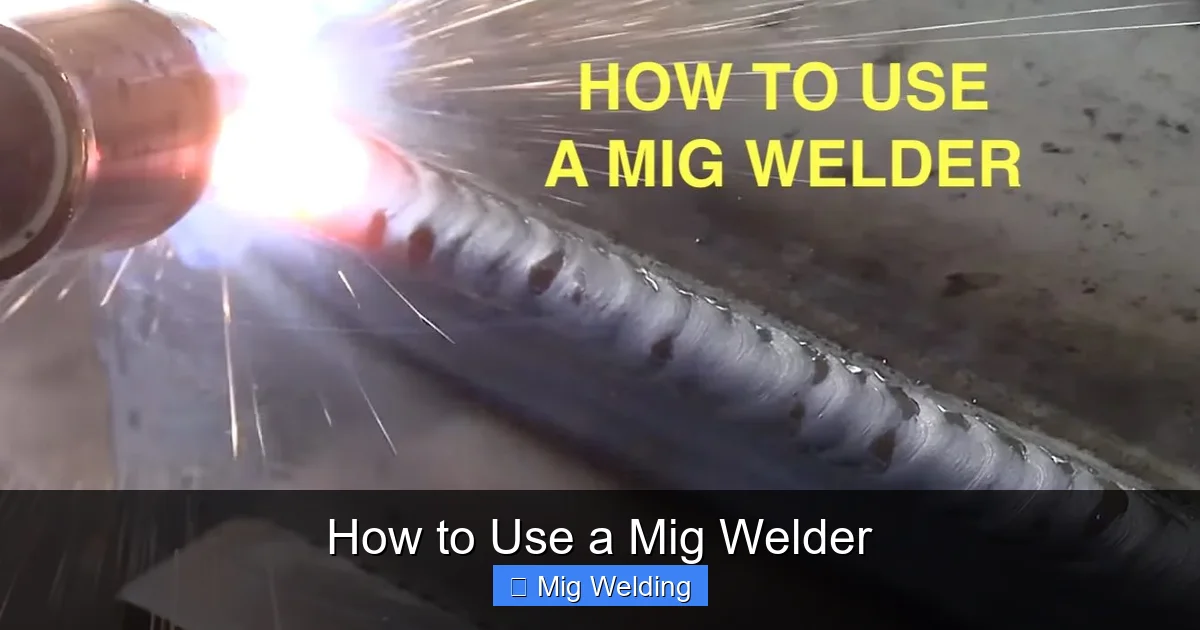
Once you complete the weld, release the trigger. Let the weld cool briefly. Inspect the bead for uniformity, good penetration, and absence of defects like porosity or spatter.
Practical Tips for Better MIG Welding
- Maintain a steady motion: Consistent speed improves weld quality.
- Adjust settings as needed: Fine-tune voltage and wire feed based on your welds.
- Don’t rush: Take your time to ensure clean, strong welds.
- Use proper shielding gas coverage: Ensure the gas flow is steady and covers the weld area fully.
- Practice regularly: The more you weld, the better your skills will become.
Troubleshooting Common MIG Welding Issues
Porosity in Welds
Cause: Inadequate shielding gas, dirty surfaces, or drafts. Solution: Check gas flow, clean the material, and weld in a protected area.
Poor Penetration
Cause: Low voltage or incorrect angle. Solution: Increase voltage slightly and adjust your gun angle.
Spatter
Cause: Too high wire feed speed or voltage. Solution: Lower settings and maintain proper distance.
Wire Sticking or Burnback
Cause: Incorrect wire tension or dirty contact tip. Solution: Clean or replace the contact tip and check wire tension settings.
Conclusion
Learning how to use a MIG welder opens up many DIY and professional welding opportunities. With proper preparation, safety, and practice, you can produce strong, clean welds on various metals. Remember to always prioritize safety and keep practicing your technique. Soon, you’ll weld confidently and efficiently on your projects.
Final Tips
- Start with scrap metal to hone your skills.
- Keep your work area organized and safe.
- Regularly maintain your MIG welder for optimal performance.
- Watch tutorial videos to see techniques in action.
