

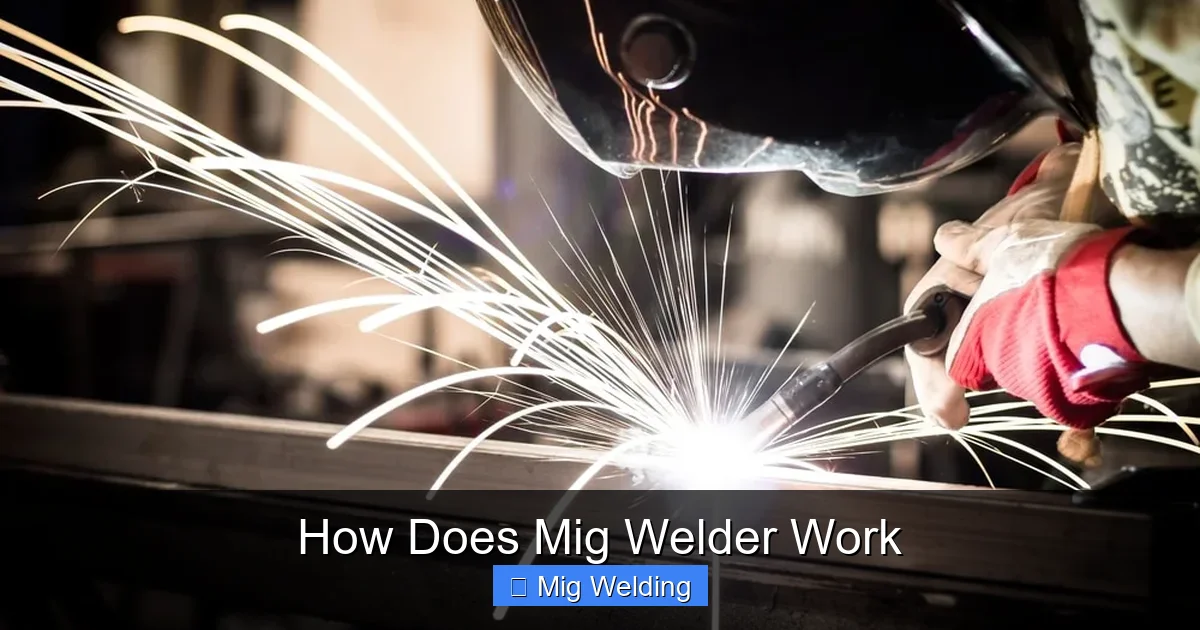
MIG welding is a popular method used in metal fabrication due to its speed and ease. In this guide, you’ll learn how a MIG welder works, including the key components, the welding process, and practical tips to improve your skills. Whether you’re a beginner or looking to deepen your knowledge, this guide will walk you through everything you need to know about MIG welding.
Key Takeaways
- Understanding the Basics: MIG welding uses a continuous wire feed to join metals, making it efficient and easy to learn.
- Key Components: The main parts include the power source, wire feeder, shielding gas, and the welding gun.
- How It Works: An electric arc melts the wire, creating a weld pool that fuses the metals together.
- Shielding Gas Role: The gas protects the weld from contamination, ensuring a clean, strong bond.
- Safety Tips: Always wear proper protective gear and work in a well-ventilated area.
- Common Troubleshooting: Issues like porosity or weak welds often relate to gas flow, wire feed, or technique.
- Versatility: MIG welding is suitable for various metals and thicknesses, making it a favorite in many industries.
Introduction
If you’re interested in metalworking or DIY projects, understanding how a MIG welder works is essential. MIG welding, short for Metal Inert Gas welding, is one of the most popular welding methods today. It’s favored because it’s fast, relatively simple, and produces clean welds. In this guide, we’ll explore the inner workings of a MIG welder, step-by-step, so you can grasp the process and improve your welding skills.
What Is MIG Welding?
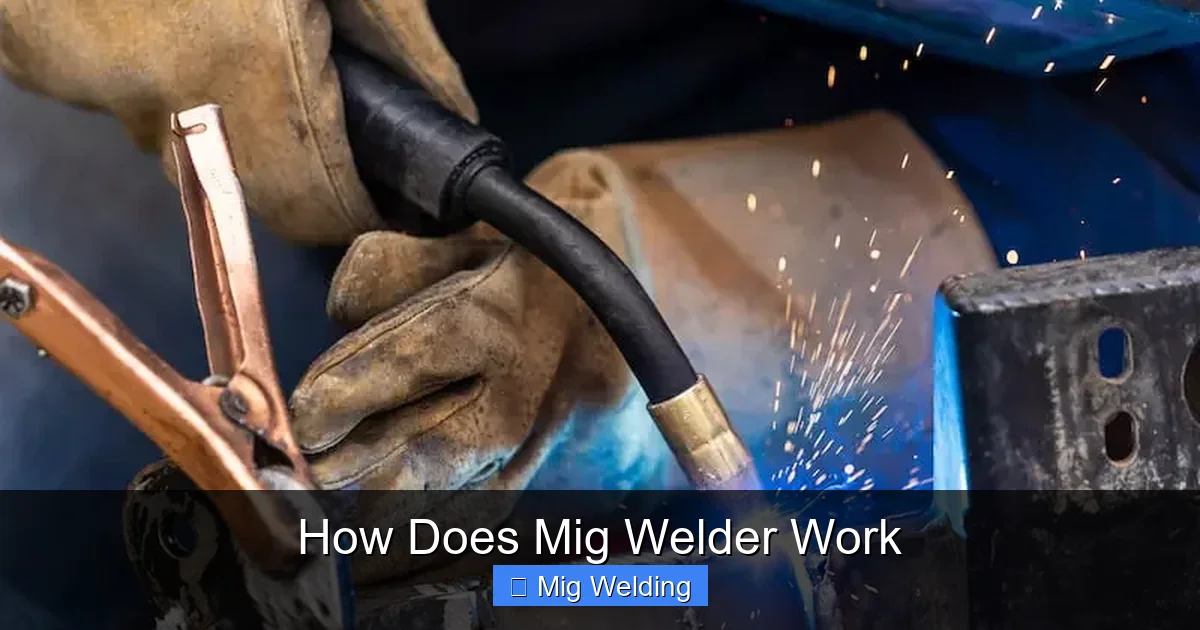
MIG welding is a process that uses a continuous wire feed as an electrode to join metals. The wire melts and fuses with the base metals, creating a strong, durable weld. The process involves an electric arc that forms between the wire and the workpiece, which heats and melts the metal. The entire process is protected by a shielding gas that prevents contamination from the air.
Visual guide about How Does Mig Welder Work
Image source: fractory.com
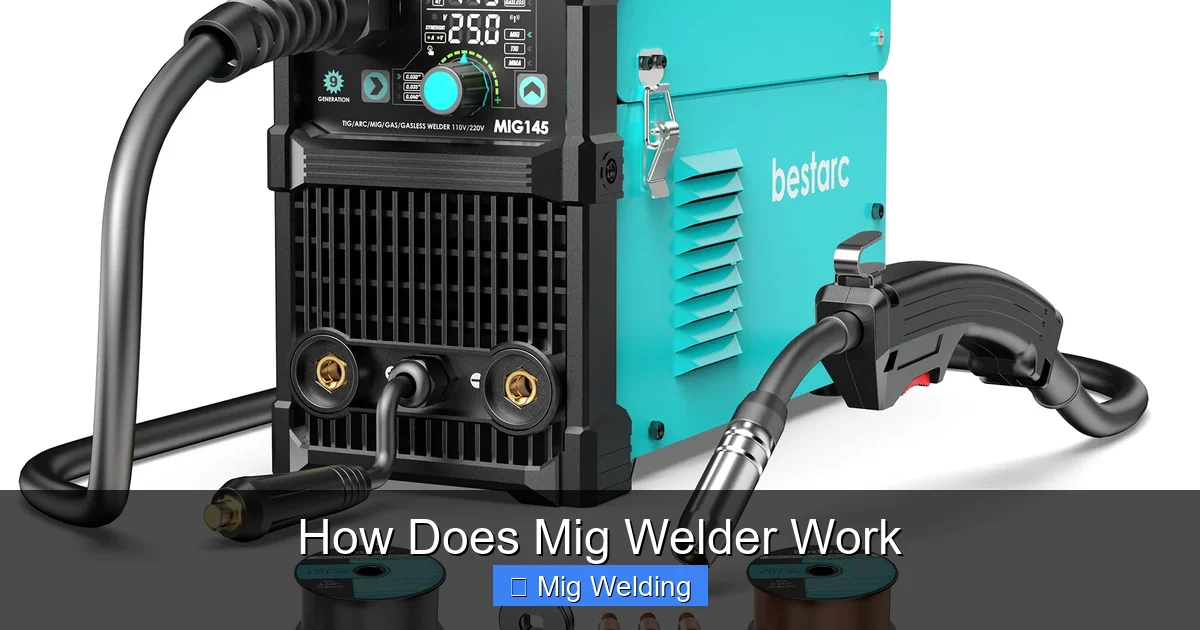
Key Components of a MIG Welder
Power Supply
The power supply provides the electrical energy needed to create the arc. It converts AC or DC power into a suitable current that can produce a stable arc. Most MIG welders operate on 110V or 220V outlets.
Visual guide about How Does Mig Welder Work
Image source: m.media-amazon.com
Wire Feeder
The wire feeder continuously supplies the welding wire to the gun. It ensures a steady flow of electrode material, which is vital for consistent weld quality. The wire is stored in a spool and advanced through a series of rollers.
Welding Gun
The welding gun is the tool you hold during welding. It directs the wire and shielding gas to the weld area. The gun also contains the trigger that controls the wire feed and arc initiation.
Shielding Gas
The shielding gas, such as argon, CO2, or a mix, surrounds the weld pool to prevent oxidation and contamination. It plays a critical role in creating clean, high-quality welds.
Electrode Wire
The wire acts as the filler material and the electrode. It melts as the arc forms, filling the joint between the metals being welded.
The Step-by-Step Process of How a MIG Welder Works
Step 1: Preparing Your Workspace and Materials
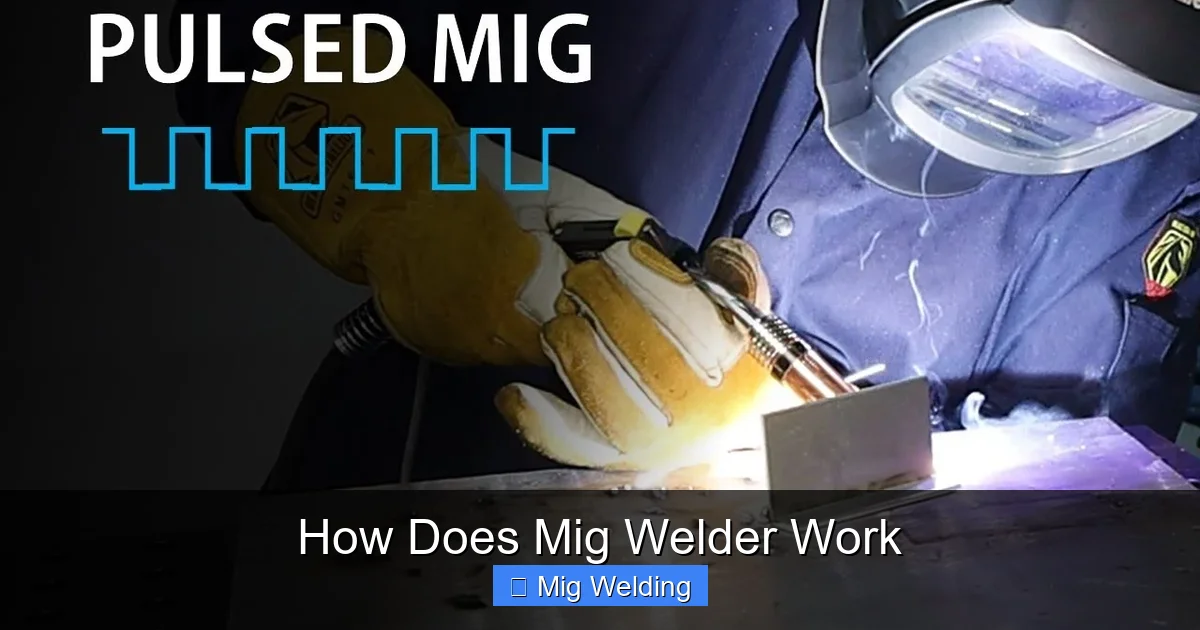
Before starting, ensure your workspace is clean, well-ventilated, and free of flammable materials. Select the correct wire type and diameter for your project. Also, set up your safety gear, including gloves, helmet, and protective clothing.
Visual guide about How Does Mig Welder Work
Image source: i.ytimg.com
Step 2: Setting Up the Welder
- Connect the power: Plug in your welder and set the voltage according to the thickness of the metal.
- Install the wire spool: Load the wire into the spool holder, ensuring it’s properly threaded through the wire feeder.
- Attach the welding gun: Connect the gun to the welder, ensuring all connections are tight.
- Set the gas flow: Adjust the regulator and set the appropriate shielding gas flow rate, typically around 20-30 cubic feet per hour (CFH).
Step 3: Striking the Arc
Hold the welding gun at a consistent angle (usually 10-15 degrees) and distance (about 1/4 inch from the metal). Tap or scratch the tip on the metal surface to create an initial arc. Once the arc strikes, the wire begins to melt.
Step 4: Welding and Moving Along the Joint
Maintain a steady speed and keep the gun at the right angle. The wire feeds continuously, melting to form a weld pool. Move the gun smoothly along the joint to create an even weld bead. Adjust your speed and angle as needed for consistent results.
Step 5: Ending the Weld
When reaching the end of your weld, release the trigger to stop wire feed and arc. Keep the gun in place for a few seconds to allow the weld to cool. Then, carefully lift the gun away.
Practical Tips for a Better MIG Weld
- Keep a steady hand: Consistency is key for strong welds.
- Maintain the right distance: Too close can cause burn-through; too far may weaken the arc.
- Use the correct settings: Adjust voltage and wire feed speed based on your material and thickness.
- Practice different angles: Flat, horizontal, and vertical positions require adjustments.
- Clean your metal: Remove rust, paint, or oil before welding.
Common Troubleshooting in MIG Welding
Porosity or Holes in the Weld
This usually results from contaminated shielding gas or insufficient gas flow. Check your gas cylinder and connections.
Spatter or Excessive Sparks
Lower the voltage or adjust the wire feed speed. Make sure your gun angle is correct.
Weak or Incomplete Welds
Increase voltage or wire feed speed. Ensure the arc length is consistent and the metal is clean.
Safety Tips for MIG Welding
- Wear protective gear: Helmets, gloves, and long sleeves protect against sparks and UV rays.
- Ensure proper ventilation: Welding fumes can be harmful. Use a fume extractor or work outdoors.
- Keep a fire extinguisher nearby: Sparks can ignite flammable materials.
- Check your equipment: Regularly inspect cables and connections for damage.
Conclusion
Understanding how a MIG welder works empowers you to produce high-quality welds and work safely. From setting up the machine to troubleshooting common issues, each step is crucial for success. Practice regularly, follow safety guidelines, and you’ll become more confident in your welding skills. Whether for hobby projects or professional work, mastering MIG welding opens up many possibilities in metal fabrication.
Additional Resources
For more in-depth tutorials, safety tips, and equipment reviews, consider visiting reputable welding websites or taking a certified course. Always stay updated with the latest techniques and safety standards to ensure your welding projects are successful and safe.
