

MIG welding stainless steel with CO2 is possible but requires careful setup and technique. This guide walks you through equipment, settings, and best practices to achieve clean, strong welds without compromising corrosion resistance.
Key Takeaways
- Use the right gas mix: Pure CO2 isn’t ideal; a tri-mix (e.g., 90% helium, 7.5% argon, 2.5% CO2) or 98% argon/2% CO2 is better for stainless steel.
- Choose correct wire: Use ER308L or ER316L filler wire matched to your base metal for optimal corrosion resistance.
- Clean surfaces are critical: Remove oil, grease, and oxides before welding to prevent contamination and porosity.
- Control heat input: Use lower voltage and travel speed to avoid carbide precipitation and warping.
- Post-weld cleaning matters: Remove heat tint with stainless steel wire brush or pickling paste to restore corrosion resistance.
- Avoid carbon contact: Never use carbon steel brushes or grinders—they embed iron particles that cause rust.
- Practice on scrap first: Stainless behaves differently than mild steel—test settings before welding your final piece.
Can You MIG Weld Stainless Steel with CO2?
Yes—but with important caveats. While pure CO₂ is commonly used for MIG welding mild steel, it’s **not recommended** for stainless steel due to its high reactivity. CO₂ increases spatter, promotes oxidation, and can degrade the corrosion-resistant properties of stainless steel by forming chromium carbides. However, small amounts of CO₂ (typically 2–5%) in a blended shielding gas can work well when paired with argon or helium.
This guide shows you how to MIG weld stainless steel using CO₂-containing gas mixtures safely and effectively—whether you’re working on automotive exhausts, kitchen equipment, or custom fabrication.
Why Gas Choice Matters for Stainless Steel
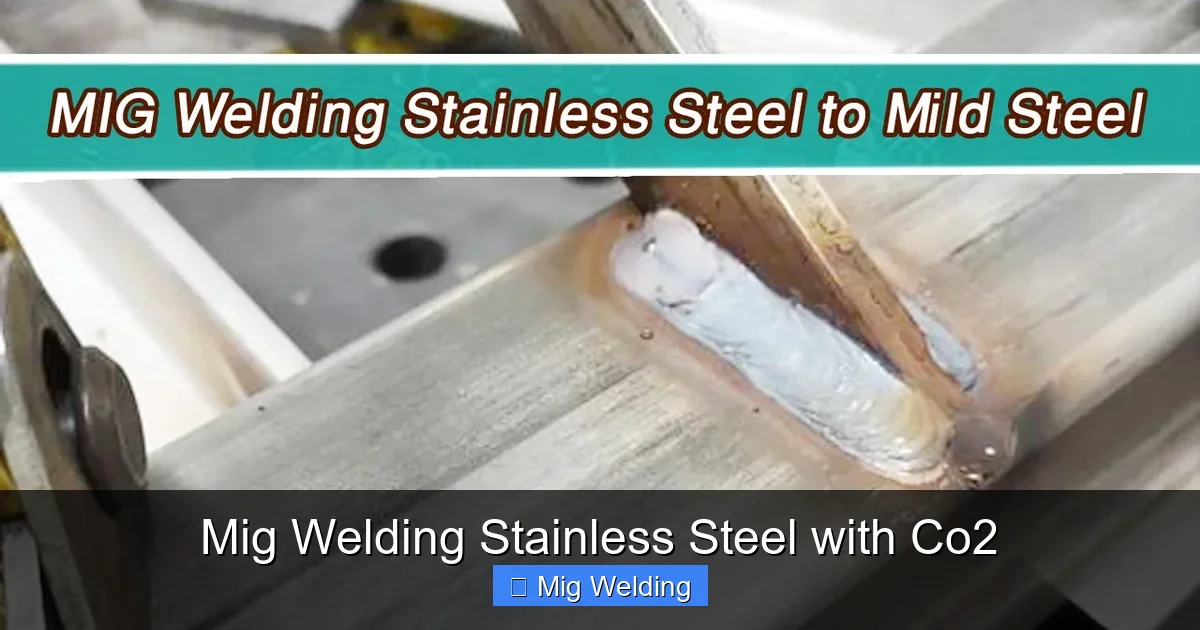
Visual guide about Mig Welding Stainless Steel with Co2
Image source: weldingproperty.com
Stainless steel contains chromium, which forms a protective oxide layer. To preserve this layer during welding, you need a shielding gas that minimizes oxidation and maintains arc stability.
Pure CO₂ creates an aggressive arc that burns away chromium at the weld zone, leading to:
– Reduced corrosion resistance
– Excessive spatter
– Poor bead appearance
– Potential cracking
Instead, use one of these proven blends:
– **98% Argon / 2% CO₂**: Best for thin materials and clean welds
– **90% Helium / 7.5% Argon / 2.5% CO₂**: Great for thicker sections and deeper penetration
– **Tri-mix alternatives**: Some welders prefer adding oxygen (0.5–1%) instead of CO₂, but CO₂ blends are more common in industrial settings
> 💡 *Pro Tip:* If your shop only has pure CO₂, consider switching to a tri-mix cylinder or renting a blended gas setup. The extra cost is worth the improved weld quality and longevity.
Equipment and Materials Checklist
Visual guide about Mig Welding Stainless Steel with Co2
Image source: huaxiao-materials.com
Before you strike an arc, gather the right tools:
Welding Machine
Use a MIG welder capable of running on DC electrode positive (DCEP). Most modern machines handle this automatically. Ensure it has adjustable voltage and wire feed speed—precision matters with stainless.
Filler Wire
Match your wire to the base metal:
– **ER308L**: For 304/304L stainless (most common)
– **ER316L**: For 316/316L (marine or chemical environments)
– Always use *L-grade* (low carbon) wires to reduce carbide precipitation
Shielding Gas Setup
– Regulator with flow meter (set to 20–25 CFH)
– Gas hose rated for mixed gases
– Verify no leaks with soapy water test
Consumables
– Stainless steel contact tips (copper tips can contaminate)
– Liner compatible with stainless wire (Teflon-lined preferred)
– Nozzle clean of carbon deposits
Safety Gear
– Auto-darkening helmet (shade 10–13)
– Leather gloves and apron
– Ventilation or fume extractor (stainless fumes contain hexavalent chromium—dangerous if inhaled)
Step-by-Step Welding Process
Step 1: Clean the Base Metal
Stainless steel is unforgiving when it comes to contamination. Even fingerprints or shop dust can cause defects.
– Degrease with acetone or stainless-specific cleaner
– Scrub with a **dedicated stainless steel wire brush** (never used on carbon steel)
– Wipe with lint-free cloth
> ⚠️ Never use sandpaper or grinders that have touched mild steel—iron particles will embed and rust later.
Step 2: Set Up Your Welder
Start with these baseline settings for 1/8″ (3mm) stainless:
– Voltage: 18–20 V
– Wire feed speed: 200–250 IPM (for .035″ ER308L wire)
– Polarity: DCEP (electrode positive)
Adjust based on material thickness:
– Thinner than 1/8″: Reduce voltage by 1–2 V
– Thicker than 1/4″: Increase voltage slightly and consider multi-pass welding
Step 3: Tack Weld Carefully
Use short tacks (every 2–3 inches) to hold parts in alignment. Keep tacks small—excessive heat warps thin stainless. If warping occurs, clamp firmly or use a heat sink (copper backing bar).
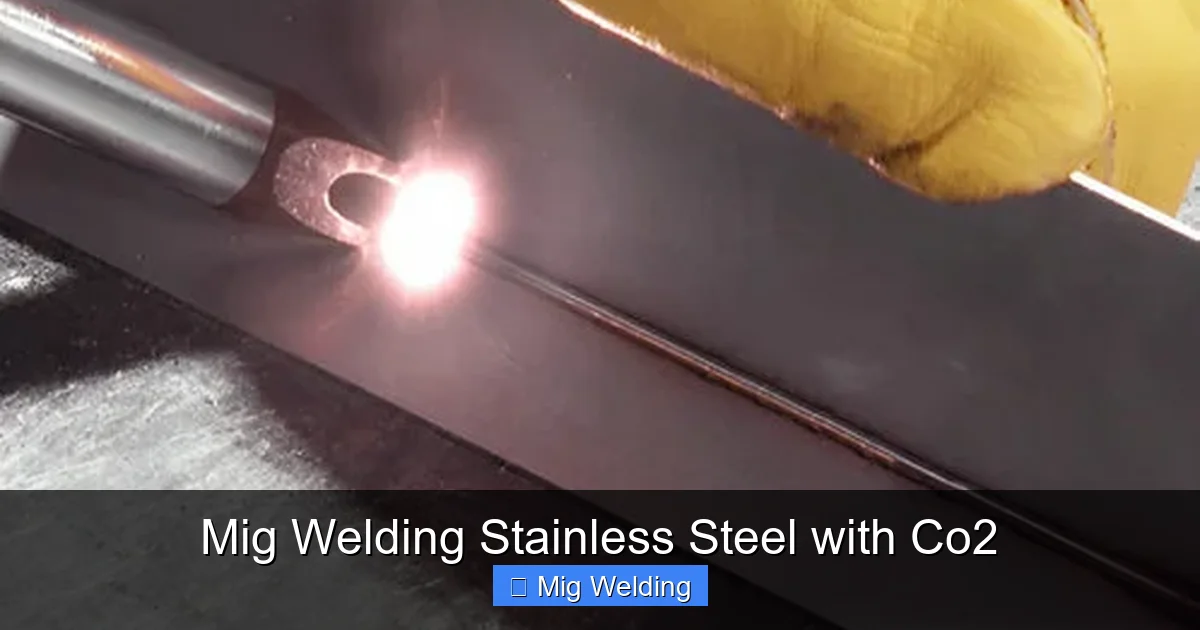
Step 4: Weld with Proper Technique
– Hold the gun at 10–15 degrees work angle
– Use a **push technique** (not drag) for better gas coverage and cleaner beads
– Maintain consistent travel speed—too slow causes burn-through; too fast creates lack of fusion
– Keep the arc length short (1/4″ or less)
> 🔧 *Example:* For a 1/4″ lap joint, use 20 V and 240 IPM. Push the puddle steadily, weaving slightly if needed for wider coverage—but avoid excessive weaving, which traps slag.
Step 5: Post-Weld Cleaning
Heat tint (blue/gold discoloration) indicates oxidation and reduced corrosion resistance. Remove it immediately:
1. Brush with stainless steel wire brush (again—dedicated tool only!)
2. For heavy tint, apply pickling paste (follow manufacturer instructions)
3. Rinse thoroughly with water and dry
Never paint over heat tint—it will rust underneath.
Troubleshooting Common Issues
Porosity (Bubbles in Weld)
**Causes:** Dirty base metal, moisture in gas line, low gas flow, windy environment
**Fix:** Reclean metal, check for gas leaks, increase flow to 25 CFH, use windbreaks
Excessive Spatter
**Causes:** Too much CO₂, high voltage, long arc length
**Fix:** Switch to lower-CO₂ blend, reduce voltage by 1 V, shorten stick-out
Lack of Fusion
**Causes:** Low heat input, fast travel speed, incorrect angle
**Fix:** Increase voltage slightly, slow down, ensure proper gun angle
Warping or Distortion
**Causes:** High heat input, uneven clamping
**Fix:** Use intermittent welding, backstep technique, or weld in balanced sequence
Rust After Welding
**Causes:** Iron contamination from tools, incomplete cleaning, embedded carbon steel particles
**Fix:** Always use stainless-only tools, clean thoroughly, inspect brushes and grinders
Safety Reminders
– Welding stainless steel produces toxic fumes containing chromium VI—use local exhaust ventilation or a respirator rated for welding fumes
– Never weld in confined spaces without air monitoring
– Store stainless filler wire in a dry place to prevent moisture absorption
Final Thoughts
MIG welding stainless steel with CO₂-containing gas is absolutely doable—if you respect the material’s unique needs. The key is using the right gas blend, keeping everything clean, and controlling heat input. While pure CO₂ should be avoided, a small percentage in an argon or helium mix delivers stable arcs and good penetration without sacrificing corrosion resistance.
Start with scrap metal to dial in your settings, invest in dedicated stainless tools, and always prioritize post-weld cleaning. With practice, you’ll produce strong, clean, professional-looking stainless welds that last for years—even in harsh environments.