

This guide teaches beginners how to MIG weld without gas using flux-cored wire. You’ll learn setup, safety, technique, and troubleshooting for strong, clean welds—no gas cylinder needed.
Key Takeaways
- Flux-cored wire eliminates the need for shielding gas: The flux inside the wire creates its own protective atmosphere, making it ideal for outdoor or windy conditions.
- Use a MIG welder with flux-cored capability: Most modern MIG welders can switch between solid wire (with gas) and flux-cored wire (without gas)—check your machine’s settings.
- Reverse polarity is essential: For flux-cored welding, the electrode must be connected to the negative terminal (DCEN), unlike standard MIG welding.
- Proper technique prevents spatter and porosity: Maintain a 10–15 degree push angle, steady travel speed, and consistent stick-out for clean welds.
- Clean metal is critical: Remove rust, paint, and oil before welding—flux can’t protect against contamination.
- Start with practice welds: Use scrap metal to dial in voltage and wire feed speed before working on your project.
- Ventilation and PPE are non-negotiable: Flux-cored welding produces more fumes and sparks—wear a respirator, gloves, and safety glasses.
How to MIG Weld Without Gas for Beginners
If you’re new to welding and want to get started without the hassle of buying and handling gas cylinders, you’re in the right place. MIG welding without gas—also known as flux-cored arc welding (FCAW)—is a beginner-friendly, cost-effective method that delivers strong, reliable welds. Whether you’re fixing a fence, building a trailer, or working on a DIY project, this guide will walk you through everything you need to know to weld safely and effectively without shielding gas.
By the end of this guide, you’ll understand how flux-cored welding works, how to set up your welder, and how to lay down clean, professional-looking beads—even if you’ve never picked up a welding torch before.
What Is MIG Welding Without Gas?
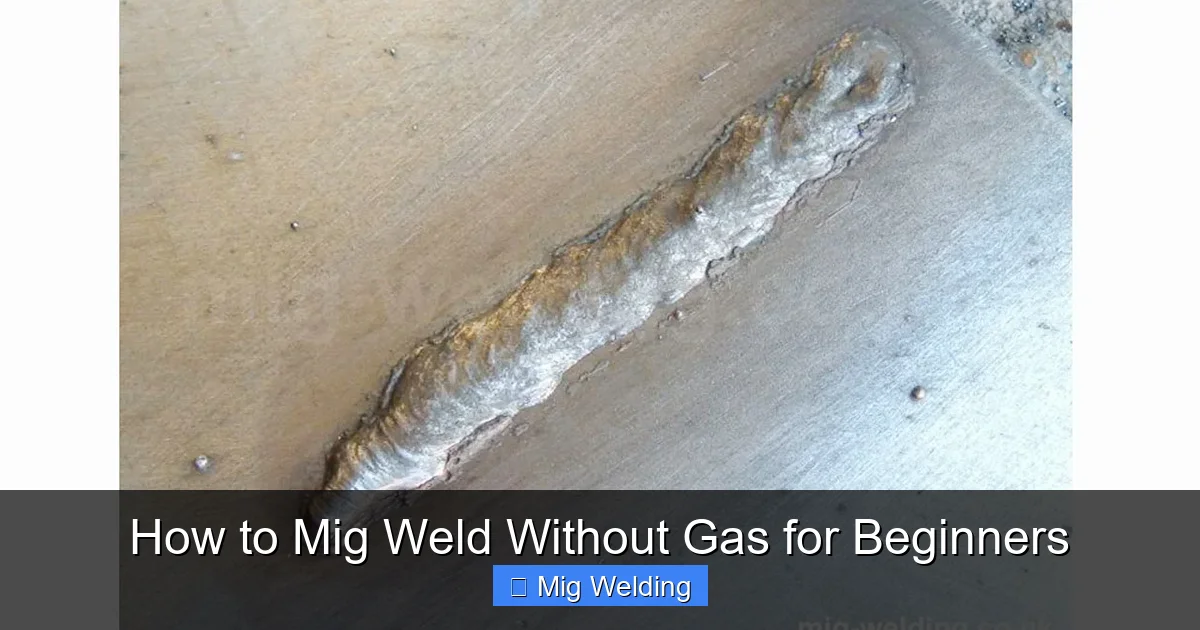
Visual guide about How to Mig Weld Without Gas for Beginners
Image source: weldingproperty.com
Traditional MIG welding uses a solid wire electrode and an external shielding gas (like argon or CO₂) to protect the weld pool from contamination. But when you weld without gas, you use a special type of wire called flux-cored wire.
This wire has a hollow core filled with flux—a chemical compound that, when heated, creates a gas shield around the weld. It also forms a slag layer that protects the cooling metal. Because the flux does the job of the gas, you don’t need a gas tank or regulator.
This makes flux-cored welding perfect for:
- Outdoor projects (wind blows gas away)
- Beginners who want to avoid extra equipment
- Welding thicker or rusty metals
- Mobile or remote work
Equipment You’ll Need
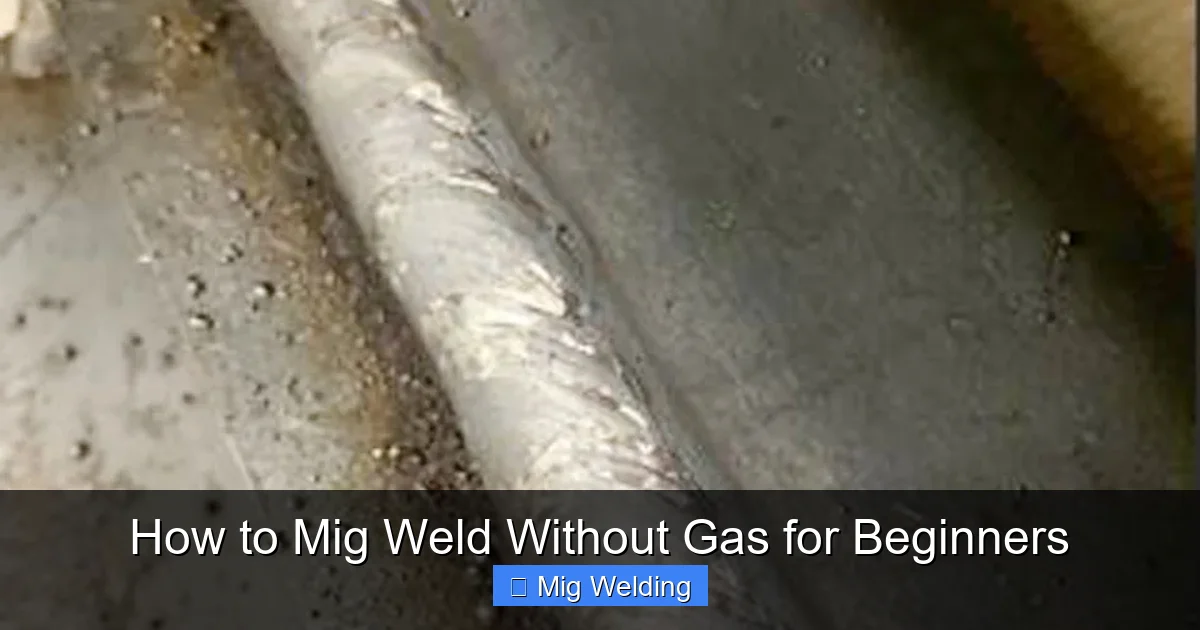
Visual guide about How to Mig Weld Without Gas for Beginners
Image source: weldinginto.com
You don’t need a fancy setup to get started. Here’s what you’ll need:
1. A MIG Welder with Flux-Cored Capability
Most entry-level MIG welders (like the Hobart Handler 140 or Lincoln Handy MIG) can handle flux-cored wire. Check your owner’s manual to confirm. These machines often have a switch or setting for “flux” or “gasless” mode.
2. Flux-Cored Wire
Look for E71T-GS or E71T-11 wire—these are self-shielding and designed for beginners. Use 0.030” or 0.035” diameter for most home projects. Avoid dual-shield wires (they require gas).
3. Welding Helmet and Safety Gear
Always wear:
- Auto-darkening welding helmet
- Flame-resistant gloves
- Long-sleeve shirt and pants (no synthetic fabrics)
- Safety glasses under the helmet
- Respirator or fume extractor (flux fumes are stronger than MIG)
4. Wire Brush and Grinder
Clean metal is essential. Use a stainless steel wire brush and angle grinder to remove rust, paint, and mill scale before welding.
5. Clamps and Work Surface
Secure your workpiece with clamps and weld on a clean, dry metal table or surface.
Step-by-Step Setup for Gasless MIG Welding
Step 1: Switch to Flux-Cored Mode
Turn off your welder. Open the wire feeder and remove any solid wire. Install the flux-cored spool, making sure it feeds smoothly. Close the feeder and secure the spool.
Step 2: Reverse the Polarity
This is critical. For flux-cored welding, you must use DCEN (Direct Current Electrode Negative). That means:
- The welding gun (electrode) connects to the negative (-) terminal
- The ground clamp connects to the positive (+) terminal
Check your welder’s manual for polarity switch instructions. Some machines have a physical switch; others require you to swap the cables.
Step 3: Set Voltage and Wire Feed Speed
Start with the manufacturer’s recommended settings for your wire diameter and metal thickness. For example:
- 1/8” steel: 18–20 volts, wire feed 200–250 IPM
- 1/4” steel: 20–22 volts, wire feed 250–300 IPM
Use scrap metal to test and adjust. Too low = poor penetration. Too high = burn-through and excessive spatter.
Step 4: Prepare the Metal
Clean the joint thoroughly. Use a wire brush or grinder to remove rust, paint, oil, and dirt. Even small contaminants can cause porosity or weak welds.
Step 5: Position Yourself and the Gun
Stand comfortably with a stable stance. Hold the gun at a 10–15 degree push angle (pointing slightly in the direction of travel). Keep the nozzle ½ inch from the metal.
How to Weld: Technique Tips for Beginners
1. Use the Push Technique
Unlike standard MIG welding (which uses a drag or pull technique), flux-cored welding works best with a push angle. This helps the flux shield the weld and reduces spatter.
2. Maintain a Steady Travel Speed
Move too slow = excessive buildup and burn-through. Move too fast = lack of fusion. Aim for a smooth, consistent pace—like painting a line.
3. Keep the Stick-Out Short
The “stick-out” is how much wire extends from the nozzle. Keep it around ½ inch. Too long = unstable arc and more spatter.
4. Watch the Puddle
Look for a shiny, fluid puddle that flows evenly. If it’s bubbling or popping, you may have contamination or incorrect settings.
5. Overlap Beads Slightly
For multi-pass welds, overlap each pass by about ⅓ of the bead width for a smooth, strong finish.
Common Problems and Troubleshooting
Porosity (Holes in the Weld)
Cause: Dirty metal, wind, or incorrect voltage.
Fix: Clean the metal thoroughly. Weld indoors or use a windbreak. Increase voltage slightly.
Excessive Spatter
Cause: Too high voltage, long stick-out, or wrong polarity.
Fix: Lower voltage, shorten stick-out, and double-check polarity (must be DCEN).
Weak or Incomplete Fusion
Cause: Too fast travel speed or low voltage.
Fix: Slow down and increase voltage. Ensure good ground contact.
Wire Feeding Problems
Cause: Incorrect tension, kinked wire, or wrong drive roll.
Fix: Use V-groove drive rolls for flux-cored wire. Adjust tension so the wire feeds smoothly without slipping.
Safety Tips You Can’t Ignore
Flux-cored welding produces more fumes, sparks, and UV radiation than standard MIG welding. Always:
- Wear a respirator rated for welding fumes (N95 minimum, P100 preferred)
- Work in a well-ventilated area or use an exhaust fan
- Keep a fire extinguisher nearby
- Remove flammable materials from the workspace
- Let welds cool before touching
Practice Makes Perfect
Start with simple butt joints on scrap steel. Practice straight beads, then try corners and T-joints. Don’t worry if your first welds look messy—every welder starts somewhere. Focus on consistency, and your skills will improve fast.
Conclusion
MIG welding without gas is a practical, beginner-friendly option that opens up welding to more people. With the right setup, technique, and safety habits, you can produce strong, clean welds on a variety of projects—no gas cylinder required.
Remember:
- Use flux-cored wire and reverse polarity
- Clean your metal and practice on scrap
- Push the gun, maintain steady speed, and watch your puddle
- Always prioritize safety
With patience and practice, you’ll soon be welding like a pro—gas-free and confident.