

MIG welding galvanized sheet metal requires special care due to toxic zinc fumes. This guide covers safety, prep, technique, and troubleshooting to help you weld clean, strong joints without compromising your health or the material’s integrity.
Key Takeaways
- Safety first: Always wear a respirator and work in a well-ventilated area to avoid inhaling harmful zinc oxide fumes.
- Remove the zinc coating: Grind or sand the weld area to expose bare metal and prevent porosity and cracking.
- Use the right settings: Lower voltage and wire speed help control heat input and reduce burn-through on thin galvanized steel.
- Choose proper filler wire: ER70S-6 wire with added deoxidizers works best for galvanized steel.
- Control travel speed: Move steadily to avoid overheating, which can vaporize the zinc and weaken the weld.
- Clean post-weld residue: Brush off white zinc oxide powder after welding to prevent corrosion and improve appearance.
- Practice on scrap metal: Test your settings and technique before working on your final project.
Introduction: Why MIG Welding Galvanized Steel Is Tricky
Welding galvanized sheet metal with a MIG welder can be a bit like walking a tightrope—do it right, and you get strong, clean welds. Do it wrong, and you risk your health, ruin the material, or end up with weak, porous joints. The challenge comes from the zinc coating that protects the steel from rust. While that coating is great for longevity, it releases toxic fumes when heated and can cause weld defects if not handled properly.
In this guide, you’ll learn how to MIG weld galvanized sheet metal safely and effectively. We’ll walk you through preparation, equipment setup, welding technique, and post-weld cleanup. Whether you’re fixing a car panel, building a metal cabinet, or working on a DIY project, these steps will help you get professional results without the guesswork.
Step 1: Prioritize Safety
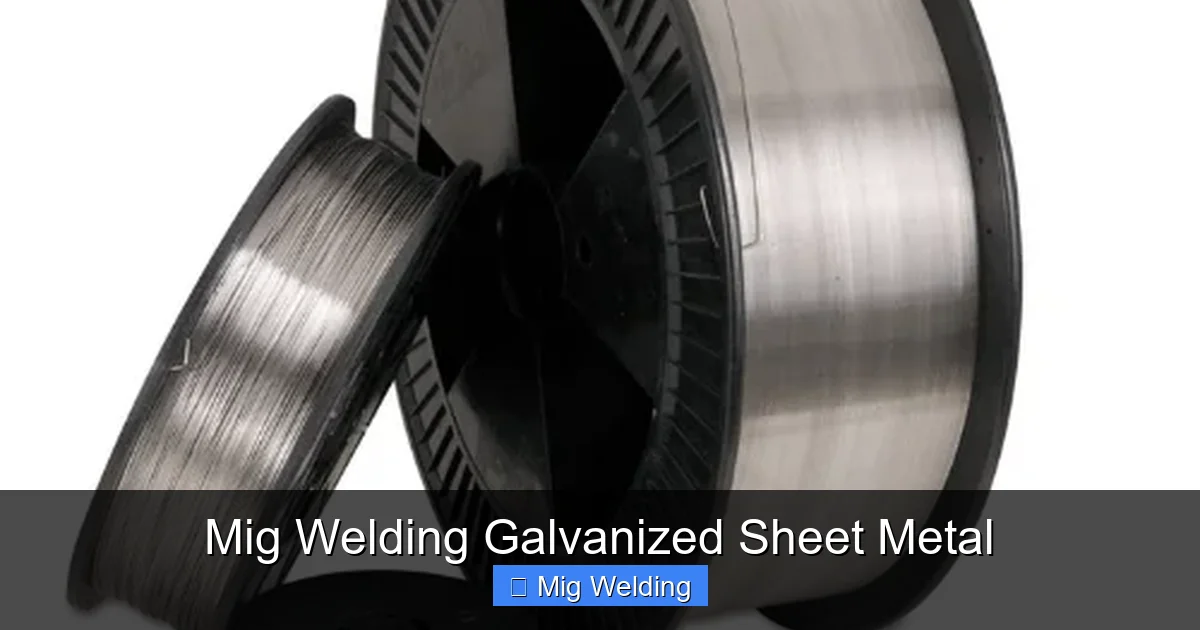
Visual guide about Mig Welding Galvanized Sheet Metal
Image source: zemetal.com
Before you even plug in your welder, safety should be your top priority. Galvanized steel is coated with zinc, and when heated, it produces zinc oxide fumes—these are highly toxic and can cause “metal fume fever,” with symptoms like fever, chills, nausea, and headaches.
Wear Proper Respiratory Protection
Never weld galvanized metal without a respirator. A basic dust mask won’t cut it. Use a NIOSH-approved respirator with organic vapor and particulate filters, or better yet, a powered air-purifying respirator (PAPR). If you’re working indoors, consider using a fume extractor or welding helmet with built-in ventilation.
Ensure Good Ventilation
Work in a well-ventilated area—preferably outdoors or in a garage with open doors and fans. If you must weld indoors, set up exhaust fans to pull fumes away from your breathing zone. Never weld in a confined space without proper airflow.
Protect Your Skin and Eyes
Wear flame-resistant clothing, welding gloves, and a full-face welding helmet with the correct shade lens (usually shade 10–13 for MIG welding). Zinc fumes can also irritate skin, so cover up as much as possible.
Step 2: Prepare the Galvanized Surface
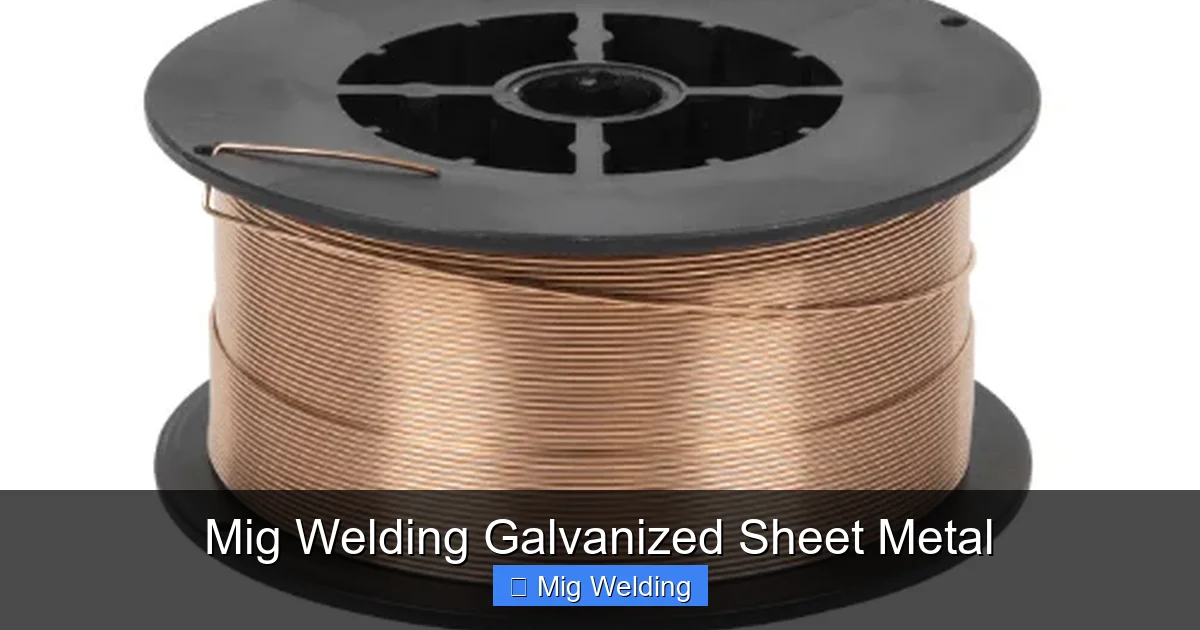
Visual guide about Mig Welding Galvanized Sheet Metal
Image source: zemetal.com
The zinc coating is the main obstacle to a good weld. If you weld over it, the zinc will vaporize and get trapped in the weld pool, causing porosity, spatter, and weak joints.
Grind or Sand the Weld Zone
Use a 4- to 6-inch angle grinder with a flap disc or a wire brush to remove the zinc coating from both sides of the joint, extending about 1 inch beyond the weld area. You want to expose the bare steel underneath. Be thorough—any remaining zinc can cause problems.
Clean the Metal
After grinding, wipe the area with a clean rag and a solvent like acetone or isopropyl alcohol to remove dust, oil, and grease. Contaminants can lead to poor fusion and weld defects.
Clamp the Pieces Securely
Galvanized sheet metal is often thin, so it can warp easily. Use clamps or magnets to hold the pieces in place. If you’re welding lap joints or butt joints, make sure there’s minimal gap—tight fit-ups reduce the risk of burn-through.
Step 3: Set Up Your MIG Welder
Proper machine settings are crucial for welding thin galvanized steel without burning through or creating weak welds.
Choose the Right Wire
Use ER70S-6 solid wire, which has added deoxidizers (like manganese and silicon) that help handle impurities in the metal. Avoid flux-cored wire unless you’re working in windy conditions—it can increase spatter and fume production.
Set Voltage and Wire Speed
Start with lower settings than you’d use for uncoated steel. For 18- to 20-gauge sheet metal, try:
– Voltage: 18–20 volts
– Wire speed: 200–300 inches per minute (IPM)
Adjust based on your welder and material thickness. Thinner metal needs less heat. Use a short-circuit transfer mode, which is ideal for thin materials.
Use the Correct Gas Mix
A 75% argon / 25% CO2 mix (C25) is the best choice for MIG welding galvanized steel. It provides good arc stability, low spatter, and deep penetration without excessive heat.
Check Your Equipment
Make sure your ground clamp is secure and your contact tip is clean. A poor ground or clogged tip can cause erratic arcs and poor welds.
Step 4: Welding Technique
Now that everything is set up, it’s time to weld. The key is controlling heat and travel speed to avoid burning through or trapping zinc fumes.
Use a Push Technique
For thin galvanized steel, use a push (forehand) technique—tilt the gun 10–15 degrees in the direction of travel. This helps direct the arc away from the weld pool and reduces the chance of burn-through.
Maintain a Short Arc Length
Keep the gun close to the workpiece—about ½ inch away. A short arc gives better control and more consistent heat input.
Control Travel Speed
Move steadily and smoothly. Too slow, and you’ll overheat the metal and vaporize more zinc. Too fast, and you won’t get proper penetration. Aim for a consistent bead with slight ripples.
Weld in Short Stints
On long welds, work in 2- to 3-inch sections, allowing the metal to cool slightly between passes. This prevents warping and reduces fume buildup.
Step 5: Post-Weld Cleanup
After welding, you’ll notice a white, powdery residue around the weld—this is zinc oxide. It’s not harmful once cooled, but it can trap moisture and lead to corrosion over time.
Brush Off the Residue
Use a stiff wire brush to remove the white powder from the weld and surrounding area. For tight spots, a brass brush works well and won’t scratch the metal.
Inspect the Weld
Check for cracks, porosity, or lack of fusion. A good weld should be smooth, consistent, and free of holes. If you see issues, you may need to adjust your settings or re-weld the area.
Apply a Protective Coating
Since you’ve removed the galvanized coating, the welded area is now vulnerable to rust. Apply a zinc-rich paint or cold galvanizing compound to restore corrosion protection. Let it dry completely before handling.
Troubleshooting Common Problems
Even with careful preparation, issues can arise. Here’s how to fix the most common problems:
Porosity or Holes in the Weld
This is usually caused by trapped zinc fumes. Make sure you’ve removed the coating thoroughly and that your gas flow is adequate (15–20 CFH). Also, check for drafts that can disrupt the shielding gas.
Burn-Through
Too much heat is the culprit. Reduce voltage and wire speed, and use a shorter arc. Welding in shorter bursts and using a copper backing bar can also help dissipate heat.
Excessive Spatter
Spatter often results from incorrect voltage or wire speed. Try lowering the voltage slightly or increasing travel speed. Also, ensure your gun angle is consistent.
Weak or Cracked Welds
This can happen if the zinc wasn’t fully removed or if the weld cooled too quickly. Re-grind the area, re-weld with proper settings, and allow slow cooling.
Conclusion: Mastering Galvanized MIG Welding
MIG welding galvanized sheet metal doesn’t have to be intimidating. With the right safety gear, proper surface prep, and careful technique, you can produce strong, clean welds every time. Remember: grind off the zinc, control your heat, and protect yourself from fumes. Practice on scrap pieces first, and don’t rush the process. Over time, you’ll develop the feel for how galvanized steel behaves under the arc. Whether you’re a hobbyist or a professional, these skills will serve you well in countless repair and fabrication projects.