

Welding aluminum with a spool gun vertically can be tricky, but with the right setup and technique, you’ll get strong, clean welds every time. This guide walks you through equipment prep, settings, and vertical welding techniques to help you master aluminum MIG welding with confidence.
Key Takeaways
- Use the right wire: Always use 4043 or 5356 aluminum welding wire for best results with a spool gun.
- Cleanliness is critical: Aluminum oxidizes quickly—clean the base metal and wire before welding to avoid contamination.
- Spool gun setup matters: Properly install and tension the spool gun to prevent birdnesting and feeding issues.
- Vertical welding technique: Use a push technique and steady travel speed; go upward for better control and penetration.
- Correct voltage and wire speed: Start with manufacturer recommendations and fine-tune based on your machine and material thickness.
- Use argon shielding gas: 100% argon is ideal for aluminum—avoid mixes unless specified for your application.
- Practice on scrap first: Always test your settings and technique on similar aluminum scrap before welding your final piece.
Introduction: Why Weld Aluminum Vertically with a Spool Gun?
Welding aluminum can be intimidating—especially when working in vertical positions. But with a spool gun and the right approach, you can achieve strong, professional-looking welds on aluminum without the hassle of long feeder hoses or wire feeding issues.
In this guide, you’ll learn how to weld aluminum with a spool gun vertically, step by step. Whether you’re working on automotive parts, boat repairs, or custom fabrication, mastering vertical aluminum MIG welding opens up new possibilities. We’ll cover equipment setup, wire selection, machine settings, technique, and troubleshooting—so you can weld with confidence and precision.
Step 1: Gather the Right Equipment
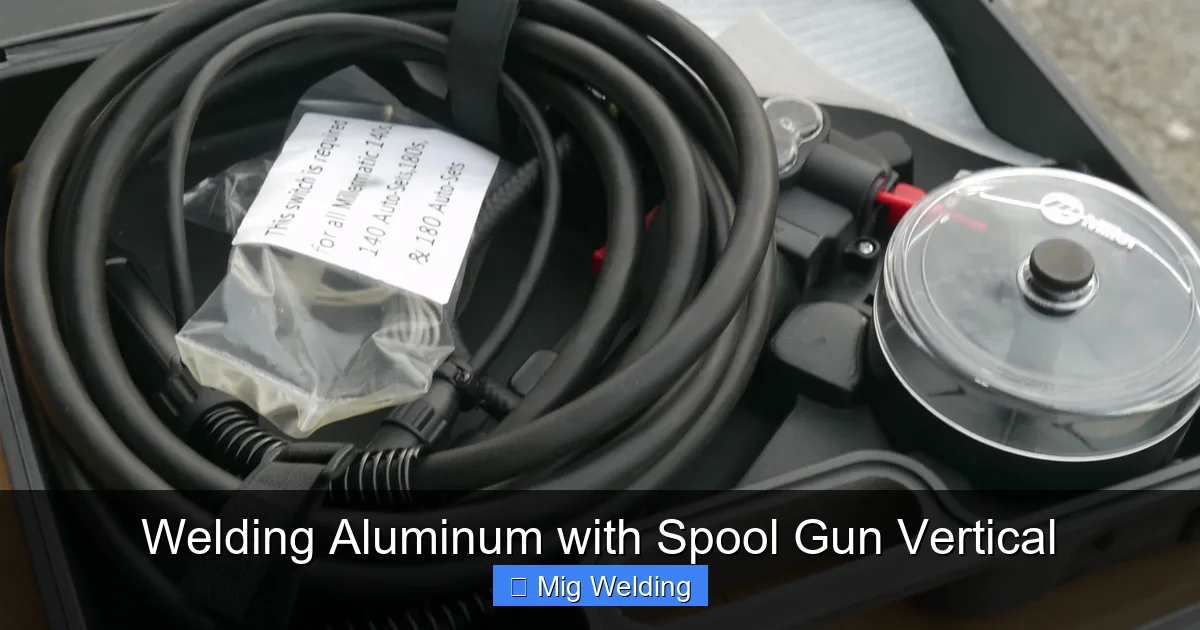
Visual guide about Welding Aluminum with Spool Gun Vertical
Image source: k–b.org
Before you strike an arc, make sure you have the proper tools and materials.
Essential Tools and Materials
- MIG welder with spool gun compatibility: Not all MIG welders support spool guns. Check your manual to confirm compatibility.
- Spool gun: Designed specifically for aluminum, it feeds wire smoothly and reduces birdnesting.
- Aluminum welding wire: Use 4043 (good for general use, lower temp) or 5356 (stronger, higher temp resistance).
- 100% argon shielding gas: Aluminum requires pure argon—no CO2 or mixes unless specified.
- Wire brush (stainless steel): For cleaning aluminum surfaces—never use a steel brush, as it can contaminate the weld.
- Acetone or aluminum cleaner: To remove oils, grease, and oxides from the metal surface.
- Welding gloves and helmet: Aluminum reflects more light—use a helmet with a darker shade (10–13).
Why a Spool Gun?
Aluminum wire is soft and prone to kinking. A spool gun holds a small spool of wire right at the gun, eliminating long feeding distances that cause feeding problems. This makes it ideal for vertical welding, where consistent wire feed is crucial.
Step 2: Prepare the Aluminum Surface
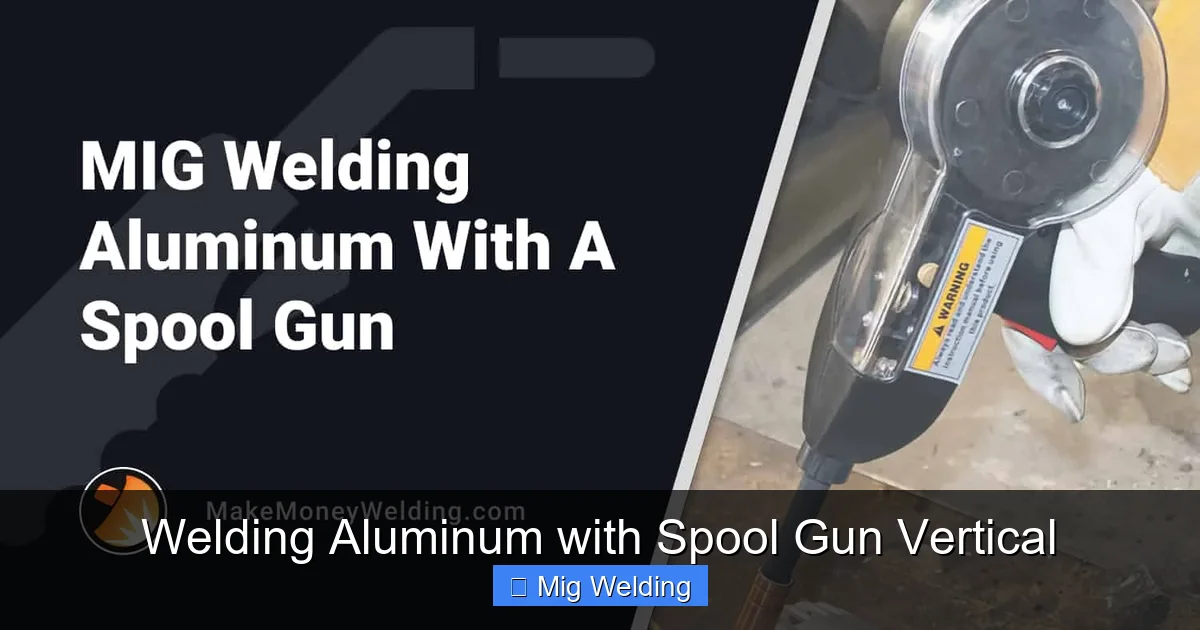
Visual guide about Welding Aluminum with Spool Gun Vertical
Image source: makemoneywelding.com
Aluminum forms a thin oxide layer almost instantly when exposed to air. This layer has a much higher melting point than the base metal and can cause poor fusion and porosity.
Clean the Base Metal
- Wipe the surface with acetone or a dedicated aluminum cleaner to remove oil, grease, and dirt.
- Use a stainless steel wire brush to scrub the area where you’ll weld. Brush in one direction only—don’t go back and forth.
- Clean the wire too: Wipe the aluminum wire with a clean cloth dampened with acetone before loading it into the spool gun.
- Weld within 15–30 minutes of cleaning. If you wait too long, oxides will reform.
Joint Preparation
For vertical welding, a tight fit-up is essential. Use a V-groove or butt joint with minimal gap. Clamp pieces securely to prevent movement during welding.
Step 3: Set Up the Spool Gun
Proper setup prevents feeding issues and ensures smooth wire delivery.
Install the Wire
- Open the spool gun cover and place the aluminum wire spool on the hub.
- Thread the wire through the guide tubes and into the drive roll.
- Adjust the tension knob—too tight can deform the soft aluminum wire; too loose causes slipping. Aim for firm but gentle pressure.
- Close the cover and trigger the gun briefly to feed wire through the liner.
Connect the Spool Gun
Attach the spool gun to your MIG welder using the designated connector. Make sure the gas line is connected and the ground clamp is securely attached to the workpiece.
Step 4: Adjust Machine Settings
Aluminum requires different settings than steel. Start with these guidelines and fine-tune as needed.
Voltage and Wire Speed
- Thin material (1/8″ or less): 18–20 volts, 200–300 inches per minute (IPM) wire speed.
- Medium thickness (1/8″ to 1/4″): 20–22 volts, 300–400 IPM.
- Thick material (1/4″+): 22–24 volts, 400–500 IPM.
Note: These are starting points. Always test on scrap first.
Gas Flow Rate
Set your argon flow to 20–30 cubic feet per hour (CFH). Too little causes porosity; too much creates turbulence and draws in air.
Stick-Out Length
Keep the wire stick-out (distance from contact tip to workpiece) to 3/8″ to 1/2″. Longer stick-out increases resistance heating and can cause erratic arcs.
Step 5: Master the Vertical Welding Technique
Vertical welding requires control and consistency. Here’s how to do it right.
Choose the Right Direction
For most vertical welds, weld upward (vertical-up). This gives better penetration and helps control the puddle. Downward welding (vertical-down) is faster but offers less control and is better for thin materials.
Use the Push Technique
Always push the weld puddle away from you. This improves gas coverage and gives a cleaner, flatter bead. Hold the gun at a 10–15 degree angle, pointing slightly upward.
Maintain a Steady Travel Speed
Move too fast, and you’ll get lack of fusion. Too slow, and you’ll burn through or create excessive buildup. Aim for a smooth, consistent motion. Practice on scrap to find the right rhythm.
Watch the Puddle
Look for a shiny, fluid puddle that flows evenly. If it’s dull or bubbly, you may have contamination or incorrect settings. Adjust voltage or wire speed as needed.
Step 6: Troubleshooting Common Issues
Even with perfect setup, problems can happen. Here’s how to fix them.
Porosity (Air Pockets in the Weld)
- Cause: Contamination, poor gas coverage, or moisture.
- Fix: Clean the metal and wire thoroughly. Check gas flow and ensure the nozzle isn’t clogged. Store gas cylinders in a dry place.
Wire Feeding Problems (Birdnesting, Skipping)
- Cause: Incorrect tension, dirty liner, or wrong drive roll.
- Fix: Adjust spool gun tension. Clean or replace the liner. Use U-groove drive rolls for aluminum—never V-groove.
Lack of Fusion
- Cause: Low voltage, slow travel speed, or incorrect angle.
- Fix: Increase voltage slightly. Use a push technique and ensure the arc is penetrating both sides of the joint.
Burn-Through
- Cause: Too much heat on thin material.
- Fix: Reduce voltage and wire speed. Use a backstep or weave technique to manage heat input.
Step 7: Post-Weld Care and Inspection
After welding, let the aluminum cool naturally. Don’t quench it with water—this can cause cracking.
Inspect the Weld
Look for:
- Even bead profile
- No visible cracks or porosity
- Good fusion at the toes of the weld
Clean the Weld
Use a stainless steel brush to remove any surface oxides. For critical applications, consider a post-weld chemical clean or passivation.
Conclusion: Practice Makes Perfect
Welding aluminum with a spool gun vertically isn’t something you master overnight—but with the right setup, clean materials, and consistent technique, you’ll get there. Remember: cleanliness, correct settings, and steady hand movement are your best friends.
Start with scrap metal to dial in your settings, then move to your actual project. Over time, you’ll develop the feel for aluminum’s unique behavior and produce strong, beautiful welds every time.
With this guide, you’re well on your way to becoming confident in vertical aluminum MIG welding. Now grab your spool gun, fire up the welder, and start welding!