
TIG welding, or Gas Tungsten Arc Welding (GTAW), is a precise and versatile welding method that uses a non-consumable tungsten electrode. It produces high-quality, clean welds ideal for thin materials, stainless steel, aluminum, and critical applications like aerospace and automotive work.
Key Takeaways
- TIG welding uses a non-consumable tungsten electrode to create an arc that melts the base metal, with filler rod added manually for stronger joints.
- Inert gas shielding (usually argon) protects the weld pool from contamination, ensuring clean, oxidation-free results.
- Requires both hands and foot control—one hand holds the torch, the other feeds filler rod, while a foot pedal adjusts heat for precision.
- Ideal for thin metals and exotic alloys like aluminum, stainless steel, and magnesium, making it popular in aerospace, automotive, and art welding.
- Produces minimal spatter and slag, reducing cleanup time and allowing for visually appealing, high-integrity welds.
- Steeper learning curve than MIG or stick welding, but offers superior control and weld quality once mastered.
- Essential equipment includes a TIG torch, tungsten electrode, gas regulator, and high-frequency start for reliable arc initiation.
What Is TIG Welding?
TIG welding, short for Tungsten Inert Gas welding, is a highly precise arc welding process that uses a non-consumable tungsten electrode to join metals. Officially known as Gas Tungsten Arc Welding (GTAW), this method is celebrated for producing clean, strong, and visually appealing welds. Unlike other welding types that use consumable electrodes, TIG welding keeps the electrode intact while melting the base metal with intense heat from an electric arc.
One of the standout features of TIG welding is its use of inert shielding gas—typically argon or a mix of argon and helium—to protect the molten weld pool from atmospheric contamination. This prevents oxidation and ensures a pure, high-quality bond. Because the process gives the welder full control over heat input and filler material, it’s ideal for delicate or critical applications where precision matters.
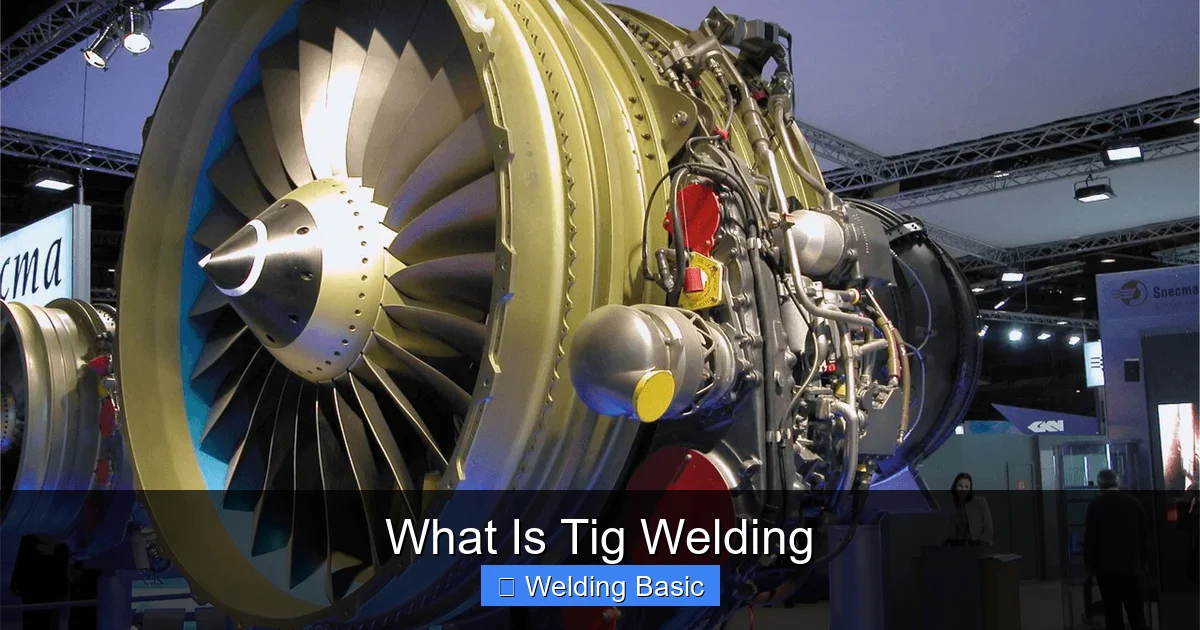
If you’re working with thin sheets of metal, exotic alloys, or need a weld that looks as good as it performs, TIG welding is often the go-to choice. From custom motorcycle frames to aerospace components, TIG delivers results that other methods simply can’t match.
How TIG Welding Works
At its core, TIG welding creates a controlled electric arc between a tungsten electrode and the workpiece. This arc generates intense heat—up to 10,000°F—that melts the metal at the joint. The welder then manually adds a filler rod into the molten pool to strengthen the bond, while inert gas flows around the arc to shield it from air.
Visual guide about What Is Tig Welding
Image source: polysoude.com
Key Components in Action
- Tungsten Electrode: This non-consumable tip conducts electricity and creates the arc. It doesn’t melt, so it stays sharp and reusable.
- Filler Rod: A separate metal rod (often matching the base metal) is dipped into the weld pool to fill the joint.
- Shielding Gas: Argon gas is released through the torch nozzle, forming a protective bubble around the arc and weld pool.
- Power Source: TIG machines provide either AC (for aluminum) or DC (for steel and stainless) current, with adjustable amperage.
The Role of the Welder
TIG welding is often called “the artist’s welding method” because it requires skill, coordination, and patience. The welder uses both hands and a foot pedal:
– One hand holds the TIG torch and controls the arc.
– The other hand feeds the filler rod into the weld pool in a steady, rhythmic motion.
– The foot pedal adjusts the amperage in real time, allowing for smooth starts, stops, and heat control during the weld.
This level of control makes TIG ideal for intricate work, but it also means the learning curve is steeper than with MIG or stick welding.
Essential TIG Welding Equipment
To get started with TIG welding, you’ll need more than just a welder. Here’s a breakdown of the essential gear:

Visual guide about What Is Tig Welding
Image source: weldingempire.com
1. TIG Welder (GTAW Machine)
Look for a machine with AC/DC capability if you plan to weld both aluminum and steel. Entry-level models start around $500, while professional units can exceed $2,000. Key features include high-frequency start, pulse welding, and foot pedal compatibility.
2. TIG Torch
The torch holds the tungsten electrode and delivers gas and electricity. Torches come in air-cooled (for light-duty work) and water-cooled (for high-amperage, long-duration welding) versions. A flexible, ergonomic torch reduces hand fatigue.
3. Tungsten Electrodes
Choose the right type based on your material:
– Thoriated (red): Good for steel, but contains radioactive material—use with caution.
– Ceriated (orange): Great for AC and DC, low radioactivity.
– Lanthanated (gold): Versatile and safe, excellent for both aluminum and steel.
– Zirconiated (white): Best for AC welding on aluminum.
Always grind the electrode to a sharp point (for DC) or balled tip (for AC) using a dedicated tungsten grinder or bench grinder.
4. Shielding Gas and Regulator
Pure argon is the most common choice. Use a flow rate of 15–20 cubic feet per hour (CFH). A quality gas regulator with a flowmeter ensures consistent delivery. Keep your gas cylinder secured and stored upright.
5. Filler Rods
Match the filler metal to your base material:
– ER70S-2: For mild steel.
– ER308L: For stainless steel.
– ER5356 or ER4043: For aluminum.
Store rods in a dry place to prevent moisture absorption, which can cause porosity.
6. Safety Gear
- Auto-darkening welding helmet: Protects eyes from UV/IR rays and allows clear visibility.
- Flame-resistant gloves and jacket: TIG gloves are thinner for better dexterity.
- Welding boots and safety glasses: Essential for foot and eye protection.
- Ventilation or fume extractor: Prevents inhalation of harmful fumes, especially when welding galvanized steel.
Step-by-Step TIG Welding Process
Now that you have your equipment, here’s how to perform a basic TIG weld:
Step 1: Prepare the Workpiece
Clean the metal thoroughly using a stainless steel wire brush or grinder. Remove oil, paint, rust, and mill scale. For aluminum, use a dedicated brush—never reuse one that touched steel—to avoid contamination.
Step 2: Set Up the Machine
- Select DCEN (Direct Current Electrode Negative) for steel and stainless.
- Choose AC (Alternating Current) for aluminum to break up the oxide layer.
- Set amperage based on material thickness (e.g., 1 amp per 0.001 inch of steel).
- Connect the foot pedal and gas supply.
Step 3: Prepare the Tungsten
Grind the tungsten to a sharp point for DC welding or ball the tip for AC. Use a dedicated grinder to avoid contamination. Insert it into the torch collet and tighten securely.
Step 4: Position and Tack
Clamp the pieces together and create small tacks every few inches to hold alignment. This prevents warping during welding.
Step 5: Start the Arc
Use the high-frequency start to initiate the arc without touching the tungsten to the metal. Hold the torch at a 15-degree angle, about 1/8 inch above the workpiece.
Step 6: Begin Welding
- Press the foot pedal to start the arc and create a small puddle.
- Move the torch slowly along the joint in a steady motion.
- Dip the filler rod into the leading edge of the puddle in a “dab and pull” rhythm.
- Keep the arc length consistent—too long causes instability, too short risks tungsten contamination.
Step 7: Control Heat with the Foot Pedal
Use the pedal to increase heat when starting or welding thicker sections, and reduce it toward the end to prevent crater cracks. Smooth, gradual changes in amperage are key.
Step 8: Finish and Cool
Once the weld is complete, slowly lift the torch and release the pedal. Allow the weld to cool naturally—don’t quench it with water, as this can cause cracking.
Tips for Better TIG Welds
- Practice on scrap metal before working on your project. TIG requires muscle memory and hand-eye coordination.
- Keep your tungsten clean—never let it touch the weld pool or filler rod.
- Use a gas lens for better gas coverage and longer tungsten life.
- Maintain a consistent travel speed—too fast causes lack of fusion, too slow leads to burn-through.
- Store filler rods in a rod oven if welding in humid conditions to prevent moisture.
Troubleshooting Common TIG Welding Problems
Even experienced welders run into issues. Here’s how to fix the most common ones:
Porosity (Bubbles in the Weld)
Cause: Contaminated base metal, moisture, or insufficient gas flow.
Solution: Clean the metal thoroughly, check gas connections, and increase flow rate slightly.
Tungsten Contamination
Cause: Tungsten touches the weld pool or filler rod.
Solution: Stop immediately, grind the contaminated tip, and restart with a clean electrode.
Lack of Fusion
Cause: Too fast travel speed or low amperage.
Solution: Slow down, increase heat, and ensure proper joint fit-up.
Arc Instability
Cause: Dull tungsten, incorrect polarity, or poor grounding.
Solution: Regrind the electrode, check machine settings, and clean the ground clamp.
Conclusion
TIG welding is a powerful, precise, and versatile welding method that rewards patience and practice. While it takes time to master, the results—clean, strong, and beautiful welds—are unmatched for thin materials, exotic metals, and high-stakes applications. By understanding the equipment, process, and common pitfalls, you’ll be well on your way to becoming a confident TIG welder. Whether you’re building a custom bike frame, repairing aerospace parts, or creating metal art, TIG welding gives you the control and quality you need to succeed.