
6G in welding refers to the most challenging pipe welding position, where the pipe is fixed at a 45-degree angle and cannot be rotated. This guide explains everything you need to know about 6G welding, from setup and techniques to certification tips and common mistakes to avoid.
Key Takeaways
- 6G is the most difficult welding position: It requires welding a fixed pipe at a 45-degree angle in all positions—flat, horizontal, vertical, and overhead—without rotating the pipe.
- It tests a welder’s full skill set: Passing a 6G certification proves mastery of multiple welding techniques and positions in one test.
- Commonly used in high-stakes industries: 6G welding is essential in oil and gas, power plants, and shipbuilding where strong, leak-proof joints are critical.
- Proper joint prep is crucial: A well-prepared bevel and tight fit-up make a huge difference in achieving a quality weld.
- Use the right welding process: TIG (GTAW) and stick (SMAW) are most common for 6G welding due to precision and control.
- Practice with mock tests: Simulating real test conditions helps build muscle memory and confidence.
- Certification opens career doors: A 6G certification can significantly increase your job opportunities and earning potential.
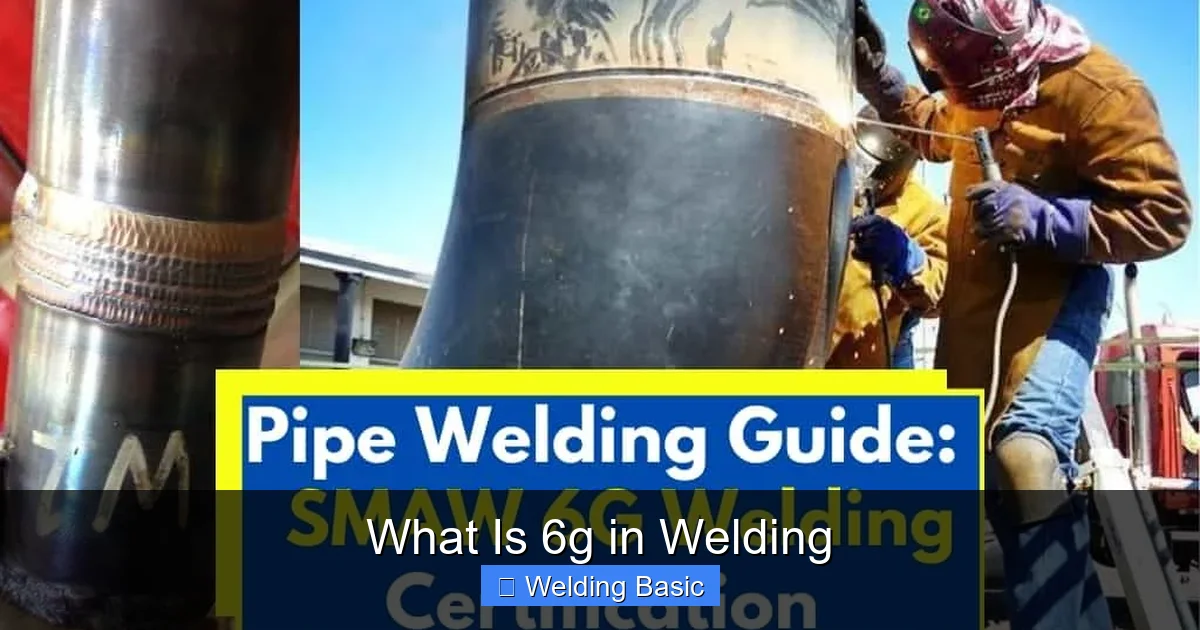
What Is 6G in Welding?
If you’re new to welding or looking to advance your skills, you’ve probably heard the term “6G” thrown around. But what exactly does it mean? Simply put, 6G in welding refers to a specific pipe welding position—the most difficult one to master. It’s a certification test that welders must pass to prove they can weld a fixed pipe at a 45-degree angle in all positions without rotating it.
This guide will walk you through everything you need to know about 6G welding: what it is, why it matters, how to prepare, and how to pass the test. Whether you’re a beginner or an experienced welder aiming for certification, this guide will help you understand and conquer the 6G position.
Understanding Welding Positions
Visual guide about What Is 6g in Welding
Image source: weldingtroop.com
Before diving into 6G, it’s important to understand the basics of welding positions. Welding positions are standardized by organizations like the American Welding Society (AWS) and are labeled using numbers and letters. These labels tell welders how the joint is oriented and whether the workpiece can be moved.
There are four main pipe welding positions:
- 1G (Flat position): The pipe is horizontal and can be rotated. The welder works from the top, making it the easiest position.
- 2G (Horizontal position): The pipe is vertical and fixed. The welder moves horizontally around the pipe.
- 5G (Vertical fixed position): The pipe is horizontal but fixed. The welder must weld from the top, down the side, and underneath.
- 6G (Inclined fixed position): The pipe is fixed at a 45-degree angle. The welder must work in flat, horizontal, vertical, and overhead positions—all in one weld.
The “6” in 6G means the pipe is inclined at 45 degrees, and the “G” stands for “groove weld.” This position is considered the ultimate test of a welder’s skill because it combines all other positions into one challenging setup.
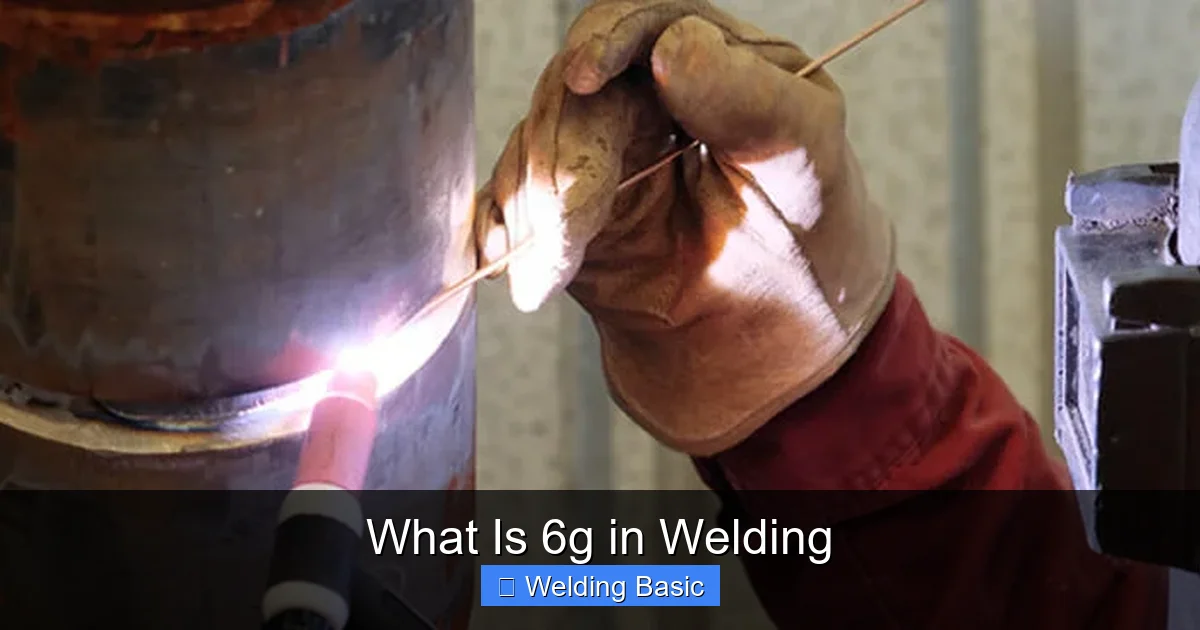
Why Is 6G Welding So Difficult?
Visual guide about What Is 6g in Welding
Image source: atslab.com
6G welding is tough for several reasons. First, the pipe is fixed—you can’t rotate it to make the weld easier. That means you have to adjust your body and torch angle constantly as you move from the top (flat), down the side (vertical), to the bottom (overhead).
Second, gravity works against you. In the overhead section, molten metal tends to sag or drip. In the vertical section, it can run downward. You need excellent control to manage the puddle and maintain consistent bead shape.
Third, visibility is limited. As you weld around the pipe, your view of the joint changes. You’ll need to rely on feel, experience, and proper technique to keep the weld consistent.
Finally, 6G tests your ability to switch between welding techniques. You might start with a weave in the flat section, switch to a whip-and-pause in the vertical, and use a tight arc in the overhead. Mastering these transitions is key.
Industries That Require 6G Welding
Because 6G welding is so challenging, it’s often required in high-stakes industries where safety and reliability are critical. These include:
- Oil and gas: Pipelines, refineries, and offshore platforms demand strong, leak-proof welds.
- Power generation: Nuclear and fossil fuel plants use 6G-certified welders for boiler and steam piping.
- Shipbuilding: Ships have complex piping systems that require precise welding.
- Aerospace: Some aircraft components use welded tubing that must meet strict standards.
- Chemical processing: Corrosive environments require high-integrity welds to prevent failures.
Having a 6G certification can set you apart in these fields and lead to higher-paying jobs.
Preparing for a 6G Welding Test
Passing a 6G certification test takes preparation, practice, and the right mindset. Here’s how to get ready:
Step 1: Choose the Right Welding Process
The two most common processes for 6G welding are:
- TIG (GTAW): Offers excellent control and clean welds. Ideal for thin materials and high-precision work.
- Stick (SMAW): More forgiving in windy or outdoor conditions. Common in field welding.
Most 6G tests allow either process, but TIG is often preferred for its precision. Choose the one you’re most comfortable with.
Step 2: Practice Joint Preparation
A good weld starts with a good joint. For 6G, you’ll typically weld a pipe-to-pipe joint with a V-groove bevel. Make sure:
- The bevel angle is correct (usually 37.5 degrees).
- The root gap is tight (around 1/8 inch).
- The fit-up is even—no gaps or misalignment.
- The edges are clean and free of rust, oil, or paint.
Use a grinder or torch to prepare the edges. A well-prepared joint makes welding much easier.
Step 3: Set Up Your Equipment
Make sure your welding machine is set correctly:
- For TIG: Use DCEN (direct current electrode negative) for steel. Set amperage based on material thickness.
- For Stick: Use 7018 or 6010 rods. 6010 is better for root passes; 7018 for fill and cap.
- Use the right tungsten size and sharpen it properly for TIG.
- Check gas flow (argon for TIG) and ensure your torch is in good condition.
Step 4: Practice on Mock Joints
Before the real test, practice on identical pipe setups. Use the same diameter, thickness, and joint design. Practice welding in all positions—flat, horizontal, vertical, and overhead—just like the real test.
Focus on:
- Maintaining a consistent travel speed.
- Keeping the correct arc length.
- Adjusting your body position for comfort and visibility.
- Using proper hand and body movement to control the puddle.
Step 5: Simulate Test Conditions
On test day, you’ll have limited time and no room for error. Practice under timed conditions. Set a timer and try to complete the weld in the same time you’ll have during the test (usually 30–60 minutes).
Also, practice in the exact position you’ll be tested in—standing, crouching, or using a stool. This builds muscle memory and reduces surprises.
Step-by-Step 6G Welding Technique
Now, let’s walk through the actual welding process:
Step 1: Start the Root Pass
Begin at the top (12 o’clock position). Use a short arc and steady motion. For TIG, use a slight backhand technique. For stick, use a whipping motion to control the puddle.
As you move down, gravity will pull the metal down. Keep the puddle small and move quickly to avoid burn-through.
Step 2: Weld the Vertical Section
As you reach the 3 o’clock position, switch to a vertical-up technique. Use a slight weave or whip motion to build the bead. Keep the arc on the leading edge of the puddle.
Don’t let the metal pool too much—it can drip. Stay focused and maintain consistent travel speed.
Step 3: Tackle the Overhead Section
This is the hardest part. At 6 o’clock, you’re welding overhead. Use a tight arc and minimal puddle. For TIG, use a slight push angle. For stick, use a short arc and steady hand.
Breathe slowly and stay relaxed. Tension leads to shaky hands.
Step 4: Finish the Horizontal and Flat Sections
As you come back up the other side, you’ll pass through horizontal (9 o’clock) and flat (12 o’clock) positions. Adjust your technique accordingly.
Finish with a clean cap pass. Use a slight weave to fill the groove and create a smooth, even bead.
Common Mistakes and How to Avoid Them
Even experienced welders make mistakes in 6G. Here are the most common ones:
- Burn-through: Caused by too much heat or slow travel. Fix: Reduce amperage, shorten arc length, or move faster.
- Poor fusion: Happens when the weld doesn’t penetrate the base metal. Fix: Increase heat, adjust angle, or clean the joint better.
- Porosity: Caused by contamination or poor gas coverage. Fix: Clean the metal, check gas flow, and avoid wind.
- Undercut: A groove along the weld edge. Fix: Reduce travel speed, adjust angle, or use a smaller puddle.
- Inconsistent bead: Results from uneven travel speed or hand movement. Fix: Practice steady motion and use guide tools if needed.
Tips for Passing the 6G Certification
- Practice daily: Even 30 minutes a day builds skill.
- Record your welds: Watch videos to spot mistakes.
- Get feedback: Ask a mentor or instructor to review your technique.
- Stay calm: Test day nerves can affect performance. Practice breathing and visualization.
- Know the code: Understand the AWS D1.1 or ASME Section IX standards your test follows.
Conclusion
6G welding is the ultimate challenge for any pipe welder. It tests your skill, patience, and adaptability. But with the right preparation, practice, and mindset, you can master it. Whether you’re aiming for a new job, a promotion, or personal growth, earning a 6G certification is a major achievement.
Remember: every expert was once a beginner. Start with the basics, practice consistently, and don’t be afraid to make mistakes—they’re part of the learning process. With dedication, you’ll not only understand what 6G in welding means—you’ll be able to do it with confidence.