
MIG welding with argon gas delivers cleaner, more stable welds with less spatter. This guide walks you through setup, gas selection, and best practices for both beginners and experienced welders.
Key Takeaways
- Argon improves arc stability: Using argon-based shielding gas creates a smoother, more controllable arc, especially on thin materials.
- Choose the right gas mix: Pure argon works for aluminum, while a 75% argon / 25% CO₂ mix is ideal for mild steel.
- Proper flow rate matters: Set your regulator between 15–25 CFH (cubic feet per hour) for optimal coverage and minimal turbulence.
- Clean materials are essential: Always remove rust, oil, and dirt before welding to prevent porosity and weak joints.
- Troubleshoot common issues: Watch for signs of poor gas coverage like excessive spatter or discolored welds.
- Safety first: Always wear a welding helmet, gloves, and work in a well-ventilated area when using shielding gases.
- Practice improves results: Start with scrap metal to fine-tune your technique before welding final pieces.
Introduction: Why Use Argon in MIG Welding?
MIG welding—short for Metal Inert Gas welding—is one of the most popular methods for joining metals because it’s fast, efficient, and beginner-friendly. One of the biggest factors that affects weld quality is the shielding gas you use. While many welders default to CO₂, adding argon to your gas mix can dramatically improve your results. Whether you’re working on automotive repairs, home projects, or metal fabrication, understanding how to MIG weld with argon gas will help you create cleaner, stronger, and more professional-looking welds.
In this guide, you’ll learn everything you need to know about using argon in MIG welding—from choosing the right gas mixture and setting up your machine to troubleshooting common problems. We’ll keep things simple, practical, and focused on real-world results. By the end, you’ll be confident using argon-based shielding gases on both steel and aluminum.
What Is Argon Gas and Why Use It?
Argon is an inert (non-reactive) gas that doesn’t interact chemically with molten metal. When used in MIG welding, it forms a protective “shield” around the weld pool, preventing oxygen and nitrogen from contaminating the weld. This results in:
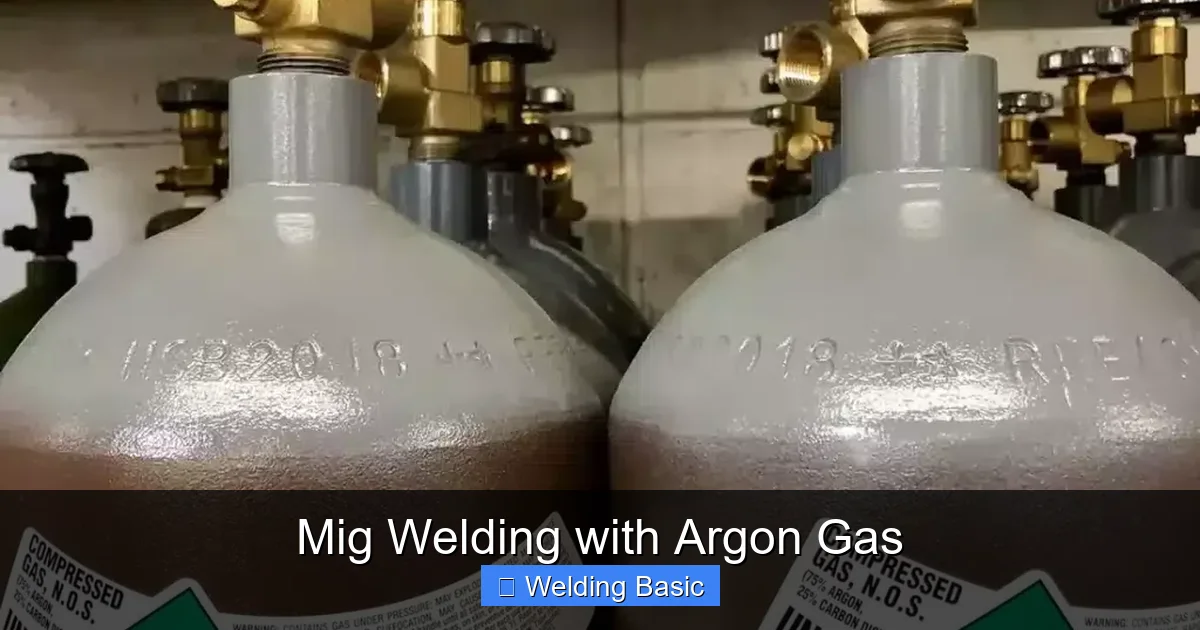
Visual guide about Mig Welding with Argon Gas
Image source: weldingpros.net
- Less spatter
- Smoother arc starts
- Reduced porosity (tiny holes in the weld)
- Better control, especially on thin materials
While pure argon is commonly used for TIG welding aluminum, in MIG welding it’s often blended with other gases like CO₂ or oxygen to improve performance on steel. Pure argon alone isn’t ideal for steel because it can cause an unstable arc and poor penetration. But when mixed correctly, argon becomes a powerful tool in your welding arsenal.
Choosing the Right Argon Gas Mix
Not all argon mixes are created equal. The right blend depends on the material you’re welding and the results you want.
Visual guide about Mig Welding with Argon Gas
Image source: bizimages.withfloats.com
For Mild Steel: 75% Argon / 25% CO₂
This is the most common and recommended mix for welding mild steel. The argon provides a stable arc and clean weld appearance, while the CO₂ adds penetration and helps prevent arc wandering. It’s widely available as “C25” gas and works well with most MIG welders.
For Stainless Steel: 90% Argon / 10% CO₂ or Tri-Mix
Stainless steel requires a cleaner weld to maintain corrosion resistance. A 90/10 argon/CO₂ mix reduces oxidation and keeps the weld bright. Some welders prefer a tri-mix (argon, helium, and CO₂) for thicker stainless pieces, but 90/10 is a great starting point.
For Aluminum: 100% Argon
Pure argon is the standard for MIG welding aluminum. It provides excellent arc stability and prevents the formation of aluminum oxide, which can ruin a weld. Always use a spool gun or push-pull system when MIG welding aluminum to avoid wire feeding issues.
Setting Up Your MIG Welder for Argon Gas
Once you’ve chosen your gas mix, it’s time to set up your machine. Follow these steps for a smooth, safe welding experience.
Step 1: Install the Gas Cylinder
Secure your argon gas cylinder upright in a cart or holder. Never lay it on its side. Attach the regulator to the cylinder valve and tighten it by hand, then use a wrench for a snug fit—don’t over-tighten. Open the cylinder valve slowly to avoid pressure surges.
Step 2: Connect the Gas Hose
Attach the gas hose from the regulator to the inlet on your MIG welder. Make sure all connections are tight and free of leaks. You can test for leaks by applying soapy water to the fittings—bubbles indicate a leak that needs fixing.
Step 3: Set the Flow Rate
Turn on the gas and set the flow rate using the regulator knob. For most applications, a flow rate of 15–25 CFH (cubic feet per hour) is ideal. Too little gas won’t protect the weld; too much can cause turbulence and pull in air. Start at 20 CFH and adjust as needed.
Step 4: Configure Your Welder Settings
Set your voltage and wire feed speed according to your material thickness and wire type. Most modern MIG welders have preset charts, but here’s a quick guide:
- 18-gauge steel: 16–18 volts, 150–200 IPM
- 1/8-inch steel: 19–21 volts, 250–300 IPM
- 1/4-inch steel: 22–24 volts, 350–400 IPM
Always do a test weld on scrap metal to fine-tune your settings.
Preparing Your Workpiece
Even the best gas and machine settings won’t save a dirty weld. Proper preparation is key to success.
Clean the Metal
Use a wire brush, grinder, or solvent to remove rust, paint, oil, and mill scale from the welding area. Contaminants can trap gases and cause porosity or weak welds. For aluminum, clean with acetone and a stainless steel brush dedicated only to aluminum to avoid cross-contamination.
Clamp and Fit-Up
Secure your workpiece with clamps to prevent movement. Ensure tight fit-up between joints—gaps larger than 1/16 inch can cause burn-through or lack of fusion. Use a square or straightedge to check alignment.
Welding Techniques with Argon Gas
Now that everything is set up, it’s time to weld. Follow these best practices for consistent, high-quality results.
Maintain Proper Gun Angle
Hold the MIG gun at a 10–15 degree angle, pointing in the direction of travel. This helps the gas shield flow smoothly over the weld pool. For flat welds, use a push technique (gun angled away from the weld) for better visibility and cleaner beads.
Control Your Travel Speed
Move at a steady, consistent pace. Too slow = burn-through or excessive heat. Too fast = lack of penetration or a thin, ropey bead. A good rule of thumb: you should see the weld pool just ahead of the arc, about the width of a dime.
Watch the Gas Coverage
Listen for a soft hissing sound—that’s your gas flowing properly. If the weld looks dull, porous, or has black spots, your gas coverage may be inadequate. Check for drafts, incorrect flow rate, or a clogged nozzle.
Troubleshooting Common Problems
Even with argon gas, issues can arise. Here’s how to fix the most common ones.
Excessive Spatter
Spatter (tiny bits of molten metal) can be annoying and wasteful. Causes include:
- Too high voltage
- Incorrect wire stick-out (keep it under 3/4 inch)
- Dirty base metal
- Improper gas mix or flow
Lower your voltage slightly and clean your material thoroughly.
Porosity (Holes in the Weld)
Porosity weakens the weld and looks unprofessional. It’s usually caused by:
- Contaminated metal
- Insufficient gas flow
- Drafts blowing away the gas shield
- Moisture on the wire or workpiece
Work in a sheltered area, increase gas flow slightly, and store your wire in a dry place.
Unstable Arc or Arc Blow
If the arc wanders or jumps, it could be due to magnetic fields (arc blow) or poor grounding. Try repositioning your ground clamp closer to the weld or using a different ground location. Also, ensure your work surface is clean and conductive.
Safety Tips When Using Argon Gas
Welding is safe when done correctly, but argon gas requires special attention.
- Never weld in confined spaces without ventilation—argon is heavier than air and can displace oxygen.
- Always wear a welding helmet with proper shade (at least #10), flame-resistant clothing, and gloves.
- Keep a fire extinguisher nearby and remove flammable materials from the work area.
- Store gas cylinders away from heat and secure them to prevent tipping.
Conclusion: Master MIG Welding with Argon Gas
MIG welding with argon gas opens up a world of cleaner, more professional welds. Whether you’re working on steel or aluminum, the right gas mix and proper technique make all the difference. Remember to choose the correct argon blend, set your flow rate between 15–25 CFH, prepare your materials thoroughly, and practice on scrap metal before tackling important projects.
With patience and attention to detail, you’ll soon be producing strong, spatter-free welds that look great and hold up under pressure. Argon isn’t just for pros—it’s a game-changer for anyone serious about welding.