

This guide breaks down MIG vs Arc welding in simple terms, helping you choose the right technique for your needs. You’ll learn the basics, equipment differences, pros and cons, and practical tips to get started safely and effectively.
Key Takeaways
- MIG welding uses a continuous wire feed and shielding gas, making it faster and easier for beginners.
- Arc welding (or stick welding) uses a coated electrode and is better for outdoor or rusty metal work.
- MIG produces cleaner welds with less cleanup, while Arc is more durable in tough conditions.
- MIG requires a gas supply and clean materials; Arc works on dirty or painted surfaces.
- Arc welding is generally cheaper to start but harder to master due to manual electrode handling.
- Choose MIG for thin metals and precision; choose Arc for thick materials and portability.
- Both methods require safety gear, proper ventilation, and practice to master.
Introduction: What You’ll Learn
If you’re new to welding or trying to decide between MIG and Arc welding, you’re in the right place. This guide will walk you through the basics of both methods, compare their strengths and weaknesses, and help you pick the best option for your project. Whether you’re fixing a fence, building a metal frame, or just curious about welding, understanding the difference between MIG and Arc welding is the first step.
By the end of this guide, you’ll know how each process works, what equipment you need, and which technique fits your skill level and materials. We’ll keep things simple, practical, and easy to follow—no engineering degree required.
What Is MIG Welding?
Visual guide about Mig Vs Arc Welding
Image source: apswelding.com
MIG stands for Metal Inert Gas welding, though it’s also called Gas Metal Arc Welding (GMAW). It uses a continuous wire electrode fed through a welding gun, along with a shielding gas (like argon or CO₂) to protect the weld from contamination.
How MIG Welding Works
When you pull the trigger on a MIG welder, three things happen at once:
- The wire electrode feeds automatically into the weld pool.
- An electric arc forms between the wire and the metal, melting both to create a bond.
- Shielding gas flows from the nozzle, preventing oxygen and moisture from ruining the weld.
This process creates strong, clean welds with minimal spatter. Because the wire feeds continuously, you can weld for longer periods without stopping—great for long seams or repetitive work.
Best Uses for MIG Welding
MIG is ideal for:
- Thin to medium-thickness metals (like auto body panels or sheet metal).
- Projects requiring speed and precision (furniture, frames, or fabrication).
- Indoor welding where wind won’t blow away the shielding gas.
It’s also the go-to choice for beginners because it’s easier to control and produces consistent results with practice.
What Is Arc Welding?
Visual guide about Mig Vs Arc Welding
Image source: i.ytimg.com
Arc welding, commonly known as stick welding (or Shielded Metal Arc Welding—SMAW), uses a coated metal electrode (the “stick”) that you manually feed into the weld. When the electrode touches the metal, it creates an electric arc that melts both the electrode and the base metal.
How Arc Welding Works
Here’s the basic process:
- You strike the electrode against the metal like a match to start the arc.
- The heat melts the electrode and the metal, forming a weld pool.
- The coating on the electrode burns off, releasing gases that shield the weld and forming a protective slag layer.
- After cooling, the slag must be chipped off with a hammer and wire brush.
Unlike MIG, Arc welding doesn’t use external gas. Instead, the electrode’s flux coating does the job. This makes it more versatile in windy or dirty conditions.
Best Uses for Arc Welding
Arc welding shines in:
- Outdoor projects (fences, trailers, farm equipment).
- Rusty, painted, or dirty metals where MIG would struggle.
- Thick materials like structural steel or heavy machinery.
- Remote locations without access to gas tanks or electricity.
It’s a rugged, reliable method favored by contractors, farmers, and repair technicians.
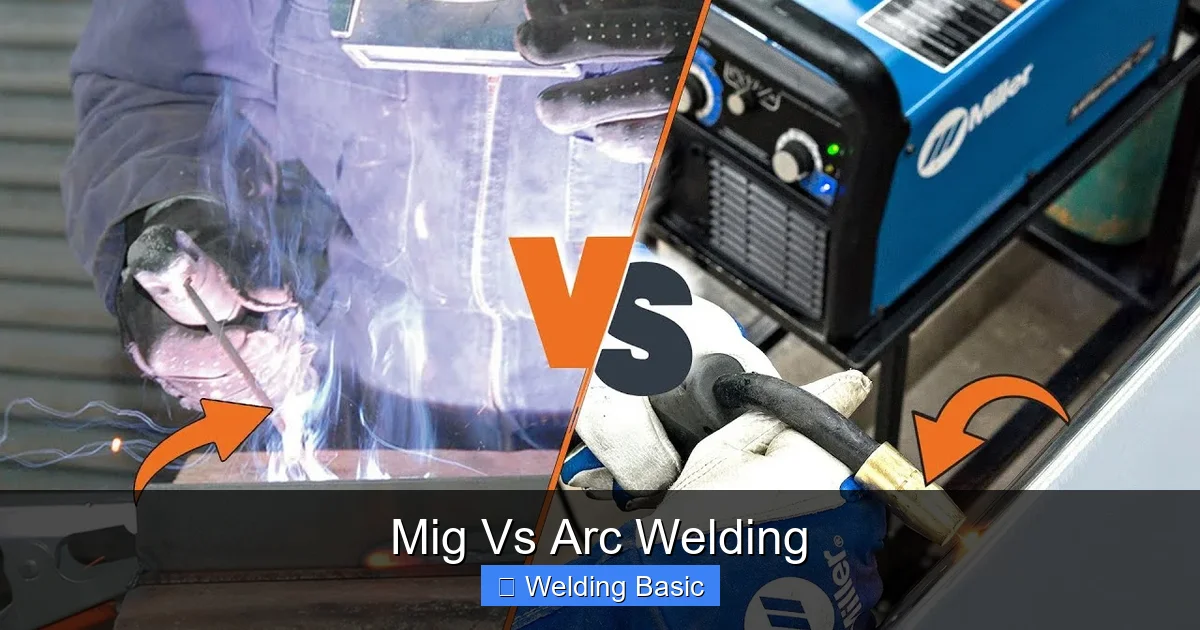
MIG vs Arc Welding: Side-by-Side Comparison
Let’s break down the key differences to help you decide which method suits your needs.
Ease of Use
MIG welding is generally easier for beginners. The wire feeds automatically, and the process is more forgiving. You just need to guide the gun steadily along the joint.
Arc welding requires more skill. You must maintain a consistent arc length, control the angle, and manage the slag. It takes practice to avoid sticking the electrode or creating weak welds.
Weld Quality and Appearance
MIG produces smooth, clean welds with little spatter. The result looks professional and often needs minimal finishing.
Arc welds are stronger in tough conditions but can be rougher in appearance. The slag must be removed, and the bead may require grinding for a clean look.
Equipment and Setup
MIG welders need:
- A wire feed system.
- A gas cylinder and regulator.
- A clean, dry workspace.
Arc welders only need:
- A power source and electrode holder.
- A ground clamp.
- Electrodes (sticks).
Arc setups are simpler and more portable, but MIG offers more consistent performance indoors.
Cost
Arc welding is cheaper to start. A basic stick welder costs less than a MIG machine, and you don’t need gas tanks or wire spools.
MIG welding has higher upfront costs due to the need for gas, wire, and a more complex machine. However, it can save time on larger projects.
Material Compatibility
MIG works best on clean, thin to medium metals like mild steel, stainless steel, and aluminum (with the right wire and gas).
Arc handles thick, dirty, or rusty metals with ease. It’s the top choice for structural welding and repairs in harsh environments.
Portability and Environment
Arc welding wins for portability. No gas tanks mean you can weld almost anywhere—even off-grid.
MIG requires a stable gas supply and protection from wind, making it less ideal for outdoor use unless you have a windbreak.
Step-by-Step: How to Choose Between MIG and Arc
Still unsure? Follow these steps to pick the right method.
Step 1: Assess Your Project
Ask yourself:
- What material am I welding? (Thin sheet metal? Thick steel?)
- Is the metal clean or rusty?
- Will I be working indoors or outdoors?
If it’s thin, clean metal indoors—go MIG. If it’s thick, dirty, or outside—Arc may be better.
Step 2: Consider Your Skill Level
Beginners often find MIG easier to learn. The automatic wire feed reduces the chance of mistakes.
If you’re patient and willing to practice, Arc welding builds strong foundational skills and teaches you how welds truly form.
Step 3: Check Your Budget
If you’re on a tight budget, start with Arc. A basic stick welder can cost under $200.
If you plan to weld frequently or professionally, investing in a MIG setup pays off in speed and quality.
Step 4: Think About Long-Term Use
Do you want versatility? Arc welding can handle almost any job with the right electrode.
Do you value speed and cleanliness? MIG is faster and produces less cleanup.
Many welders eventually own both types—using MIG for precision work and Arc for heavy-duty repairs.
Practical Tips for Success
No matter which method you choose, these tips will help you weld safely and effectively.
Safety First
Always wear:
- A welding helmet with proper shade (auto-darkening is best).
- Flame-resistant clothing (no synthetic fabrics).
- Welding gloves and boots.
- Respirator or work in a well-ventilated area to avoid fumes.
Prepare Your Materials
Clean the metal surface before welding. Remove paint, rust, oil, and dirt. Use a wire brush or grinder for best results—especially with MIG.
Practice on Scrap Metal
Before tackling your main project, practice on similar scrap metal. Adjust your settings and technique until you get a strong, consistent bead.
Start with the Right Settings
For MIG: Set voltage and wire speed based on metal thickness. Most machines have charts to guide you.
For Arc: Choose the correct electrode (e.g., 6013 for thin metal, 7018 for strength) and set amperage accordingly.
Maintain a Steady Hand
Keep a consistent travel speed and angle. Rushing leads to weak welds; going too slow causes burn-through.
Troubleshooting Common Issues
Even experienced welders run into problems. Here’s how to fix common issues.
MIG Welding Problems
- Wire feeding issues: Check for kinks in the wire, dirty drive rolls, or incorrect tension.
- Poor gas coverage: Ensure the gas flow is 20–25 CFH and the nozzle isn’t blocked.
- Burn-through: Reduce voltage or wire speed; use a backing bar for thin metal.
Arc Welding Problems
- Electrode sticking: Increase amperage or shorten the arc length.
- Porous or weak welds: Clean the metal better; use dry electrodes stored properly.
- Excessive spatter: Adjust amperage or check electrode angle.
Conclusion: Which Should You Choose?
There’s no single “best” welding method—only the right one for your needs. MIG welding offers speed, ease, and clean results, making it perfect for beginners and indoor projects. Arc welding is tough, versatile, and ideal for outdoor or heavy-duty work.
If you’re just starting out and working on clean metal indoors, go with MIG. If you’re tackling rusty farm equipment or need a portable setup, choose Arc.
Many welders eventually learn both. Each method teaches valuable skills and expands what you can build or repair. Start with the one that fits your current project, practice regularly, and you’ll soon be welding like a pro.
Remember: safety, preparation, and patience are the real keys to success. Happy welding!