

Gas welding aluminum is a reliable method for joining thin aluminum sheets and pipes using oxy-acetylene torches. This guide walks you through equipment setup, preparation, welding techniques, and troubleshooting to help you achieve strong, professional-quality welds with confidence.
Key Takeaways
- Use the right gas mixture: Oxy-acetylene is ideal for gas welding aluminum due to its high heat and precise control.
- Clean the metal thoroughly: Aluminum oxidizes quickly—remove oils, dirt, and oxide layers before welding.
- Choose the correct filler rod: Use aluminum-specific filler rods (like 4043 or 5356) that match the base metal’s alloy.
- Preheat thicker sections: Preheating reduces thermal shock and prevents cracking in thicker aluminum pieces.
- Maintain a consistent flame: A neutral flame with a soft inner cone ensures even heating and prevents contamination.
- Work in a draft-free area: Wind or drafts can disrupt the flame and affect weld quality.
- Practice proper torch movement: Use a steady, sweeping motion to distribute heat evenly and avoid burn-through.
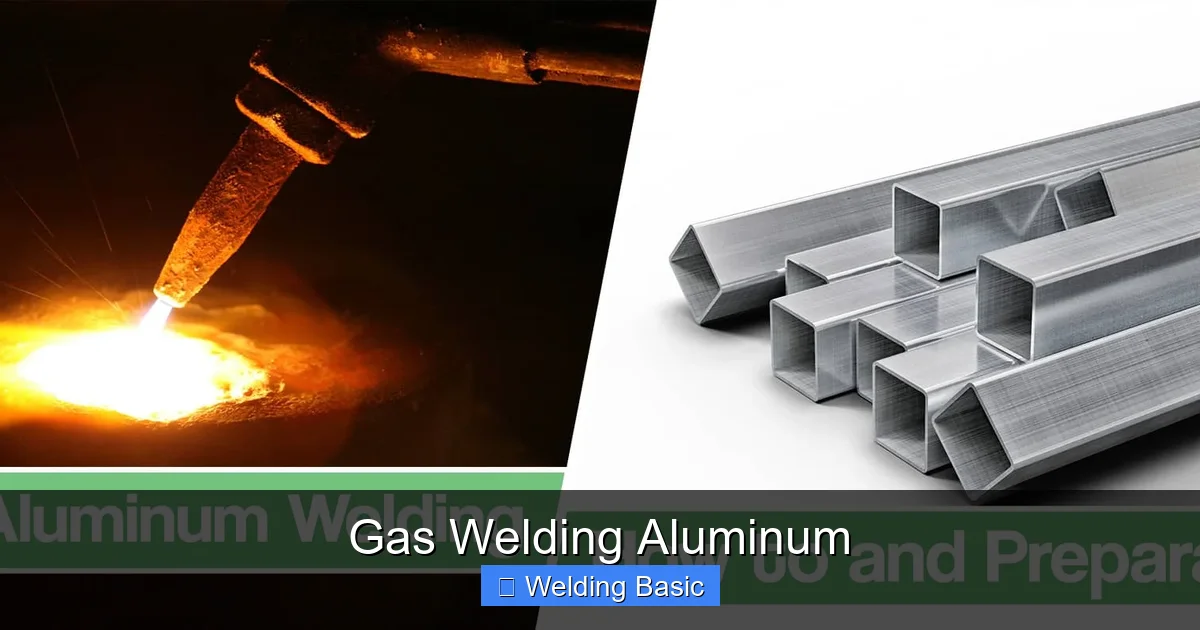
Introduction to Gas Welding Aluminum
Gas welding aluminum might sound intimidating, but with the right tools and techniques, it’s a skill anyone can learn. Unlike steel, aluminum has unique properties—like high thermal conductivity and a low melting point—that require special attention. This guide will teach you how to gas weld aluminum safely and effectively using an oxy-acetylene torch. You’ll learn about equipment setup, surface preparation, flame control, and troubleshooting common issues. Whether you’re repairing a boat hull, fixing a bicycle frame, or working on a custom fabrication project, mastering gas welding aluminum opens up a world of possibilities.
Why Choose Gas Welding for Aluminum?
Visual guide about Gas Welding Aluminum
Image source: weldingpros.net
Gas welding, particularly oxy-acetylene welding, is one of the oldest and most versatile welding methods. It’s especially well-suited for aluminum because it offers precise heat control and doesn’t require electricity. This makes it ideal for outdoor work or remote locations. Unlike TIG welding, which requires expensive equipment and a stable power source, gas welding uses portable tanks and torches. It’s also excellent for thin aluminum sheets where too much heat can cause warping or burn-through. While it may take longer than other methods, gas welding produces clean, strong welds when done correctly.
Essential Equipment and Tools
Visual guide about Gas Welding Aluminum
Image source: weldingproperty.com
Before you start, gather the right tools. Using improper equipment can lead to weak welds or safety hazards.
Oxy-Acetylene Torch Setup
You’ll need an oxy-acetylene welding torch with interchangeable tips. The torch mixes oxygen and acetylene gases to produce a high-temperature flame—up to 6,300°F (3,482°C). Make sure your torch has a handle, two hoses (red for acetylene, green for oxygen), and a mixing chamber. Use a tip size appropriate for your material thickness—smaller tips for thin sheets, larger ones for thicker sections.
Gas Cylinders and Regulators
You’ll need two gas cylinders: one for oxygen and one for acetylene. Always secure them upright with chains or straps. Attach regulators to control gas pressure. Oxygen regulators typically read up to 40 psi, while acetylene should never exceed 15 psi—acetylene becomes unstable at higher pressures.
Filler Rods
Choose aluminum filler rods that match your base metal. Common choices include:
- 4043: Good for general-purpose welding, lower melting point, less prone to cracking.
- 5356: Stronger and more ductile, ideal for structural applications.
Store rods in a dry place to prevent moisture absorption.
Safety Gear
Safety is critical. Wear:
- Welding gloves (leather, heat-resistant)
- Flame-resistant clothing (no synthetic fabrics)
- Auto-darkening welding helmet or goggles
- Leather apron and closed-toe shoes
Also, keep a fire extinguisher nearby and work in a well-ventilated area.
Preparing the Aluminum Surface
Aluminum forms a tough oxide layer that melts at a higher temperature than the base metal. If not removed, this layer can prevent proper fusion.
Cleaning the Metal
Start by degreasing the surface with acetone or a dedicated aluminum cleaner. Wipe both sides of the joint with a clean cloth. Then, use a stainless-steel wire brush (dedicated only to aluminum) to scrub the area. Never use a brush that’s been used on steel—iron contamination can ruin the weld.
Beveling Thick Materials
For aluminum thicker than 1/8 inch (3 mm), bevel the edges to allow full penetration. Use a file, grinder, or milling tool to create a 60–90 degree V-groove. This ensures the filler metal reaches the root of the joint.
Clamping and Fixturing
Secure the pieces with clamps or jigs. Aluminum expands when heated, so leave a small gap (about 0.02–0.04 inches) at the joint to allow for expansion. Use copper or stainless steel backing bars behind the joint to absorb excess heat and prevent burn-through.
Setting Up the Torch and Flame
Proper flame control is essential for successful aluminum welding.
Lighting the Torch
Open the acetylene valve slightly and light the gas with a striker. A smoky, yellow flame will appear. Slowly open the oxygen valve until the flame turns blue and forms a sharp inner cone. Adjust until you achieve a neutral flame—this has a clear, well-defined inner cone about 1–2 inches long.
Flame Types and Their Uses
- Neutral flame: Best for most aluminum welding. Balanced oxygen and acetylene.
- Carburizing flame: Excess acetylene—can contaminate aluminum. Avoid.
- Oxidizing flame: Excess oxygen—causes porosity. Avoid.
A neutral flame should produce a soft hissing sound and a clean, focused cone.
Welding Techniques for Aluminum
Now that your setup is ready, it’s time to weld.
Preheating (If Needed)
For aluminum thicker than 1/4 inch (6 mm), preheat the entire piece to 400–600°F (200–315°C). Use a rosebud tip or a separate preheating torch. Preheating reduces thermal stress and helps the filler metal flow evenly.
Torch and Rod Positioning
Hold the torch at a 15–30 degree angle to the workpiece. Keep the inner cone about 1/8 inch from the metal. Hold the filler rod in your other hand at a 10–15 degree angle, feeding it into the leading edge of the puddle.
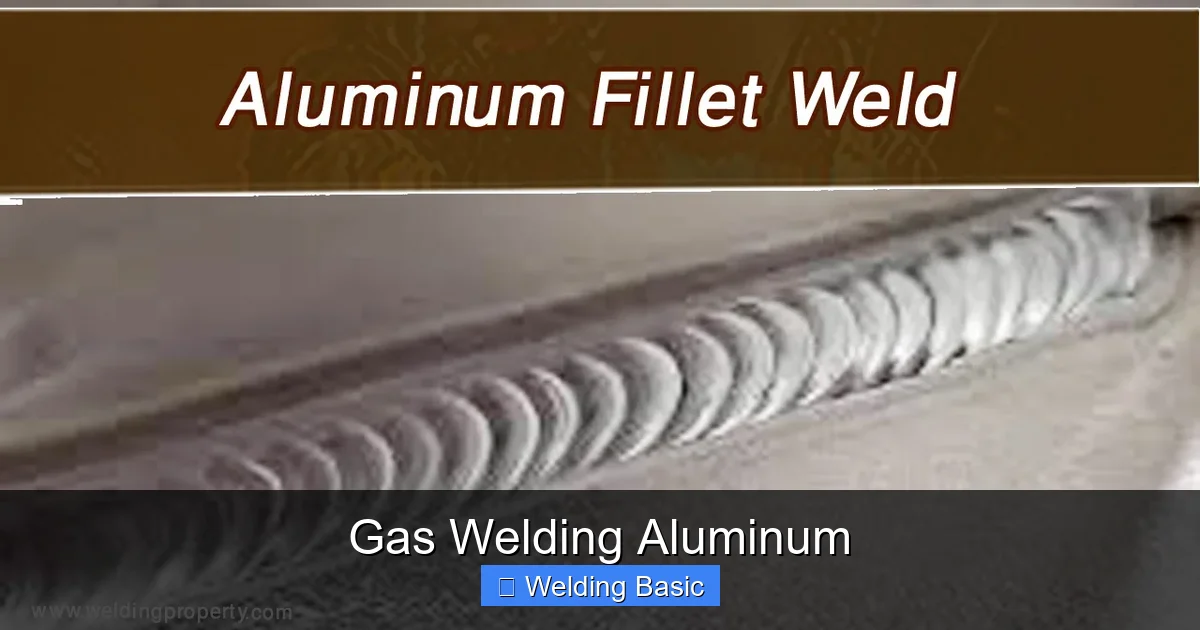
Creating the Weld Puddle
Move the torch in a small circular or side-to-side motion. This helps distribute heat and prevents the metal from pooling in one spot. As the aluminum melts, dip the filler rod into the puddle. Don’t push the rod—let it melt naturally. Keep the puddle small and controlled.
Maintaining Travel Speed
Move steadily but not too fast. If you move too slowly, you’ll burn through. Too fast, and the weld won’t penetrate. Aim for a smooth, consistent bead with good fusion on both sides.
Post-Weld Cooling and Cleaning
After welding, let the aluminum cool naturally. Don’t quench it with water—rapid cooling can cause cracking.
Removing Oxide and Slag
Once cool, scrub the weld with your stainless-steel wire brush to remove surface oxides. For stubborn residue, use a pickling paste or aluminum cleaner. Rinse with water and dry thoroughly.
Inspecting the Weld
Check for:
- Porosity (tiny holes)—caused by contamination or moisture
- Cracks—often from rapid cooling or poor fit-up
- Lack of fusion—indicates insufficient heat or improper technique
A good weld should be smooth, shiny, and free of defects.
Troubleshooting Common Problems
Even experienced welders run into issues. Here’s how to fix them.
Porosity in the Weld
Cause: Moisture, oil, or dirty filler rod.
Solution: Clean all materials thoroughly. Store filler rods in a dry place. Use a dry welding rod.
Burn-Through
Cause: Too much heat or slow travel speed.
Solution: Reduce flame intensity. Use a backing bar. Increase travel speed.
Lack of Fusion
Cause: Insufficient heat or incorrect torch angle.
Solution: Increase preheat. Adjust torch to 20–30 degrees. Ensure proper cleaning.
Cracking
Cause: Rapid cooling or high thermal stress.
Solution: Preheat thicker sections. Allow slow, natural cooling. Use the right filler alloy.
Tips for Success
- Practice on scrap aluminum before working on your project.
- Keep your workspace clean and organized.
- Use a welding table with a heat-resistant surface.
- Label your tools and filler rods to avoid mix-ups.
- Take breaks—welding aluminum requires focus and patience.
Conclusion
Gas welding aluminum is a rewarding skill that combines precision, control, and craftsmanship. While it requires careful preparation and attention to detail, the results are strong, clean welds that stand the test of time. By following this guide—using the right equipment, preparing the surface, controlling the flame, and practicing good technique—you’ll be able to tackle a wide range of aluminum welding projects with confidence. Remember, every expert was once a beginner. Keep practicing, stay safe, and enjoy the process of creating something with your own hands.