

Stick welding, also known as Shielded Metal Arc Welding (SMAW), is a popular and versatile method used to join metals using an electric arc and a consumable electrode. This guide covers everything from equipment setup to troubleshooting common issues, making it perfect for beginners and DIY enthusiasts.
Key Takeaways
- Stick welding is beginner-friendly: It’s one of the easiest welding methods to learn and doesn’t require expensive equipment or gas cylinders.
- Works in outdoor conditions: Unlike other welding types, stick welding performs well in windy or drafty environments.
- Uses a consumable electrode: The electrode rod melts to form the weld and provides its own shielding through a flux coating.
- Ideal for thick materials: Great for heavy-duty applications like construction, pipeline work, and repair jobs.
- Requires proper safety gear: Always wear a welding helmet, gloves, and protective clothing to avoid burns and UV exposure.
- Common electrodes include 6010, 6011, 6013, and 7018: Each type suits different materials and welding positions.
- Practice improves consistency: Mastering arc length, travel speed, and rod angle takes time and repetition.
What Is Stick Welding?
Stick welding, officially known as Shielded Metal Arc Welding (SMAW), is one of the oldest and most reliable welding processes. It’s called “stick” because it uses a solid metal electrode—shaped like a stick—that melts to create the weld. This method is widely used in construction, fabrication, shipbuilding, and repair work because it’s portable, durable, and effective on thick materials.
Unlike other welding techniques that require external shielding gas (like MIG or TIG), stick welding uses a flux-coated electrode. When the electrode melts, the flux creates a gas shield and forms a slag layer that protects the molten weld pool from contamination. Once the weld cools, the slag peels off easily.
If you’re new to welding, stick welding is a fantastic place to start. It teaches fundamental skills like arc control, hand stability, and metal preparation—all of which apply to other welding methods. Plus, the equipment is affordable and doesn’t need complex setups.
How Stick Welding Works
At its core, stick welding uses electricity to create an arc between the electrode and the metal workpiece. Here’s a simple breakdown of the process:
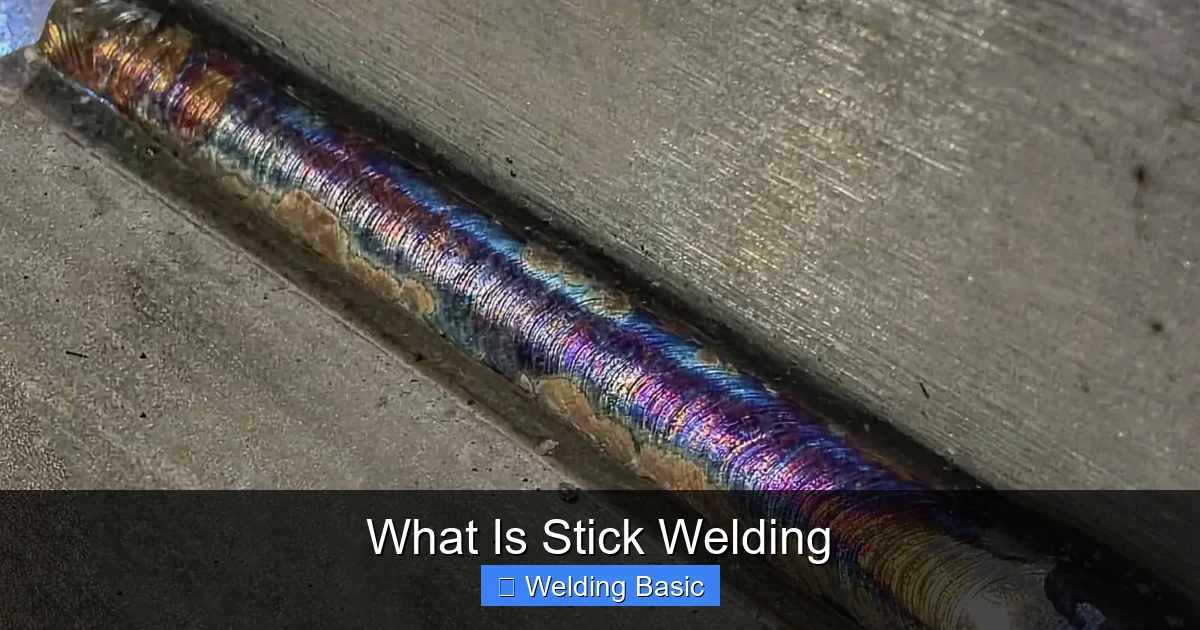
Visual guide about What Is Stick Welding
Image source: weldguru.com
Step 1: Create an Electric Circuit
The welding machine supplies power. One cable connects to the electrode holder (which holds the stick), and the other connects to the workpiece via a ground clamp. When you strike the electrode against the metal, it completes the circuit and generates heat.
Step 2: Form the Arc
As the electrode touches the metal and is pulled away slightly, an electric arc forms. This arc reaches temperatures over 6,500°F (3,600°C), melting both the electrode and the base metal.
Step 3: Deposit the Weld
The molten metal from the electrode fills the joint, while the flux coating burns off to produce shielding gas and slag. The slag floats on top of the weld pool, protecting it from oxygen and nitrogen in the air.
Step 4: Cool and Clean
After welding, the slag hardens and can be chipped off with a hammer and wire brush. The result is a strong, clean weld ready for use or further finishing.
Essential Stick Welding Equipment
To get started with stick welding, you’ll need a few key tools. Don’t worry—most are affordable and widely available.
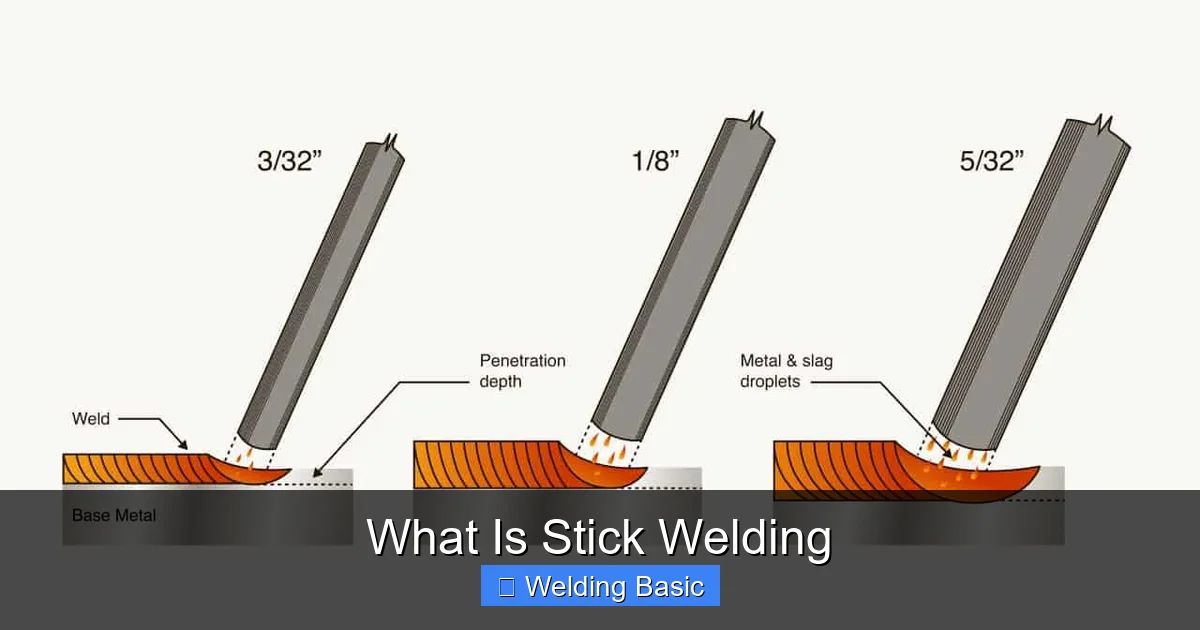
Visual guide about What Is Stick Welding
Image source: weldguru.com
1. Welding Machine (Stick Welder)
Look for a machine labeled “SMAW” or “stick capable.” These range from small 110V units for home use to heavy-duty 220V models for industrial jobs. Popular brands include Lincoln Electric, Hobart, and Miller.
2. Electrode Holder and Ground Clamp
The electrode holder grips the stick electrode, while the ground clamp completes the circuit by attaching to the workpiece. Make sure both have strong springs and good insulation.
3. Electrodes (Rods)
Electrodes come in various types, each suited for different metals and conditions. Common ones include:
- 6010: Deep penetration, great for root passes and dirty/rusty metal.
- 6011: Similar to 6010 but works on both AC and DC power.
- 6013: Easy to use, good for thin materials and beginners.
- 7018: Low hydrogen, strong welds, ideal for structural steel.
4. Safety Gear
Never skip safety! Always wear:
- A welding helmet with auto-darkening lens (shade 10–13).
- Flame-resistant gloves (leather welding gloves).
- Long sleeves and pants made of cotton or welding-specific fabric.
- Welding boots and ear protection if needed.
5. Chipping Hammer and Wire Brush
Used to remove slag after welding. A good hammer has a pointed end for chipping and a flat end for cleanup.
Step-by-Step Guide to Stick Welding
Now that you know the basics, let’s walk through how to make your first stick weld.
Step 1: Prepare Your Workspace
Clear the area of flammable materials. Ensure good ventilation—welding fumes can be harmful. Secure your workpiece with clamps or a vise to prevent movement.
Step 2: Set Up the Welder
Plug in your machine and set the amperage according to the electrode size and material thickness. For example:
- 1/8″ 6013 rod → 90–130 amps
- 1/8″ 7018 rod → 120–160 amps
Check your electrode packaging for recommended settings.
Step 3: Insert the Electrode
Open the electrode holder and insert the rod. Make sure it’s secure and the flux coating isn’t damaged.
Step 4: Strike the Arc
There are two methods:
- Scratch Start: Drag the electrode lightly across the metal like striking a match.
- Tap Start: Touch the rod to the metal and quickly lift it about 1/8″ to 1/4″ to establish the arc.
Once the arc starts, maintain a short distance (about the diameter of the electrode core).
Step 5: Weld the Joint
Move the electrode steadily along the joint. Use a slight back-and-forth motion (called a “whip” or “drag” technique) for better penetration and bead shape. Keep the arc length consistent—too long causes spatter; too short extinguishes the arc.
Step 6: Finish and Clean
When done, break the arc by quickly pulling the electrode away. Let the weld cool, then chip off the slag with a hammer and brush it clean.
Tips for Better Stick Welds
Even small adjustments can improve your results. Try these pro tips:
- Keep the rod dry: Moisture in electrodes (especially 7018) can cause porosity. Store them in a dry place or use a rod oven.
- Practice on scrap metal: Before welding your project, test your settings and technique on similar material.
- Angle matters: Hold the electrode at a 10–15 degree angle in the direction of travel.
- Control travel speed: Too fast = weak weld; too slow = excessive buildup.
- Use the right polarity: Most electrodes work best on DC+ (electrode positive), but some (like 6011) can use AC.
Troubleshooting Common Stick Welding Problems
Even experienced welders run into issues. Here’s how to fix the most common ones:
Problem: Arc Won’t Start or Keeps Going Out
Cause: Dirty metal, wrong amperage, or poor contact.
Fix: Clean the metal with a wire brush. Check connections and increase amperage slightly.
Problem: Excessive Spatter
Cause: Arc too long or wrong voltage.
Fix: Shorten the arc length and reduce voltage if possible.
Problem: Porosity (Holes in the Weld)
Cause: Contaminated metal, wind, or damp electrodes.
Fix: Clean the base metal, weld in a sheltered area, and store rods properly.
Problem: Slag Inclusion
Cause: Not cleaning between passes or incorrect technique.
Fix: Chip and brush each layer before adding the next. Use proper weaving motion.
Problem: Weak or Cracked Welds
Cause: Wrong electrode, poor fit-up, or rapid cooling.
Fix: Match electrode to material. Preheat thick metals if needed.
Conclusion
Stick welding is a powerful, versatile, and accessible welding method that every metalworker should know. Whether you’re fixing a fence, building a trailer, or working on a construction site, stick welding gives you the flexibility to work in tough conditions with minimal equipment.
While it may take practice to master arc control and bead consistency, the skills you learn will serve you well in other welding processes. Start with simple projects, focus on safety, and don’t be afraid to make mistakes—they’re part of the learning process.
With the right tools, techniques, and mindset, you’ll be laying strong, reliable welds in no time. So grab your welder, pick up a rod, and start sticking!